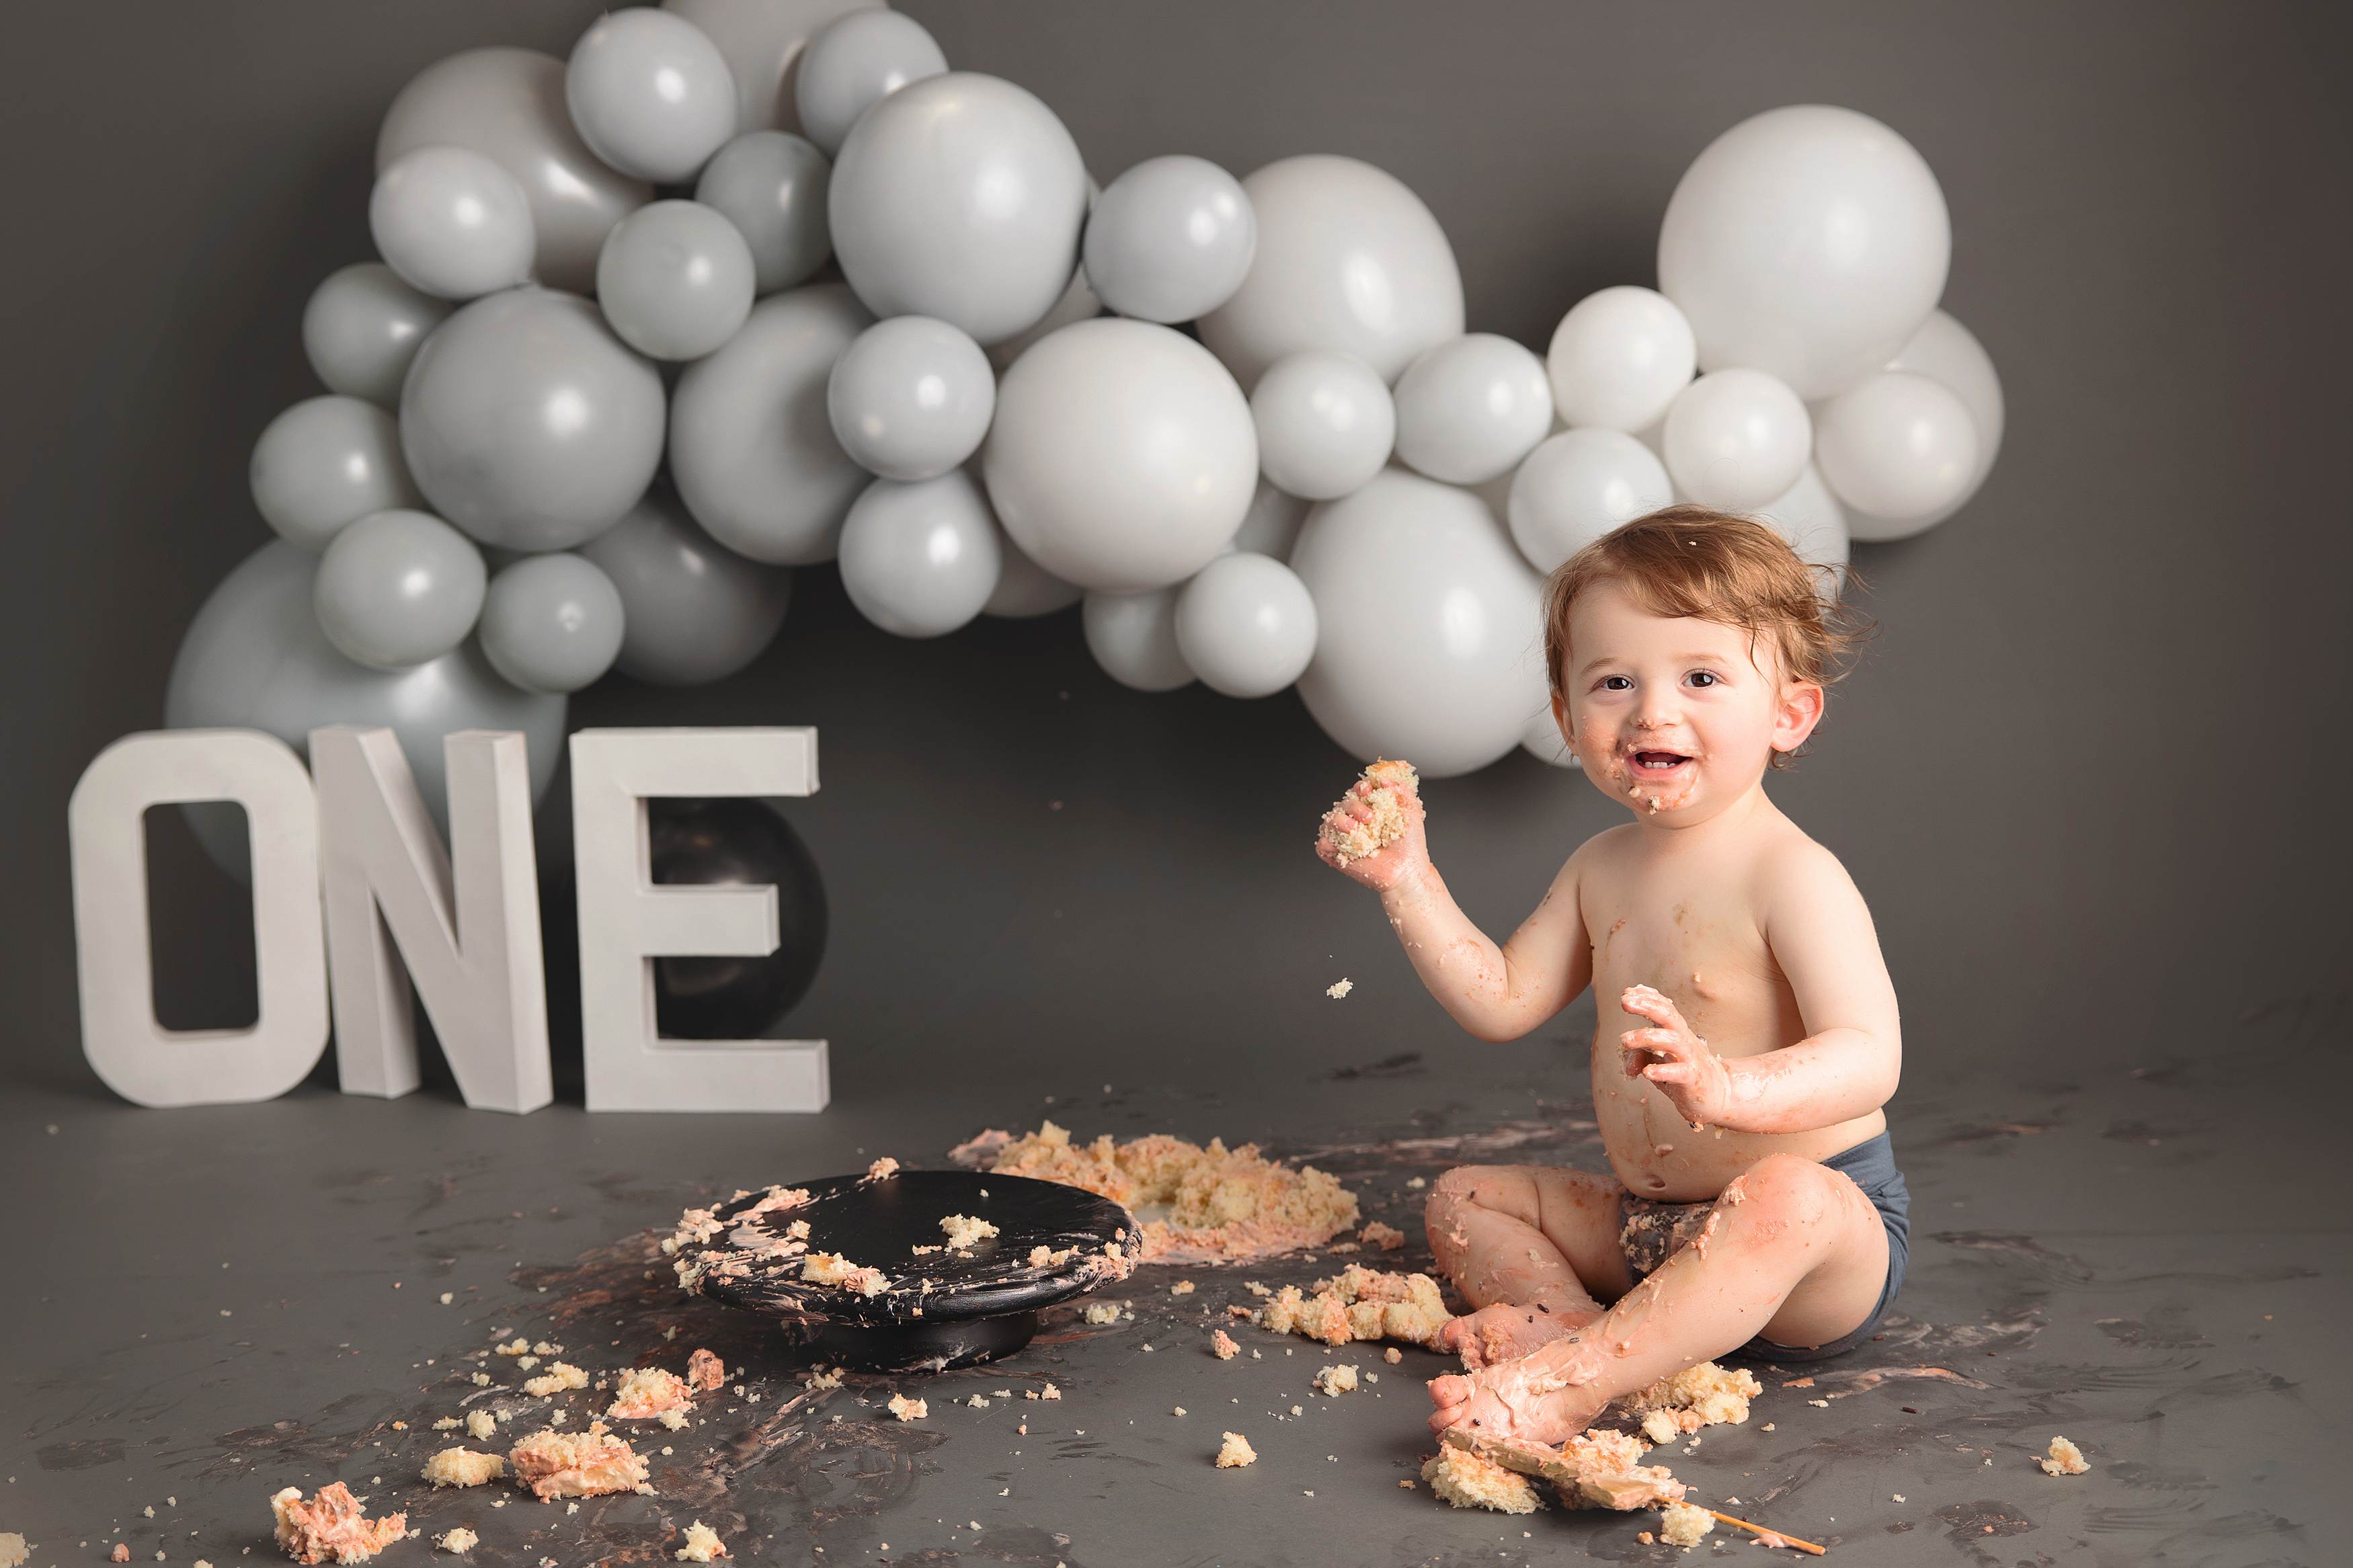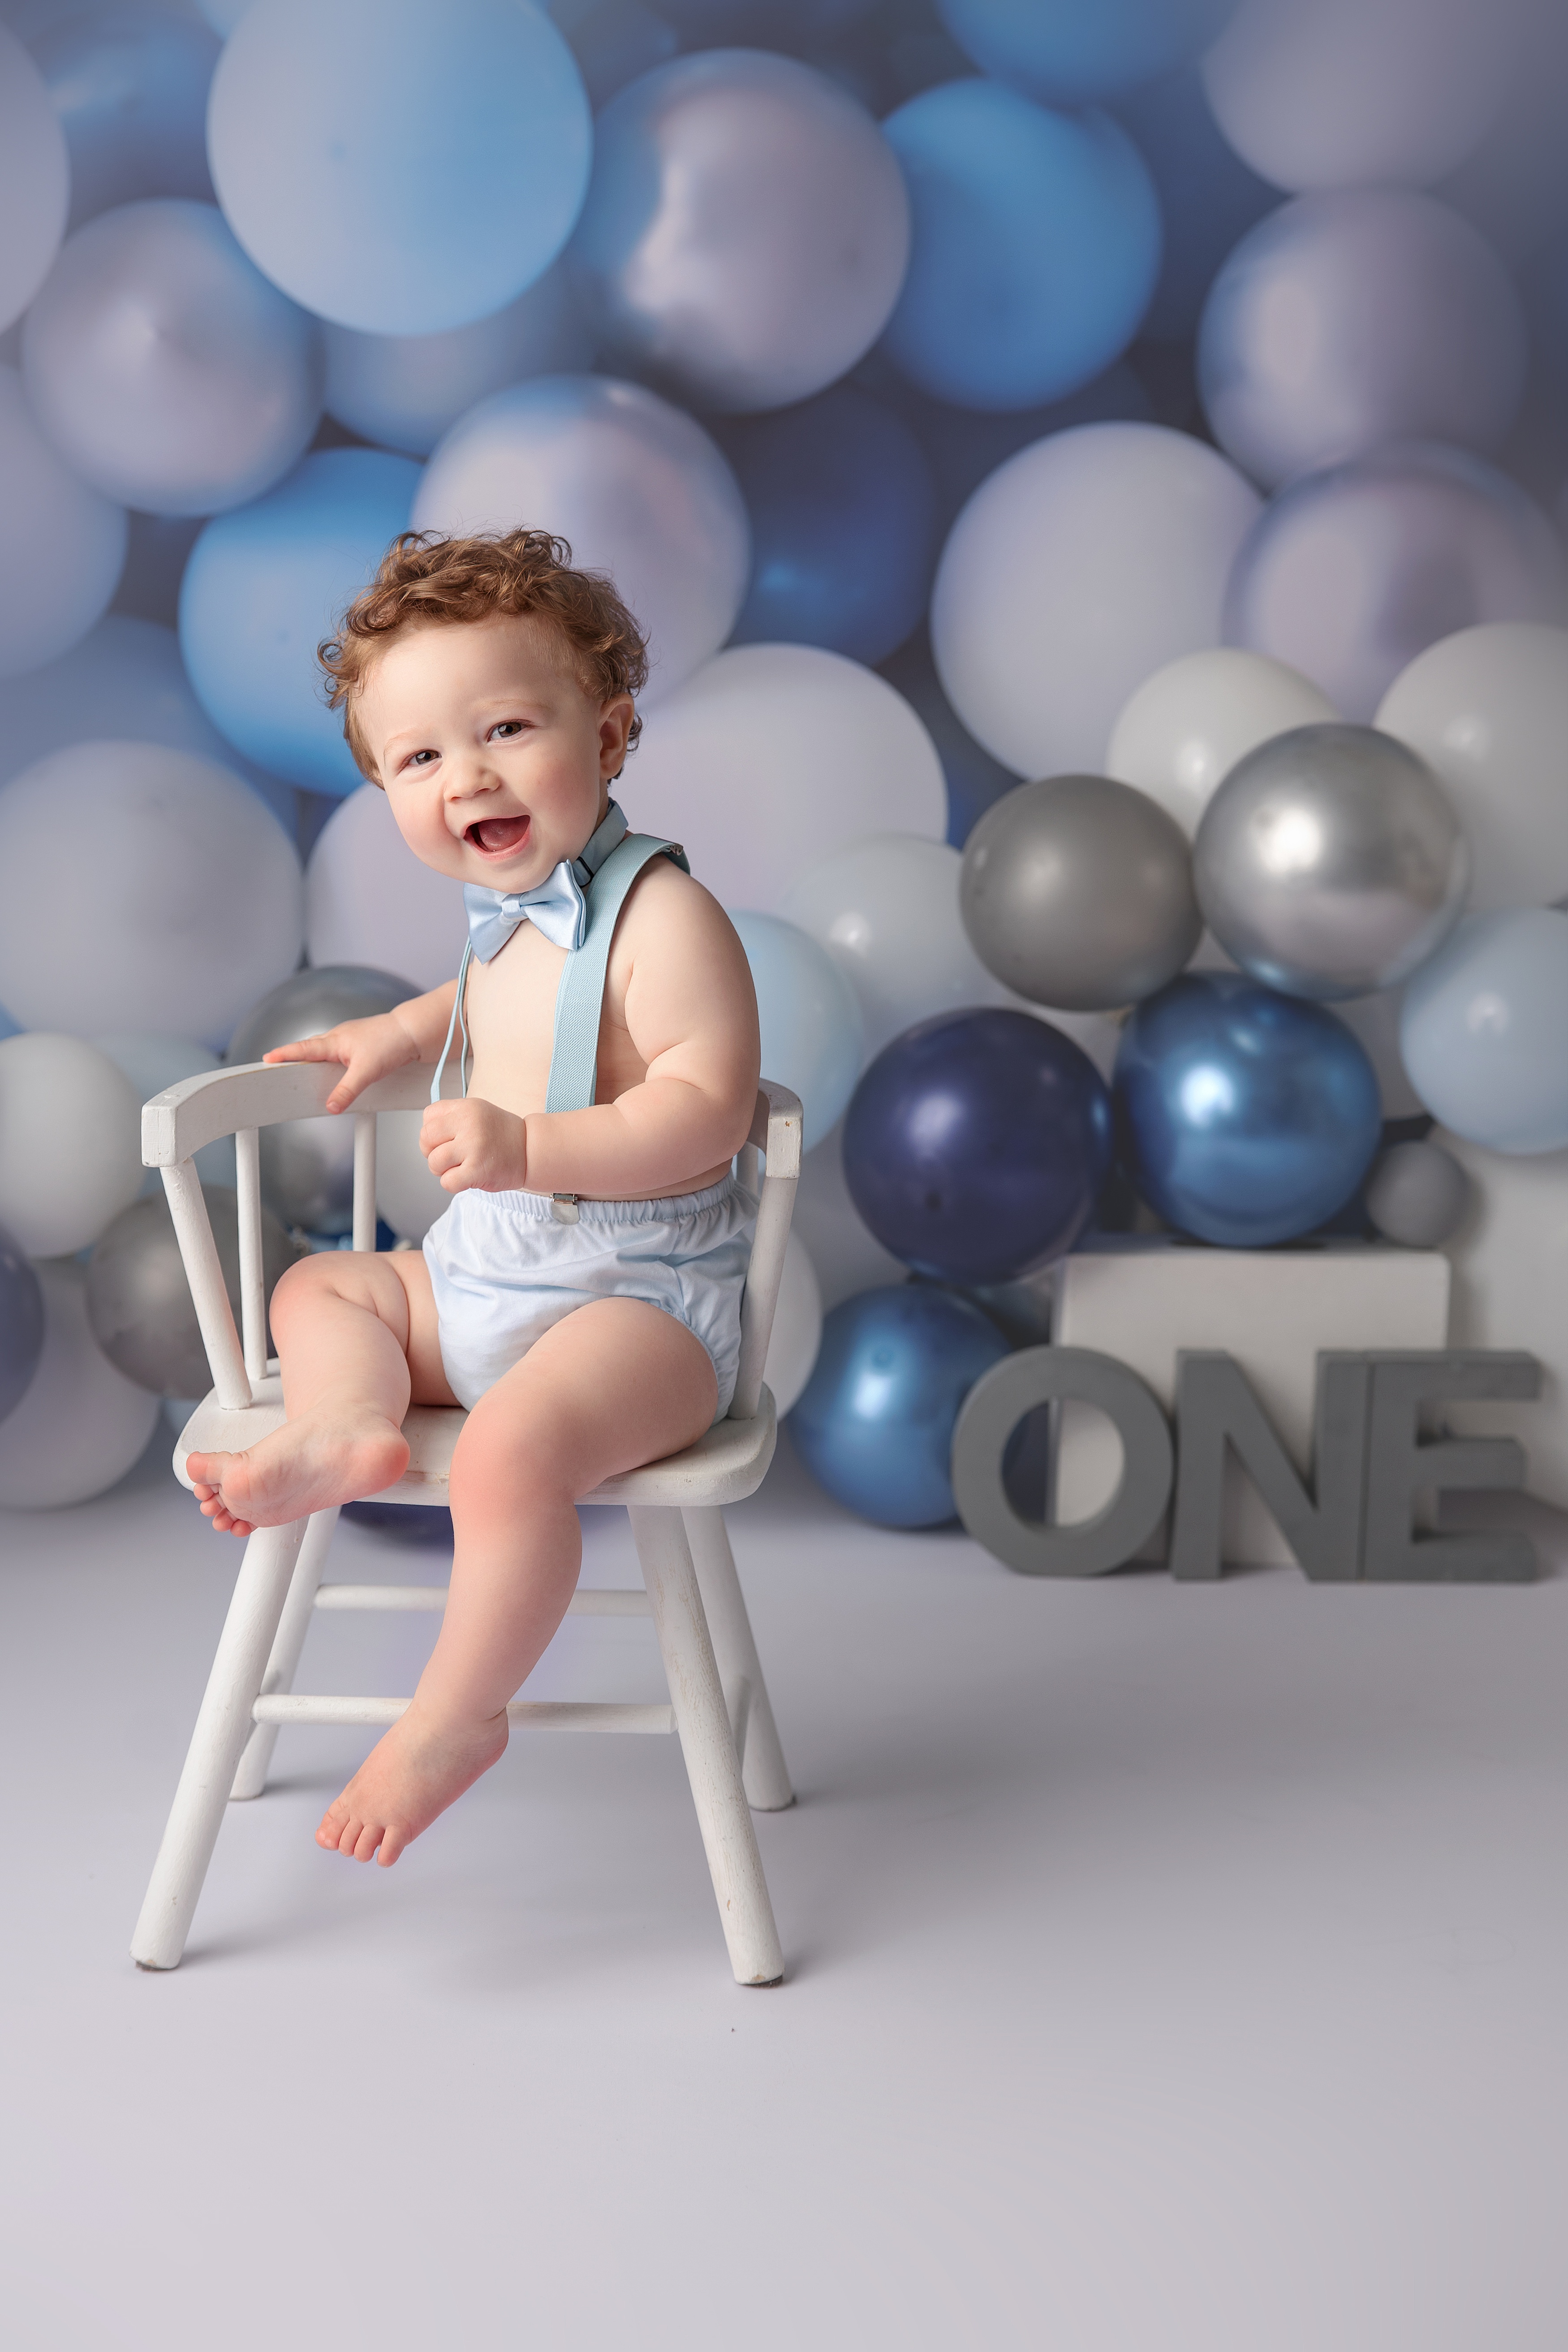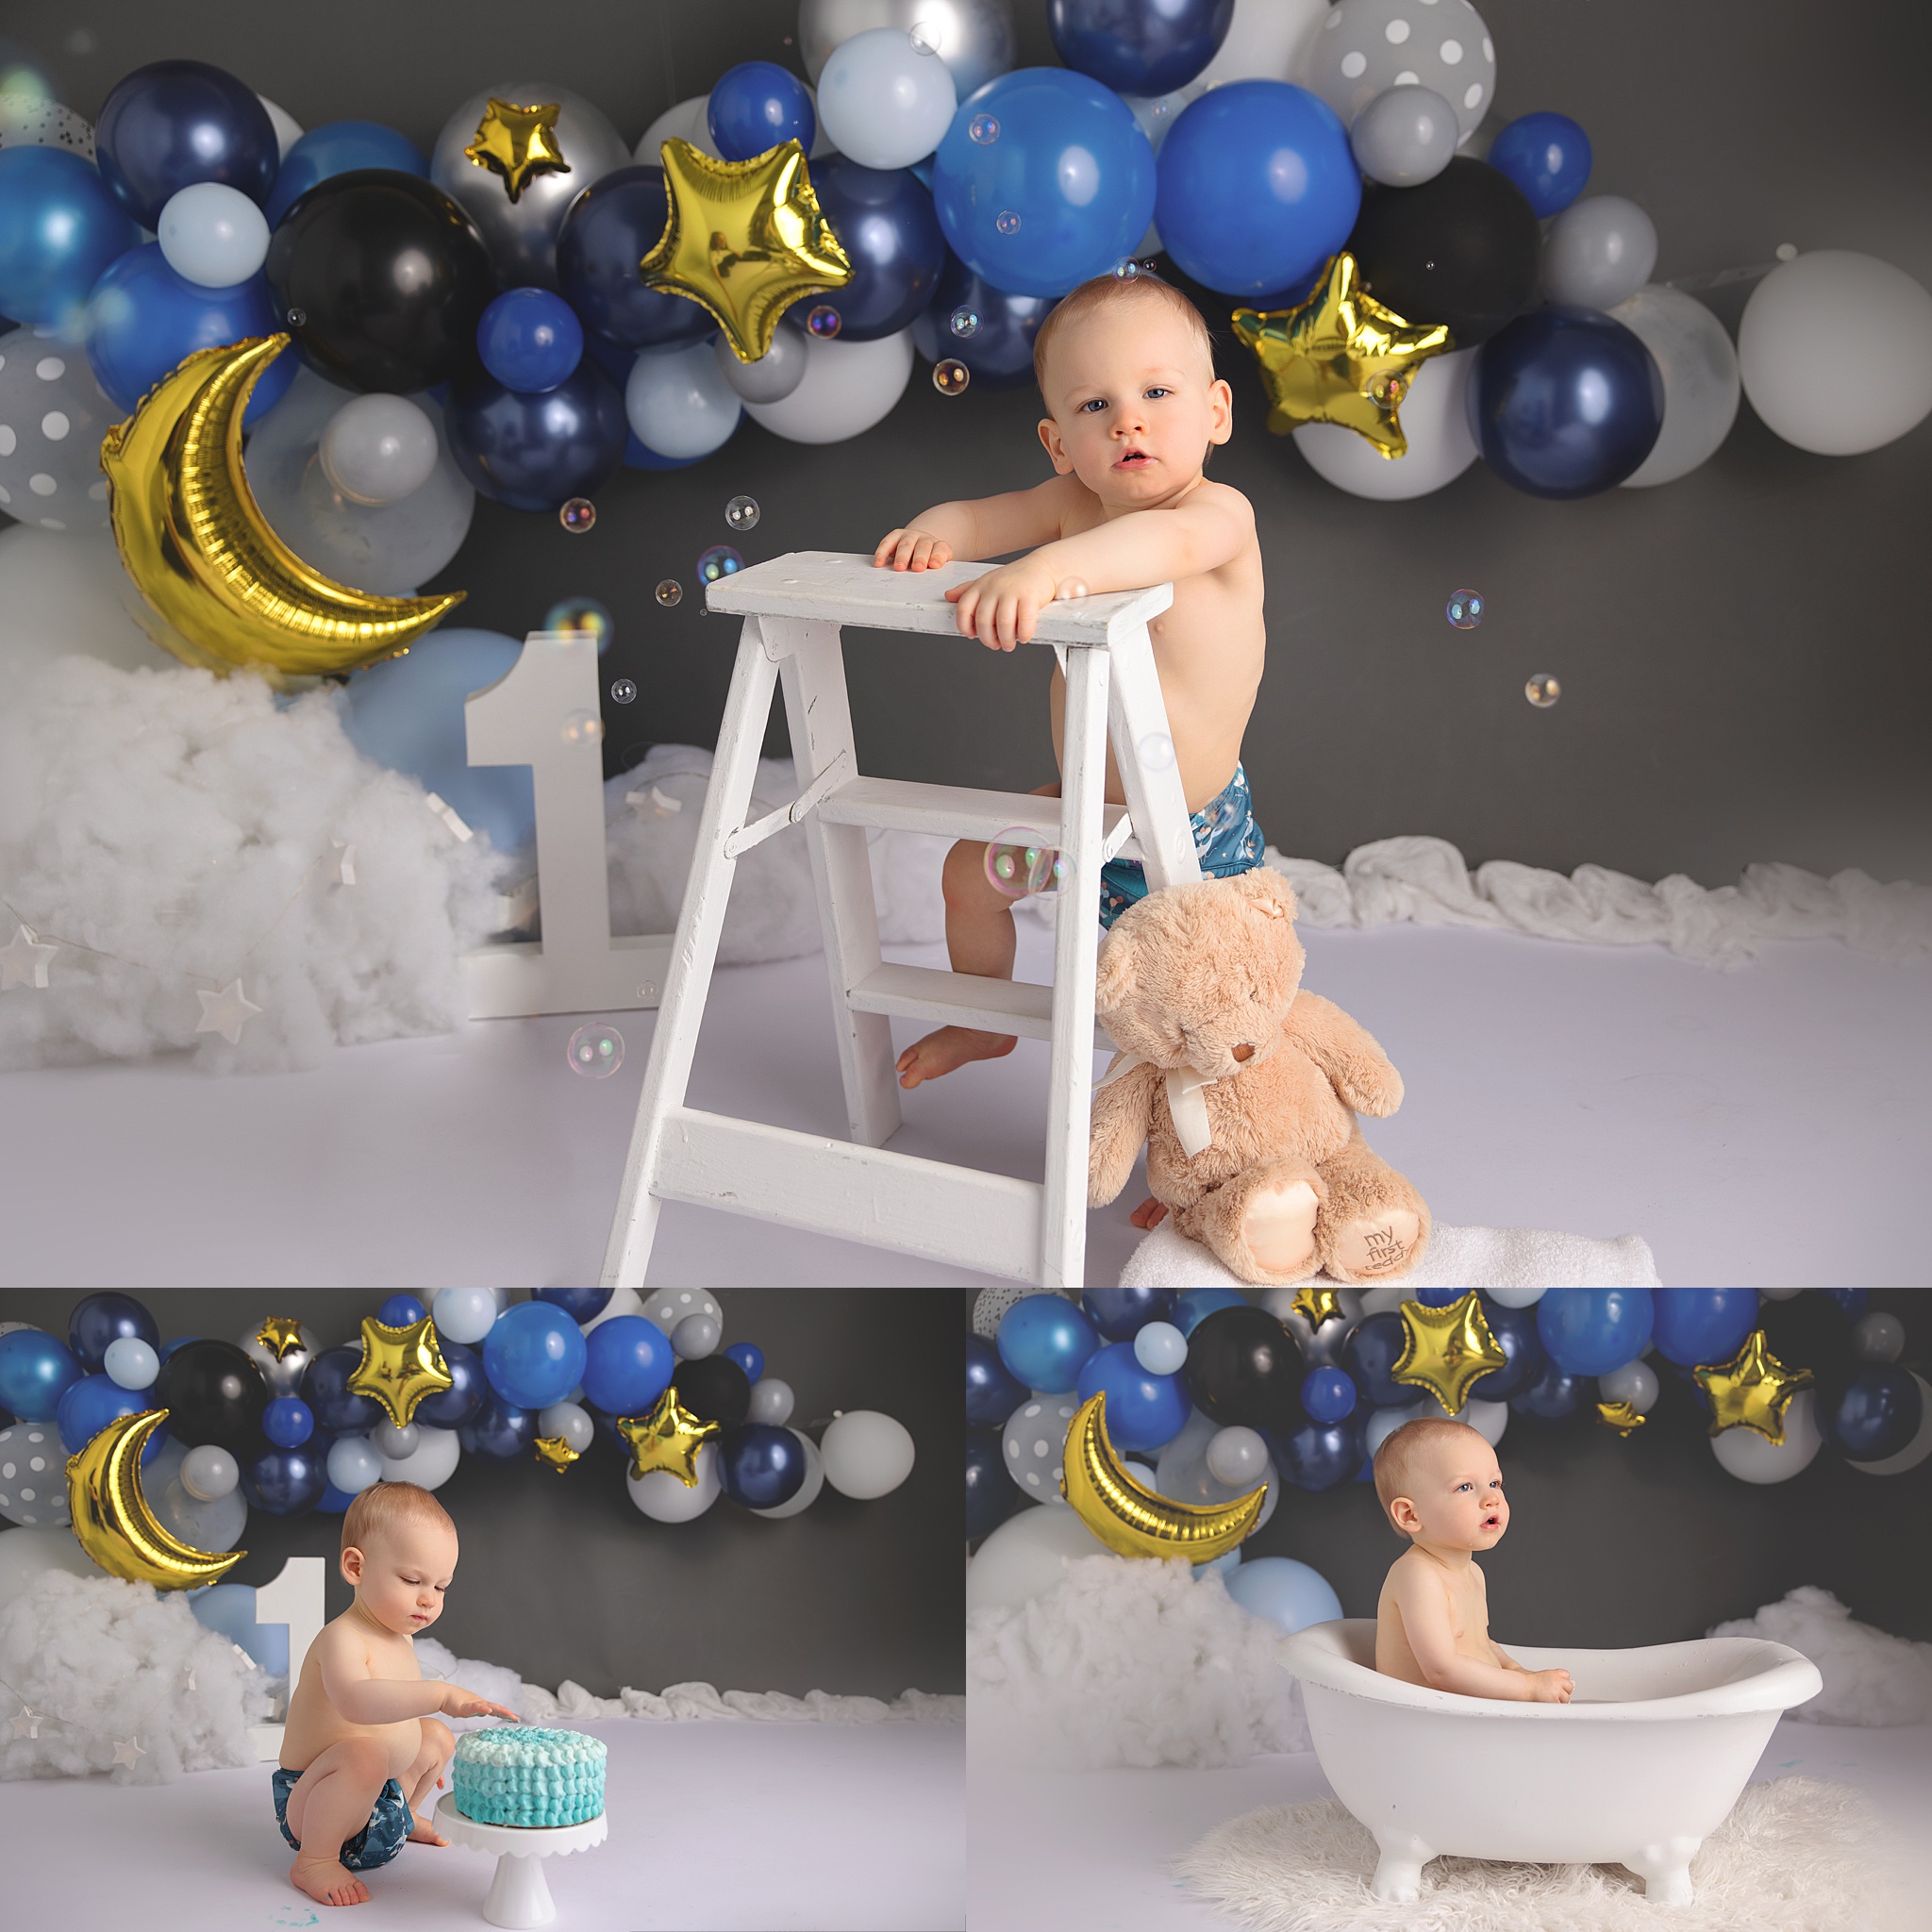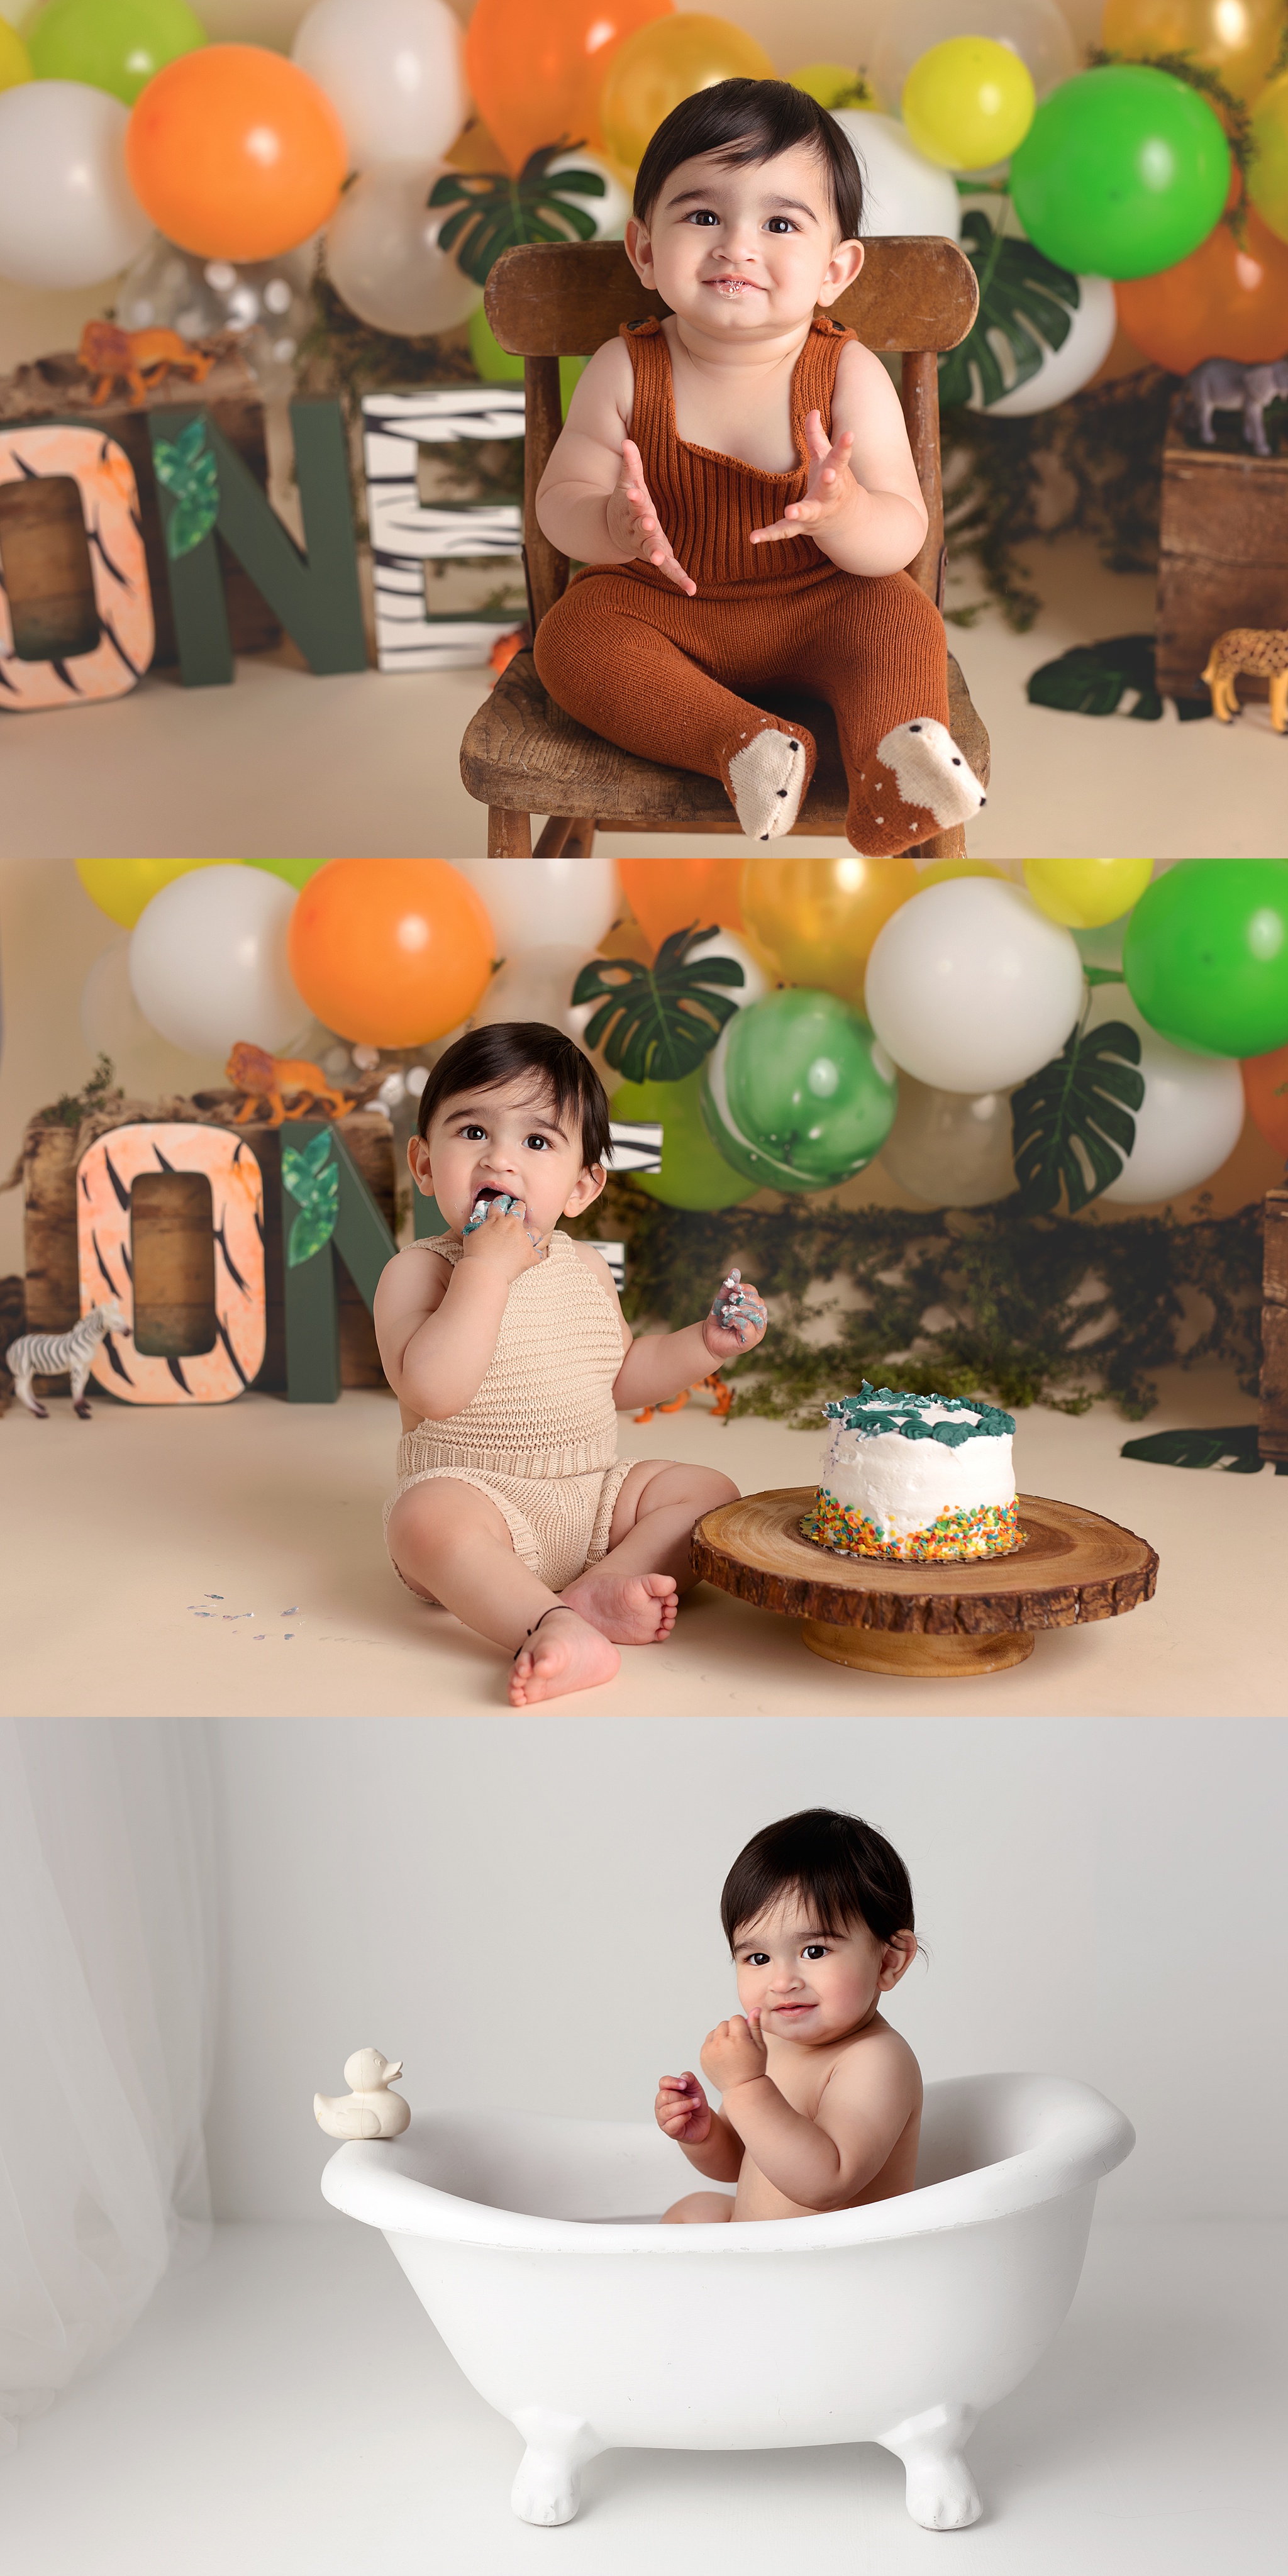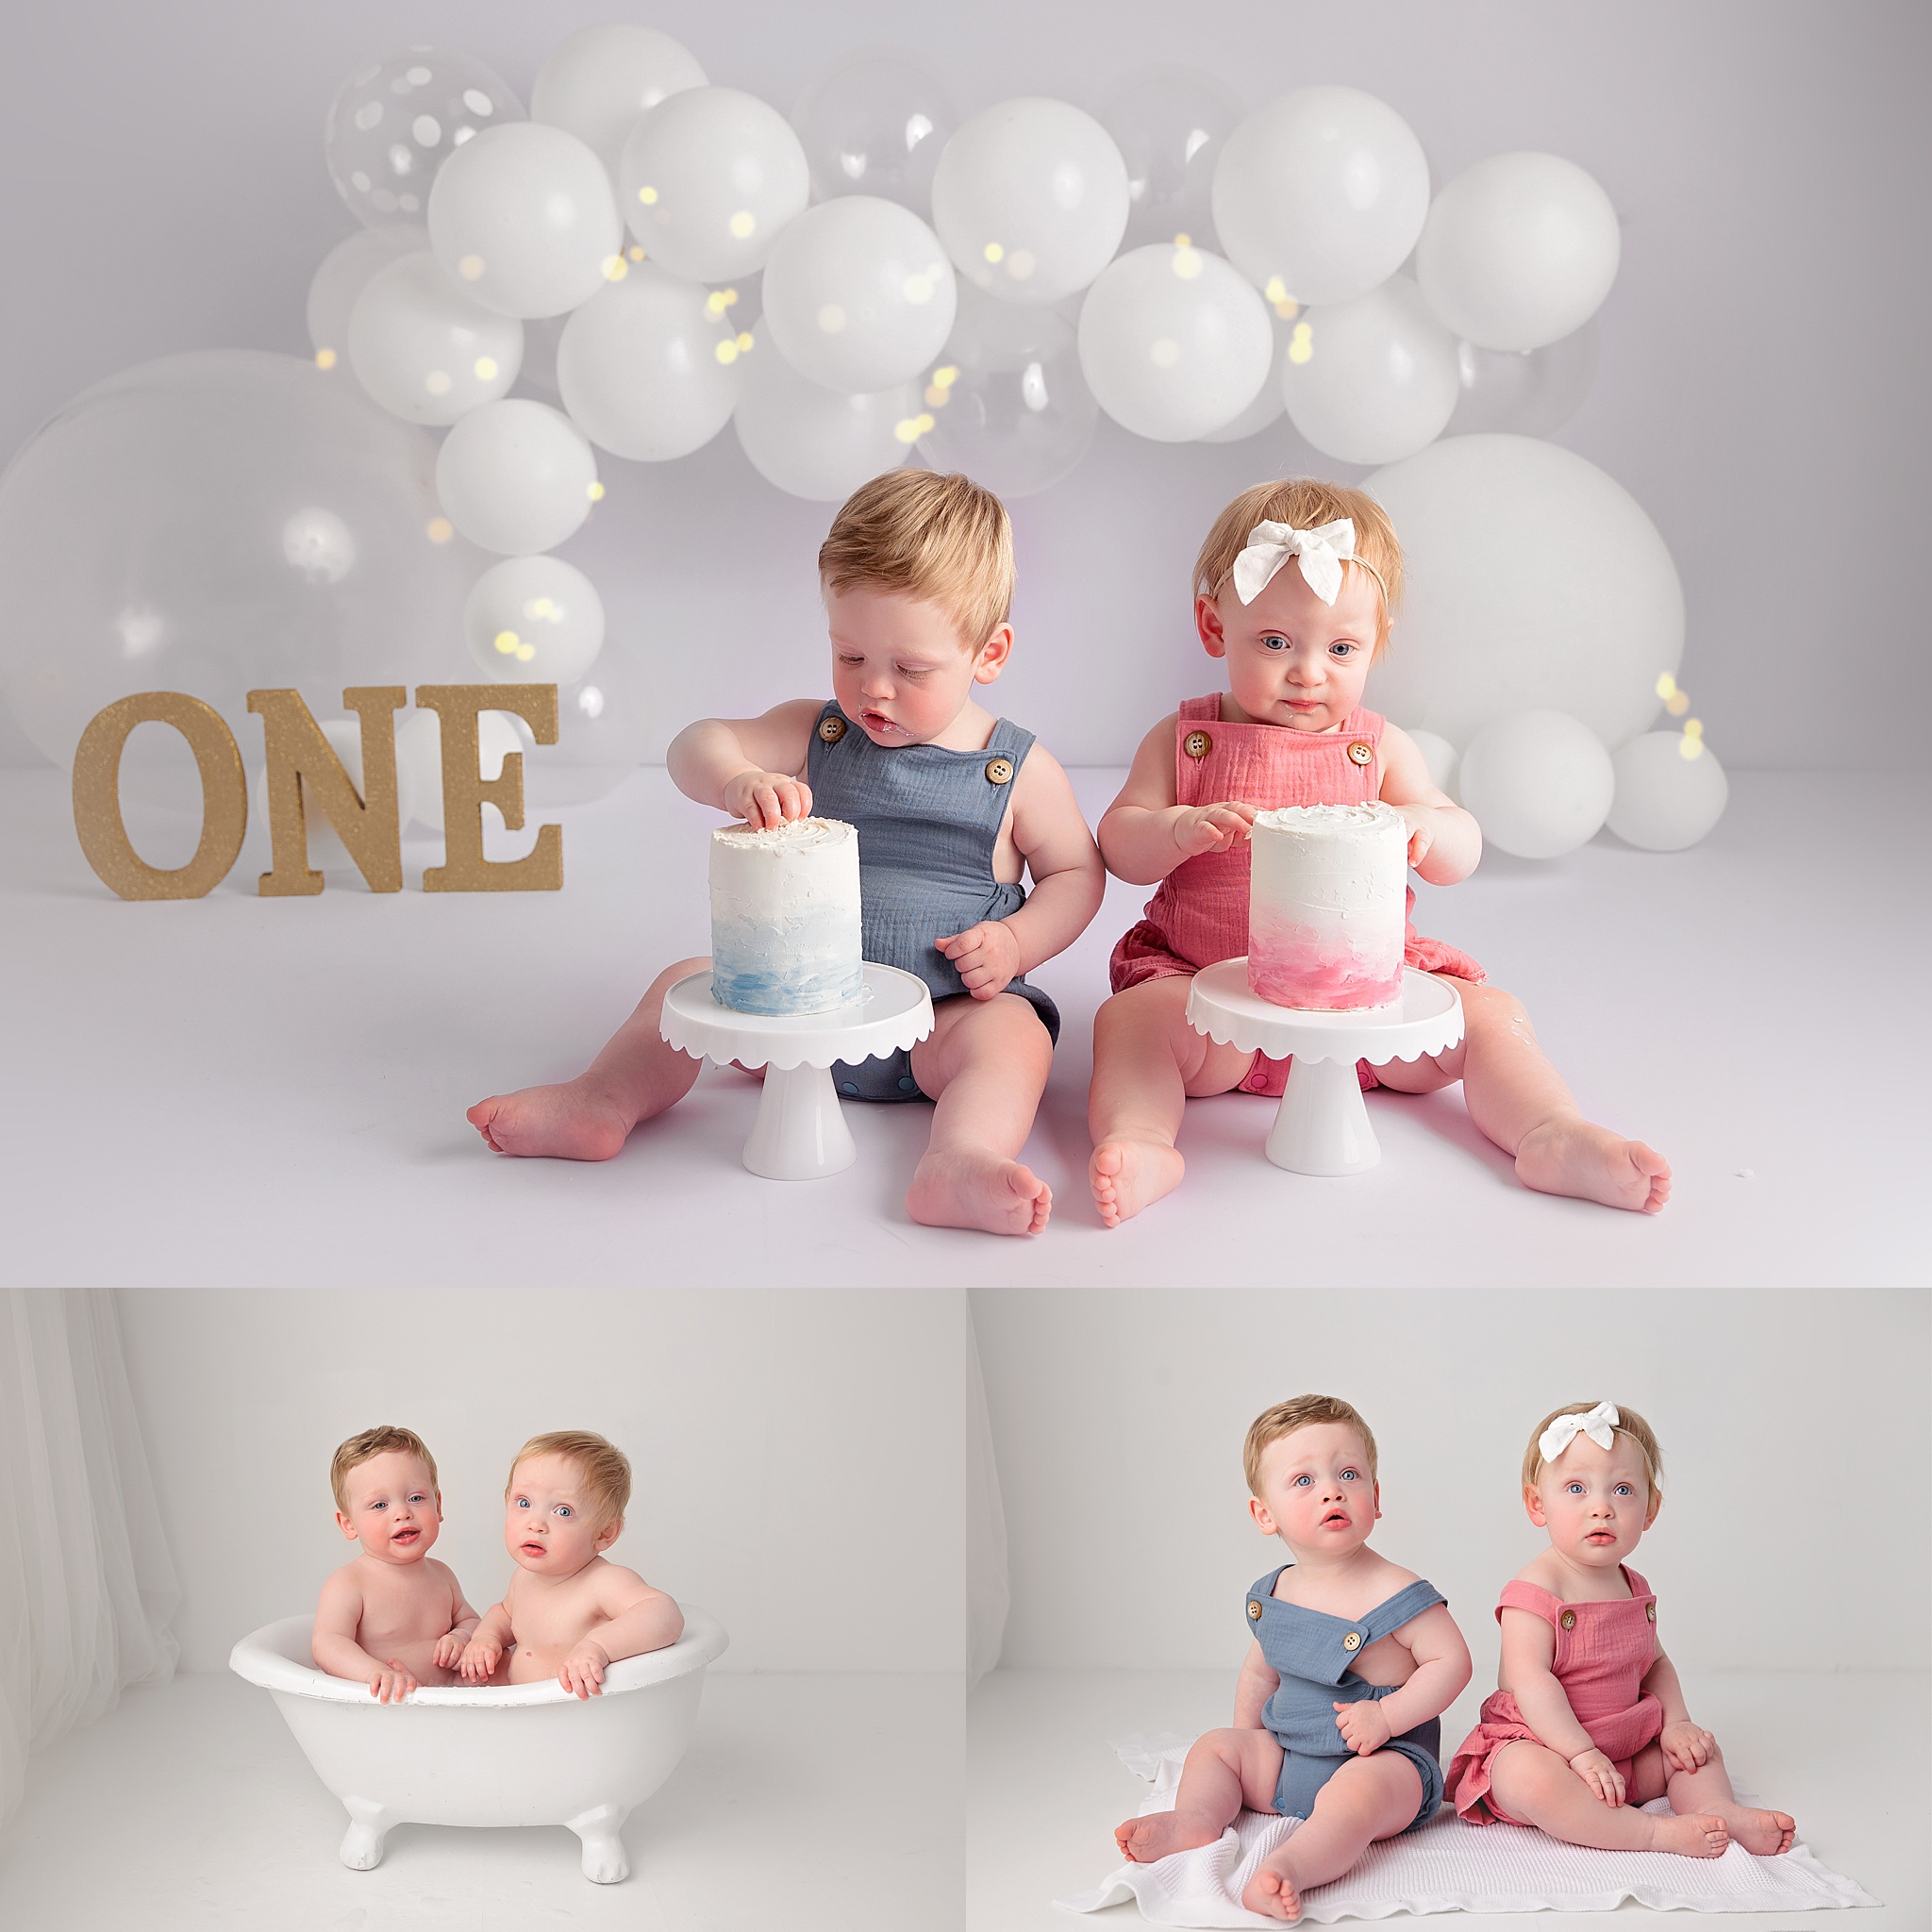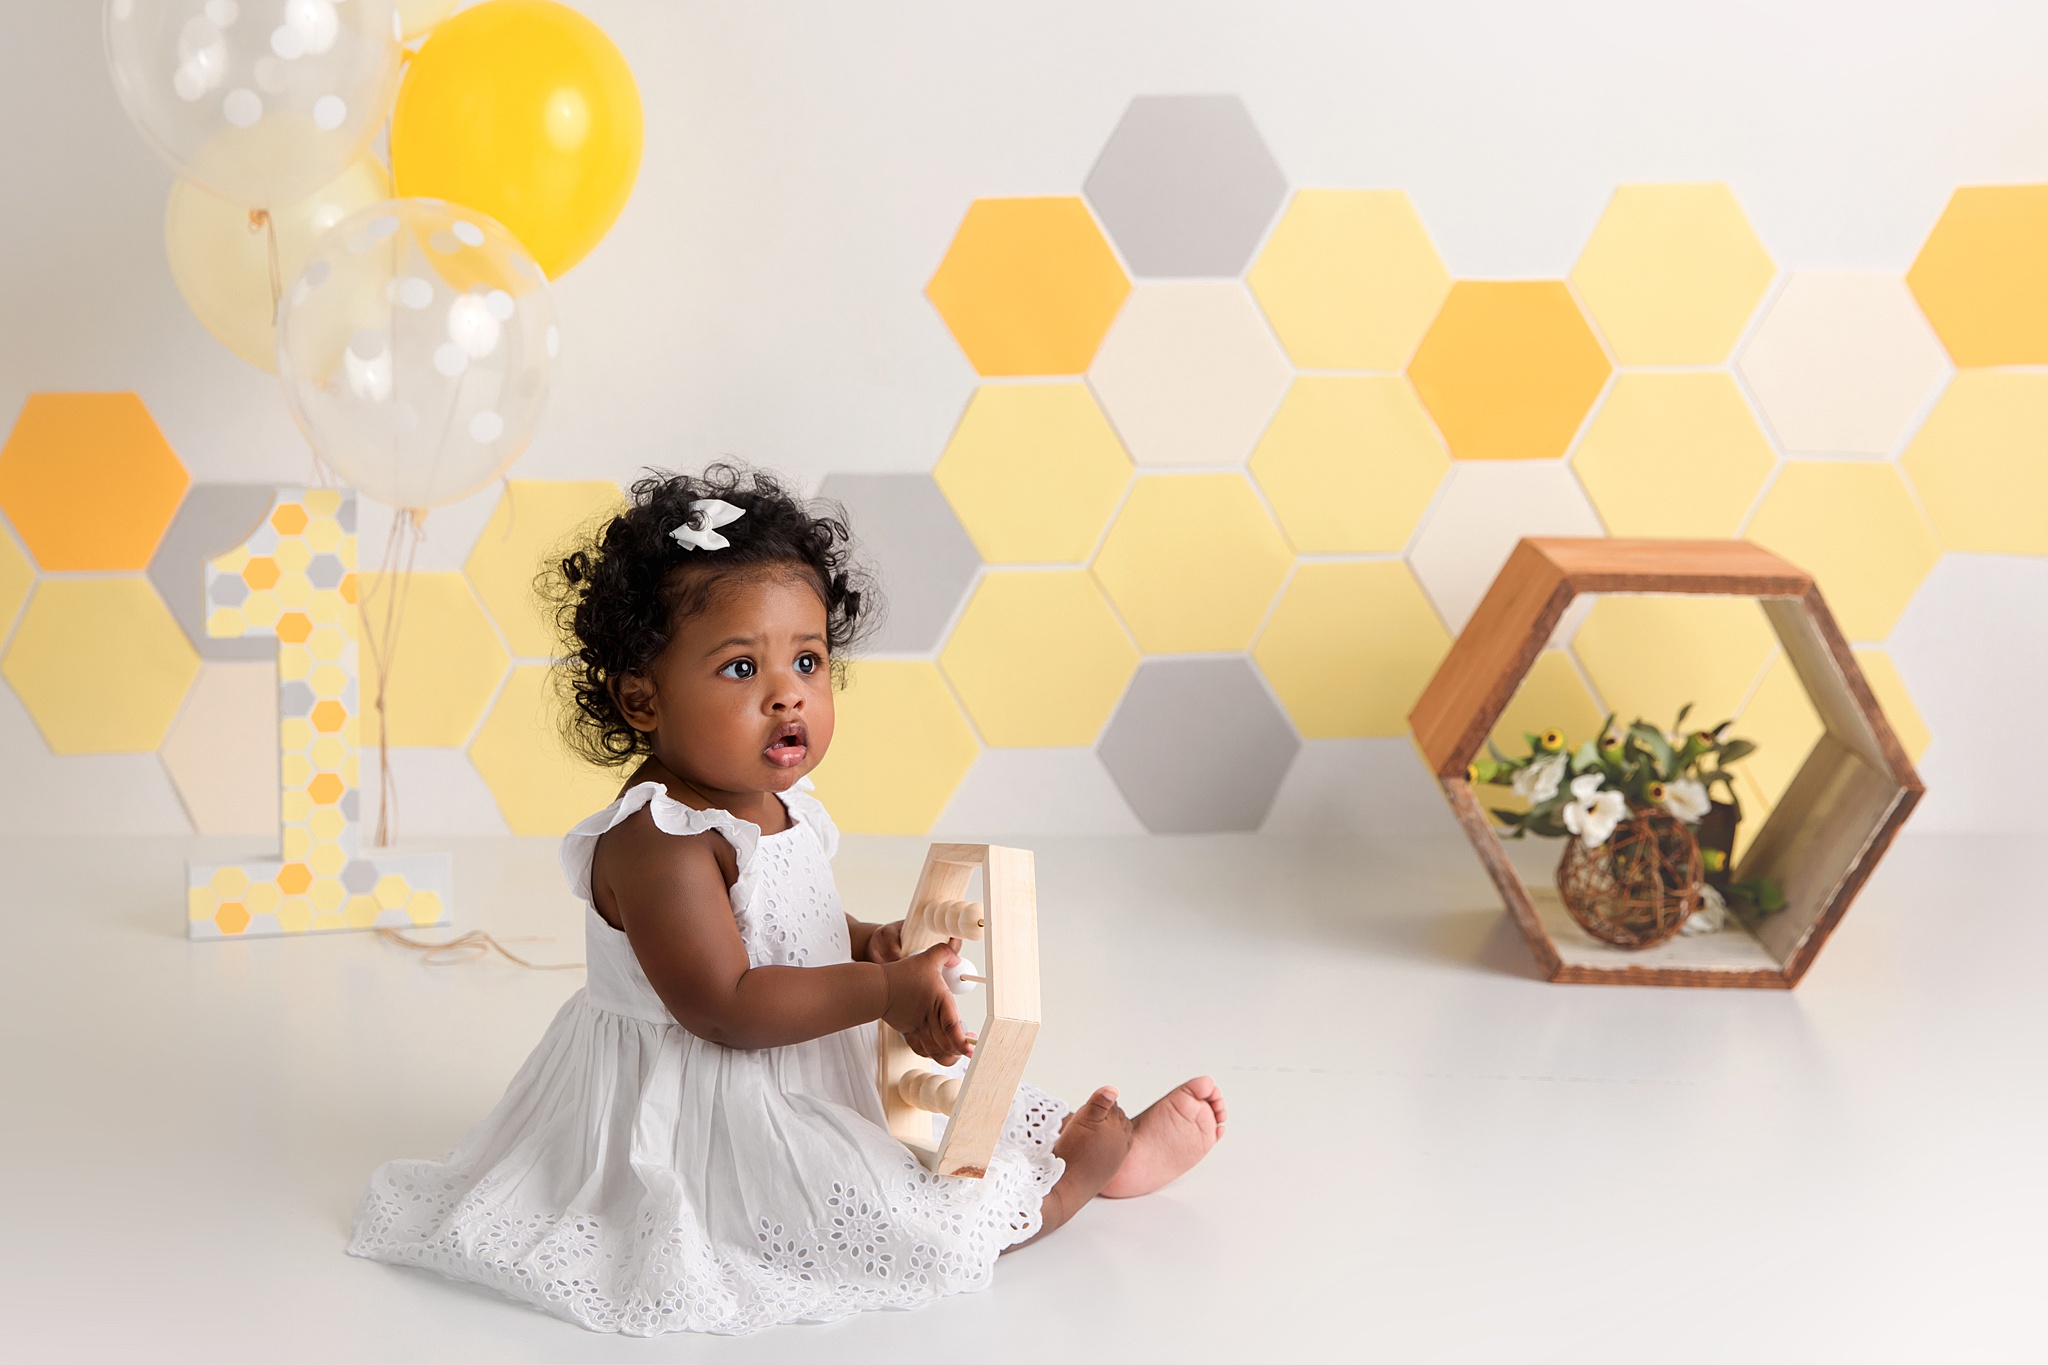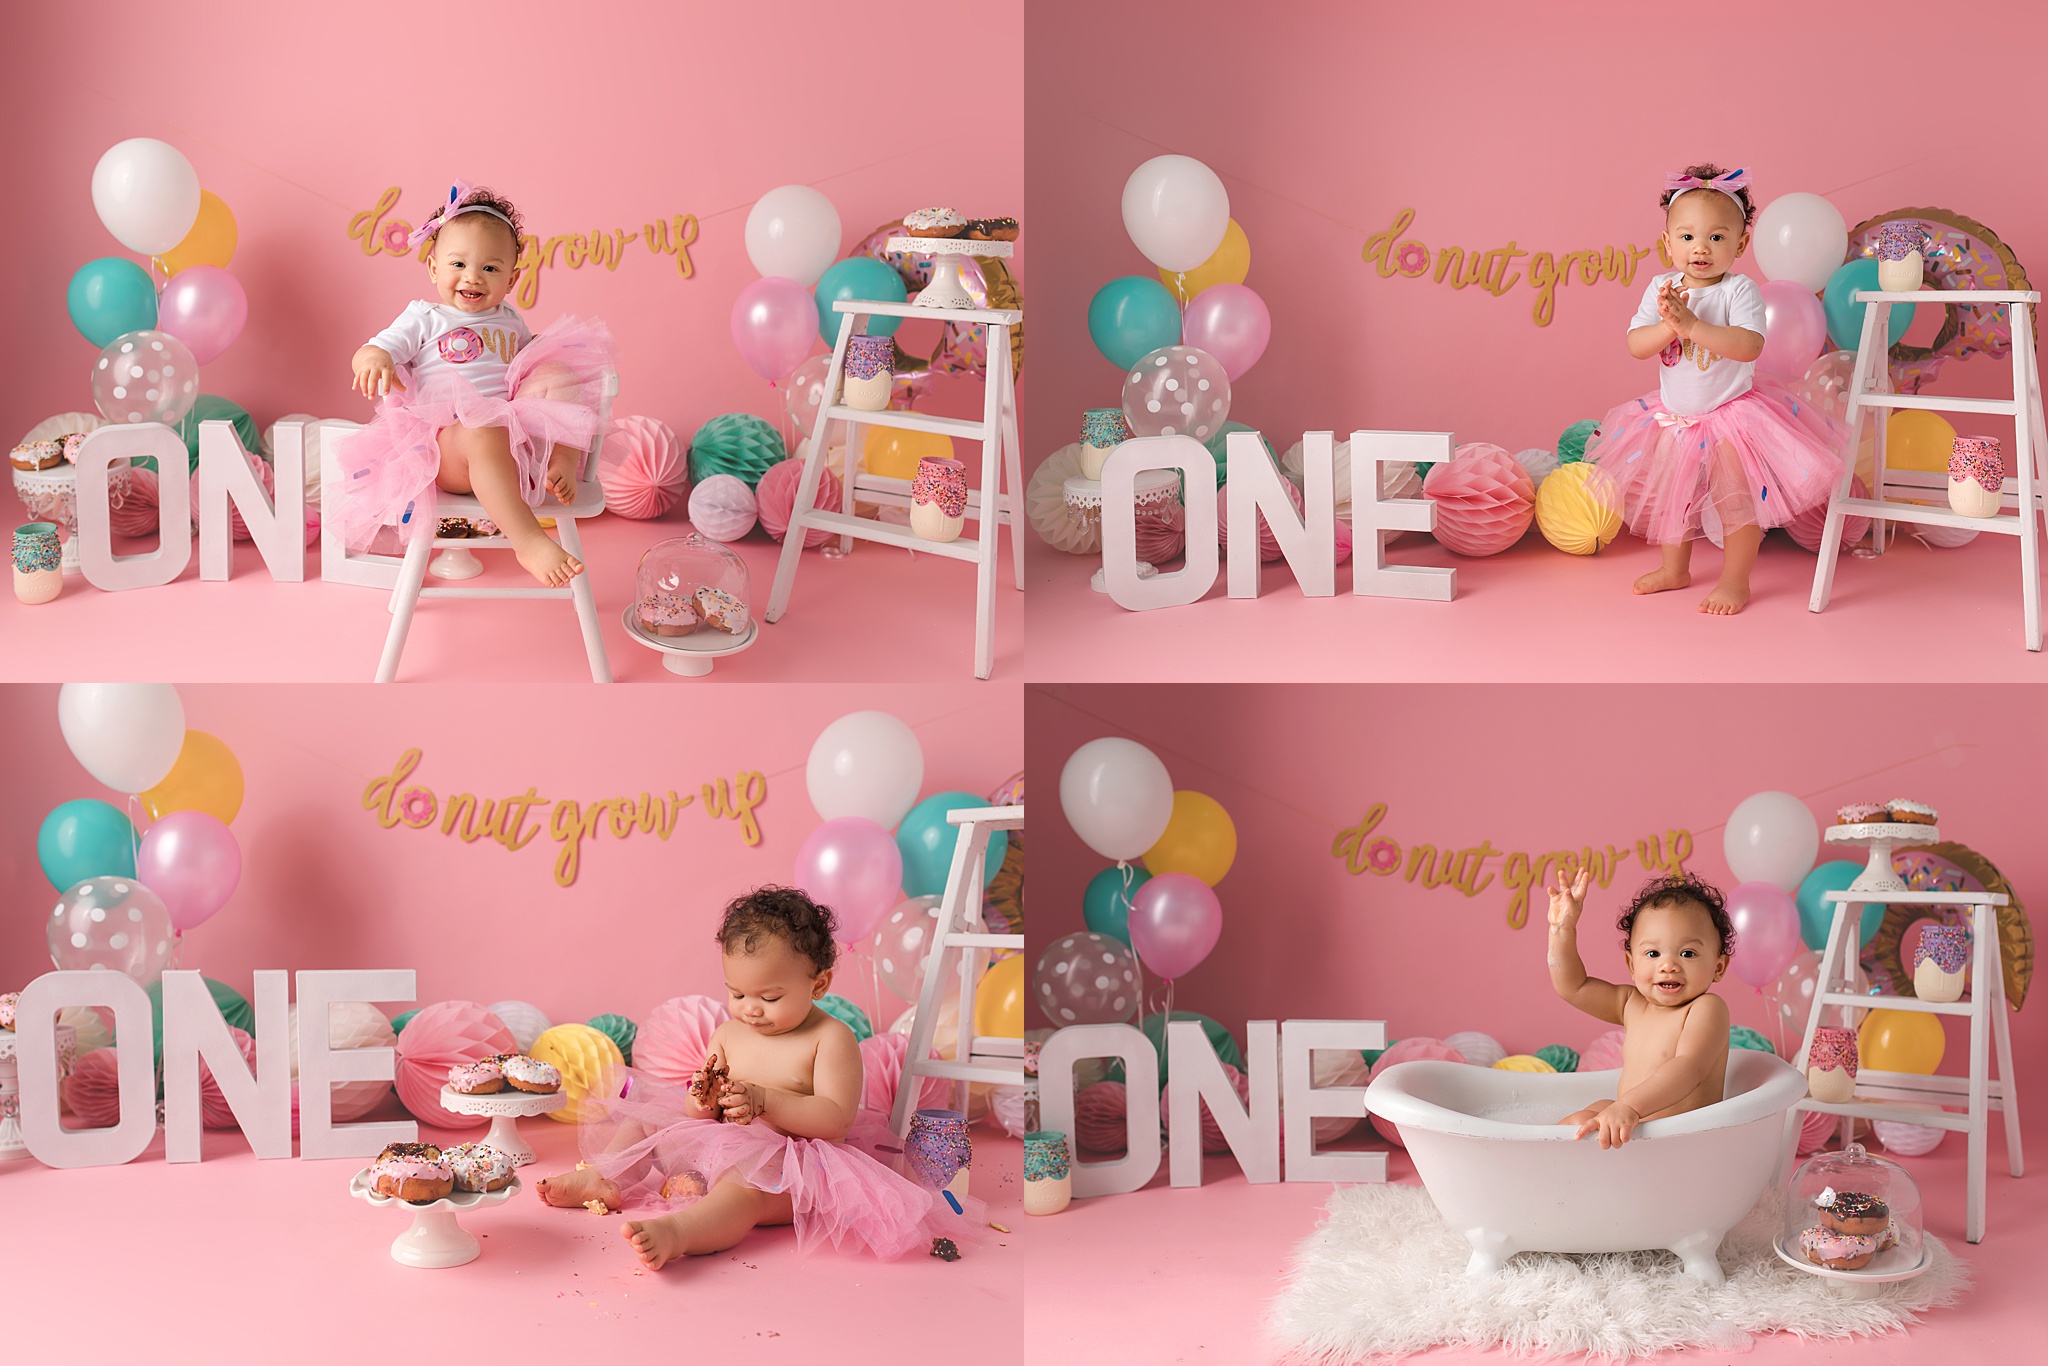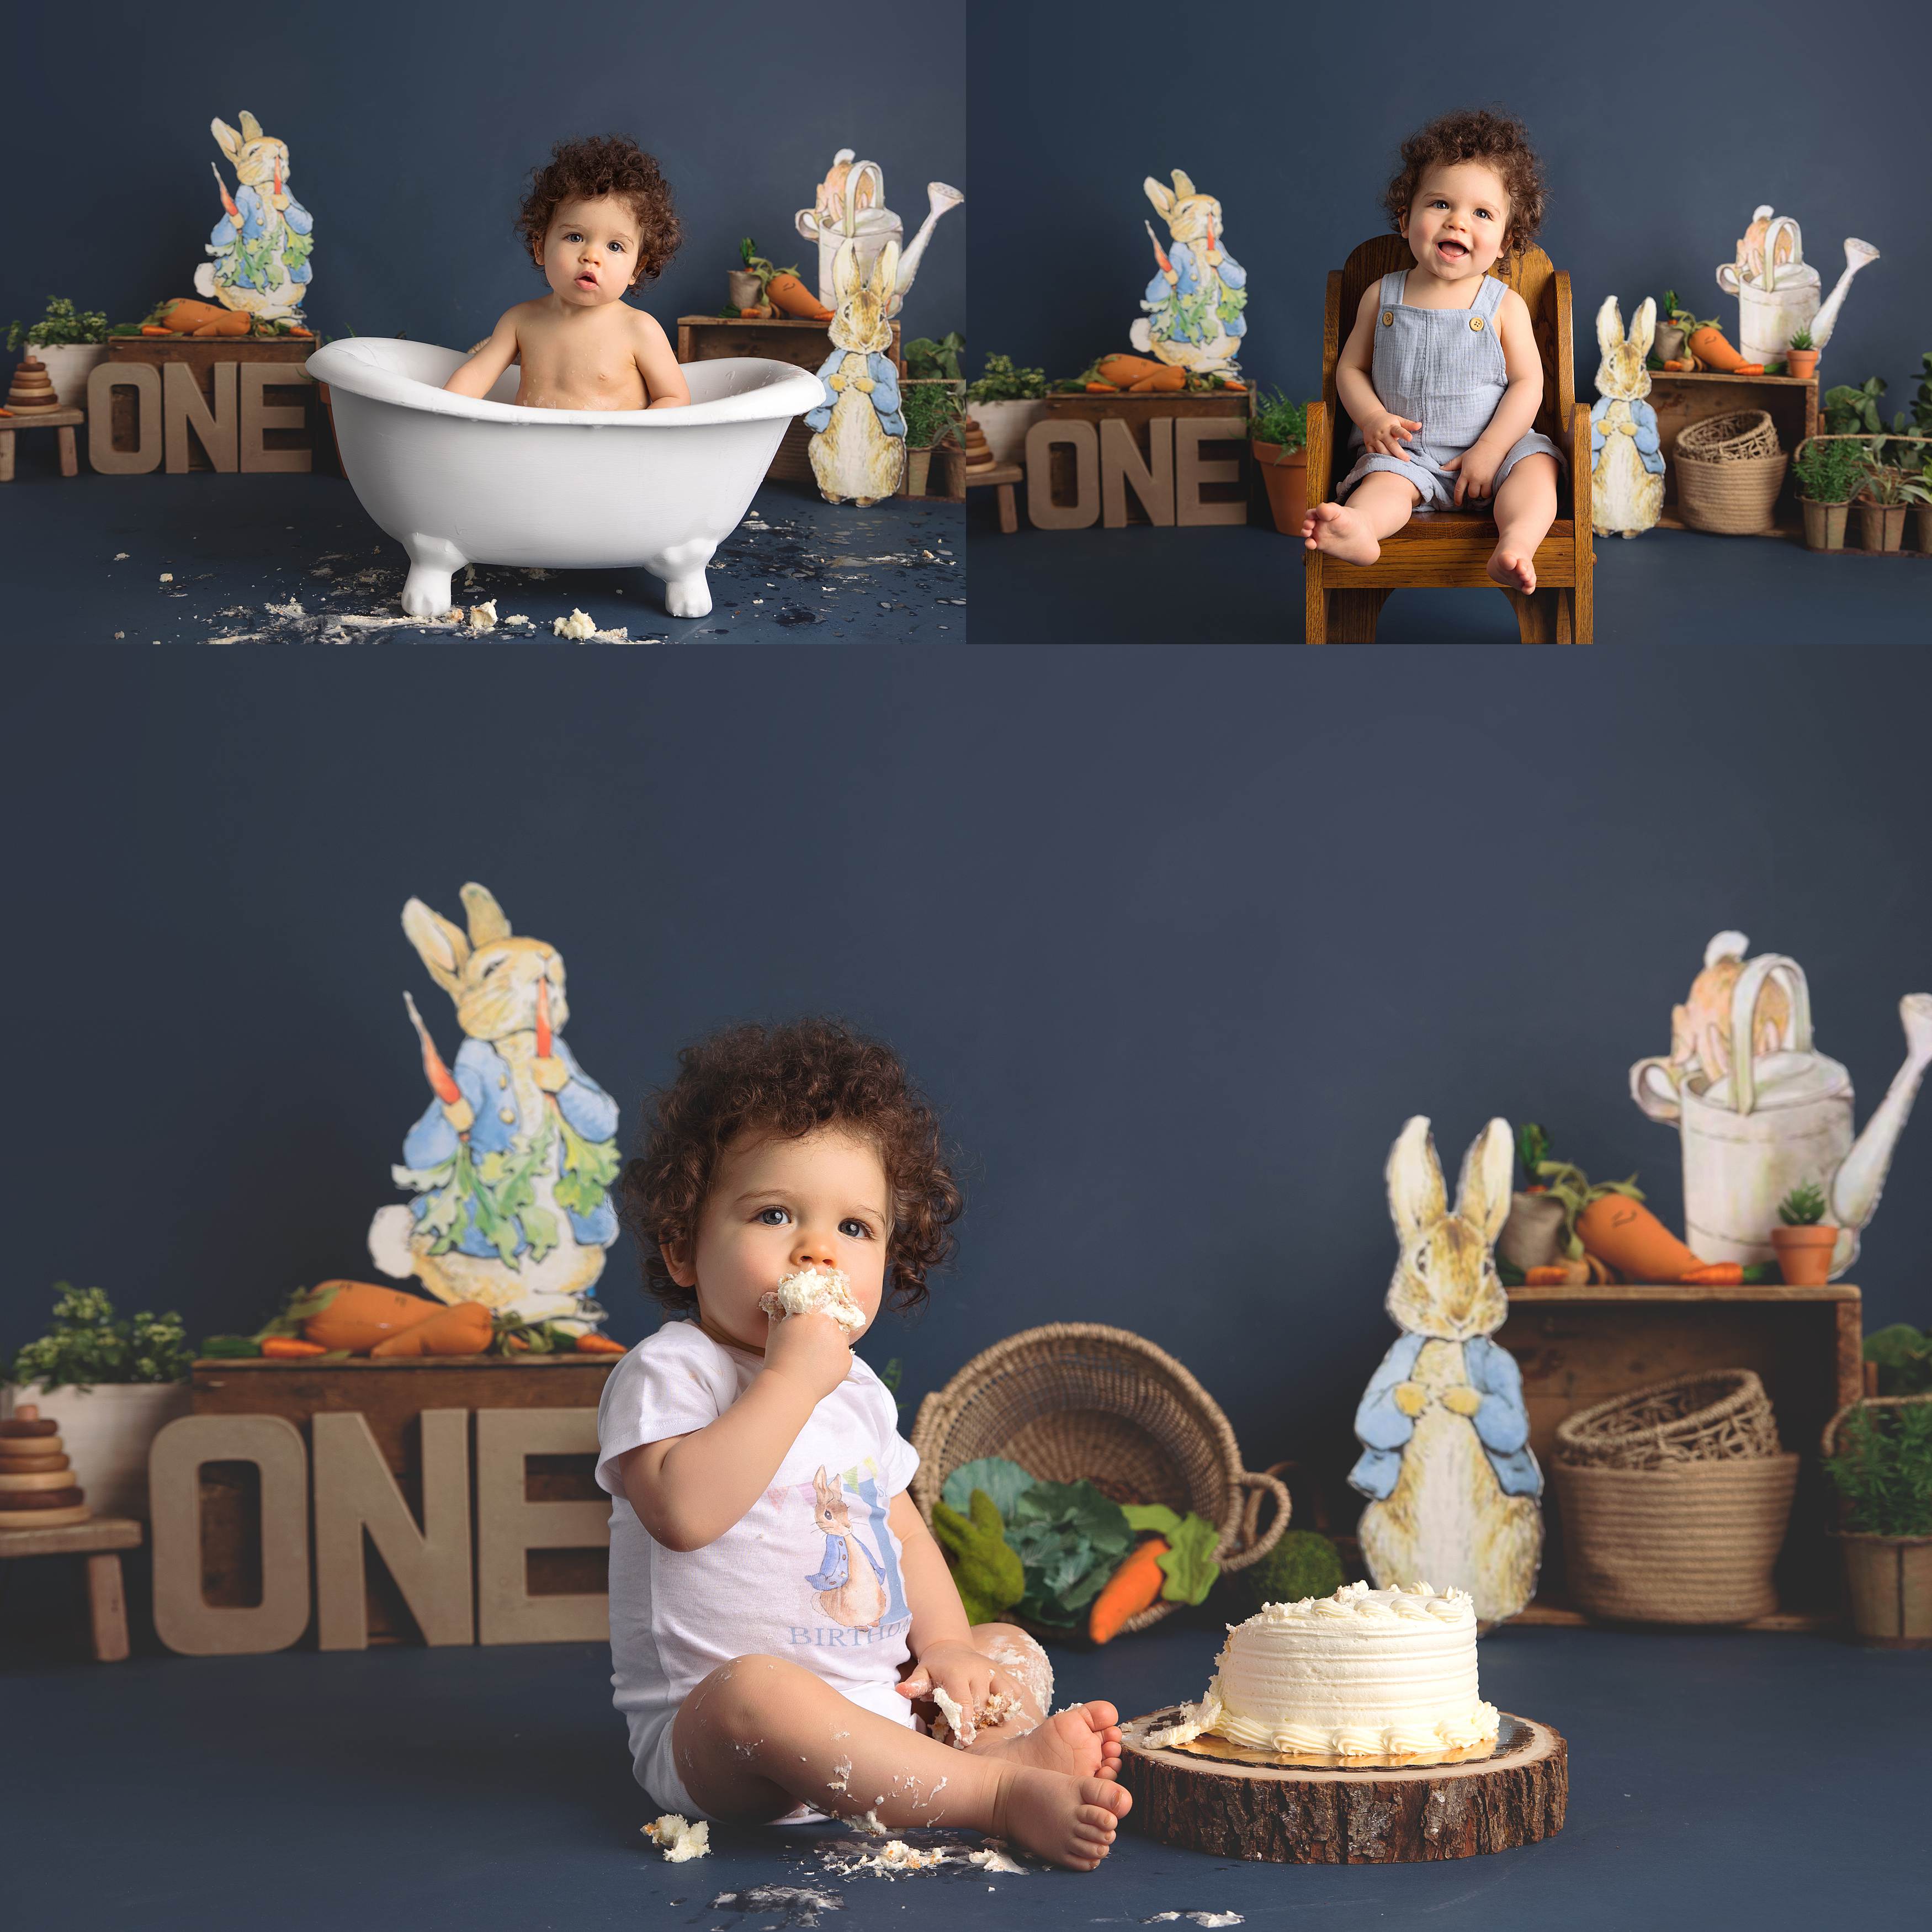


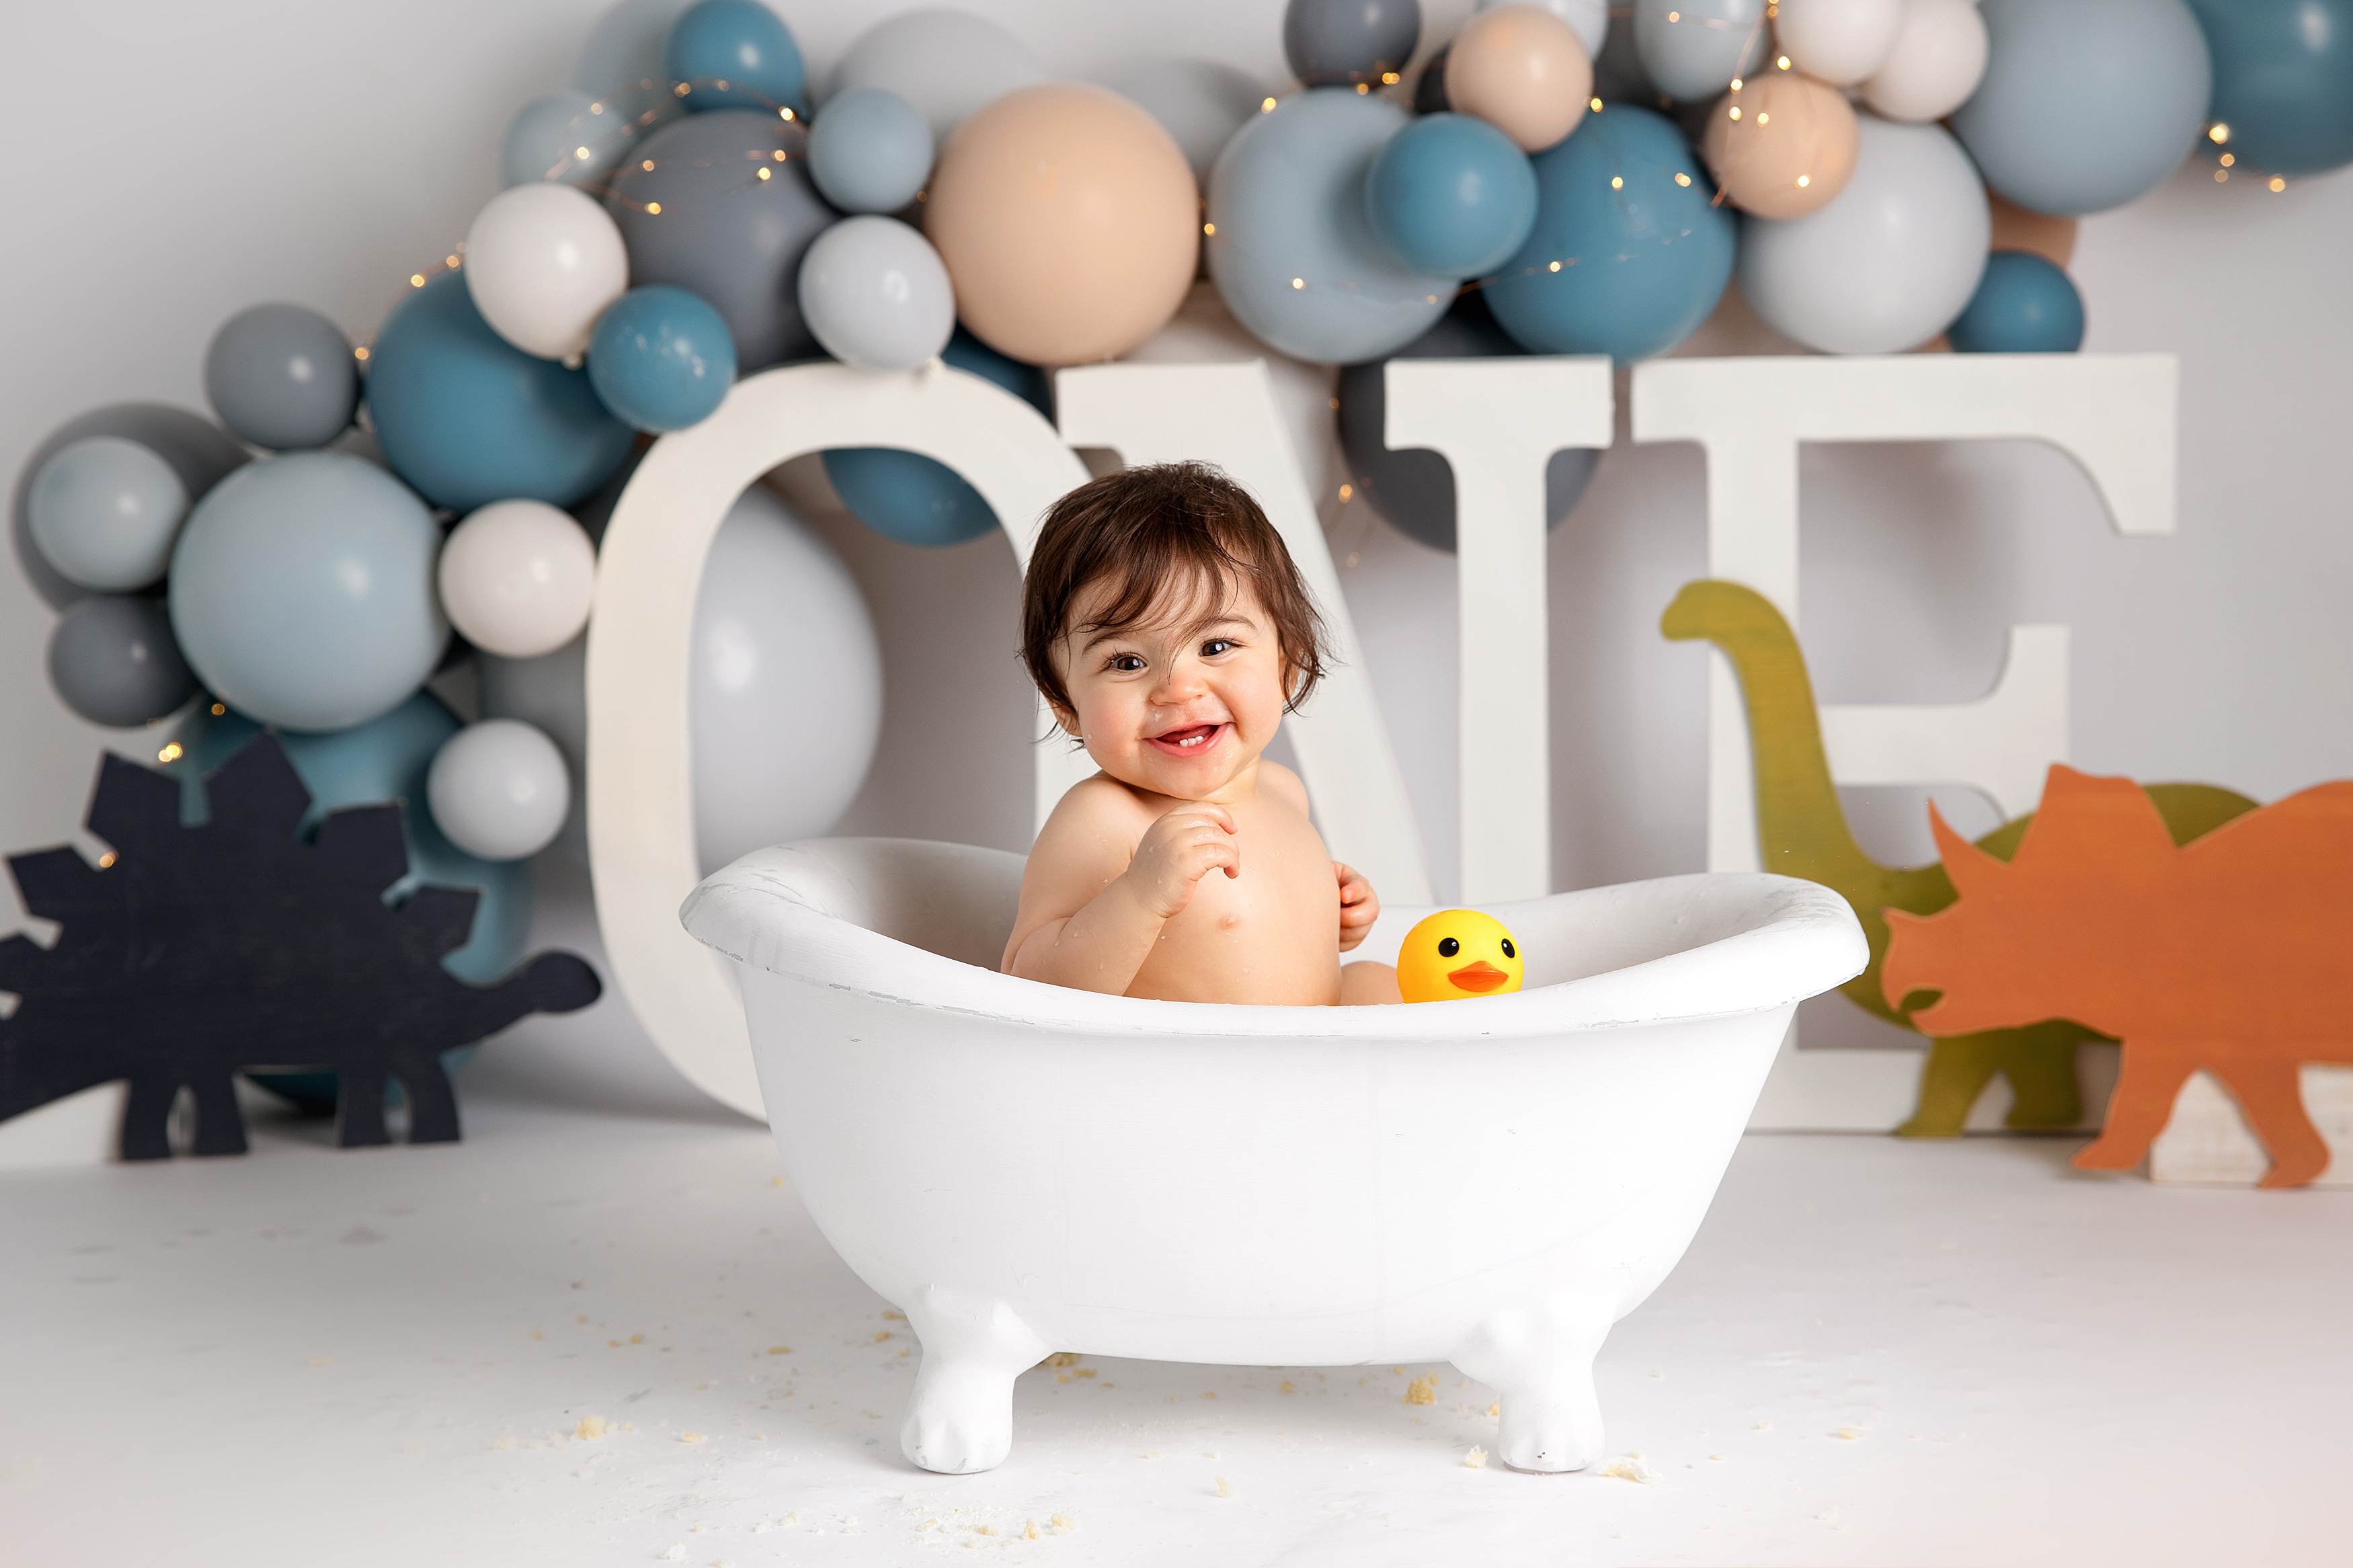
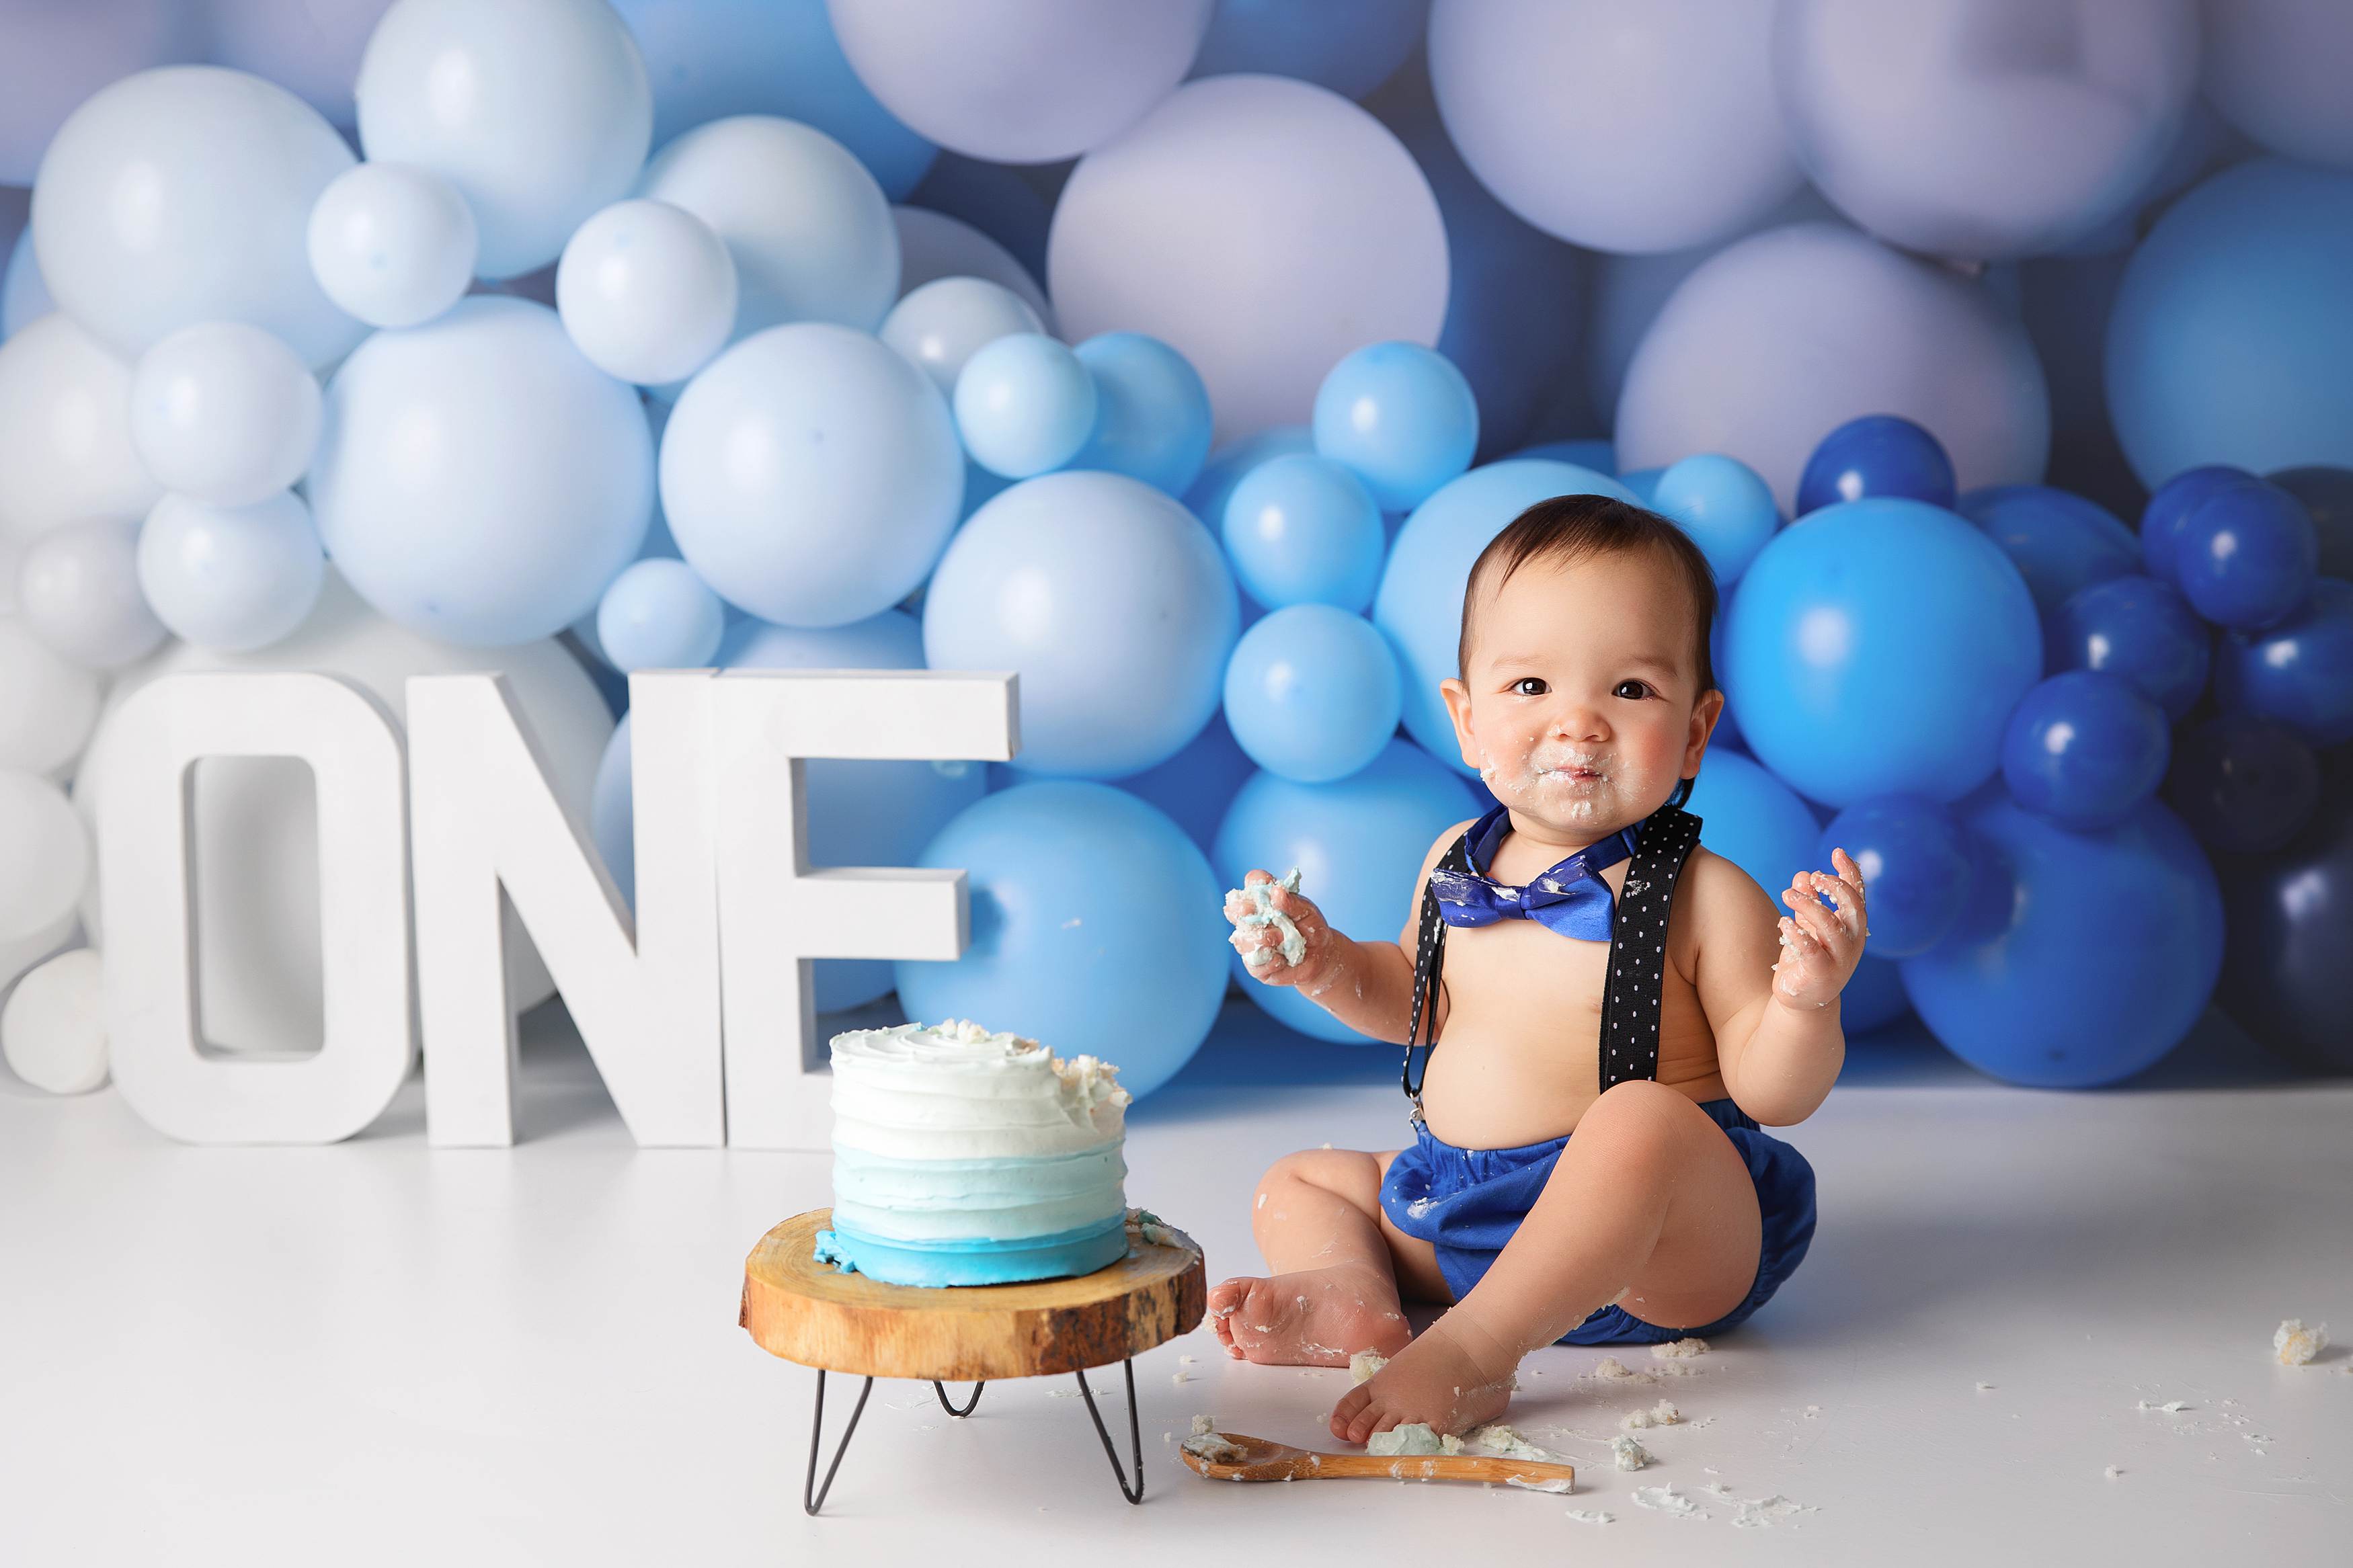
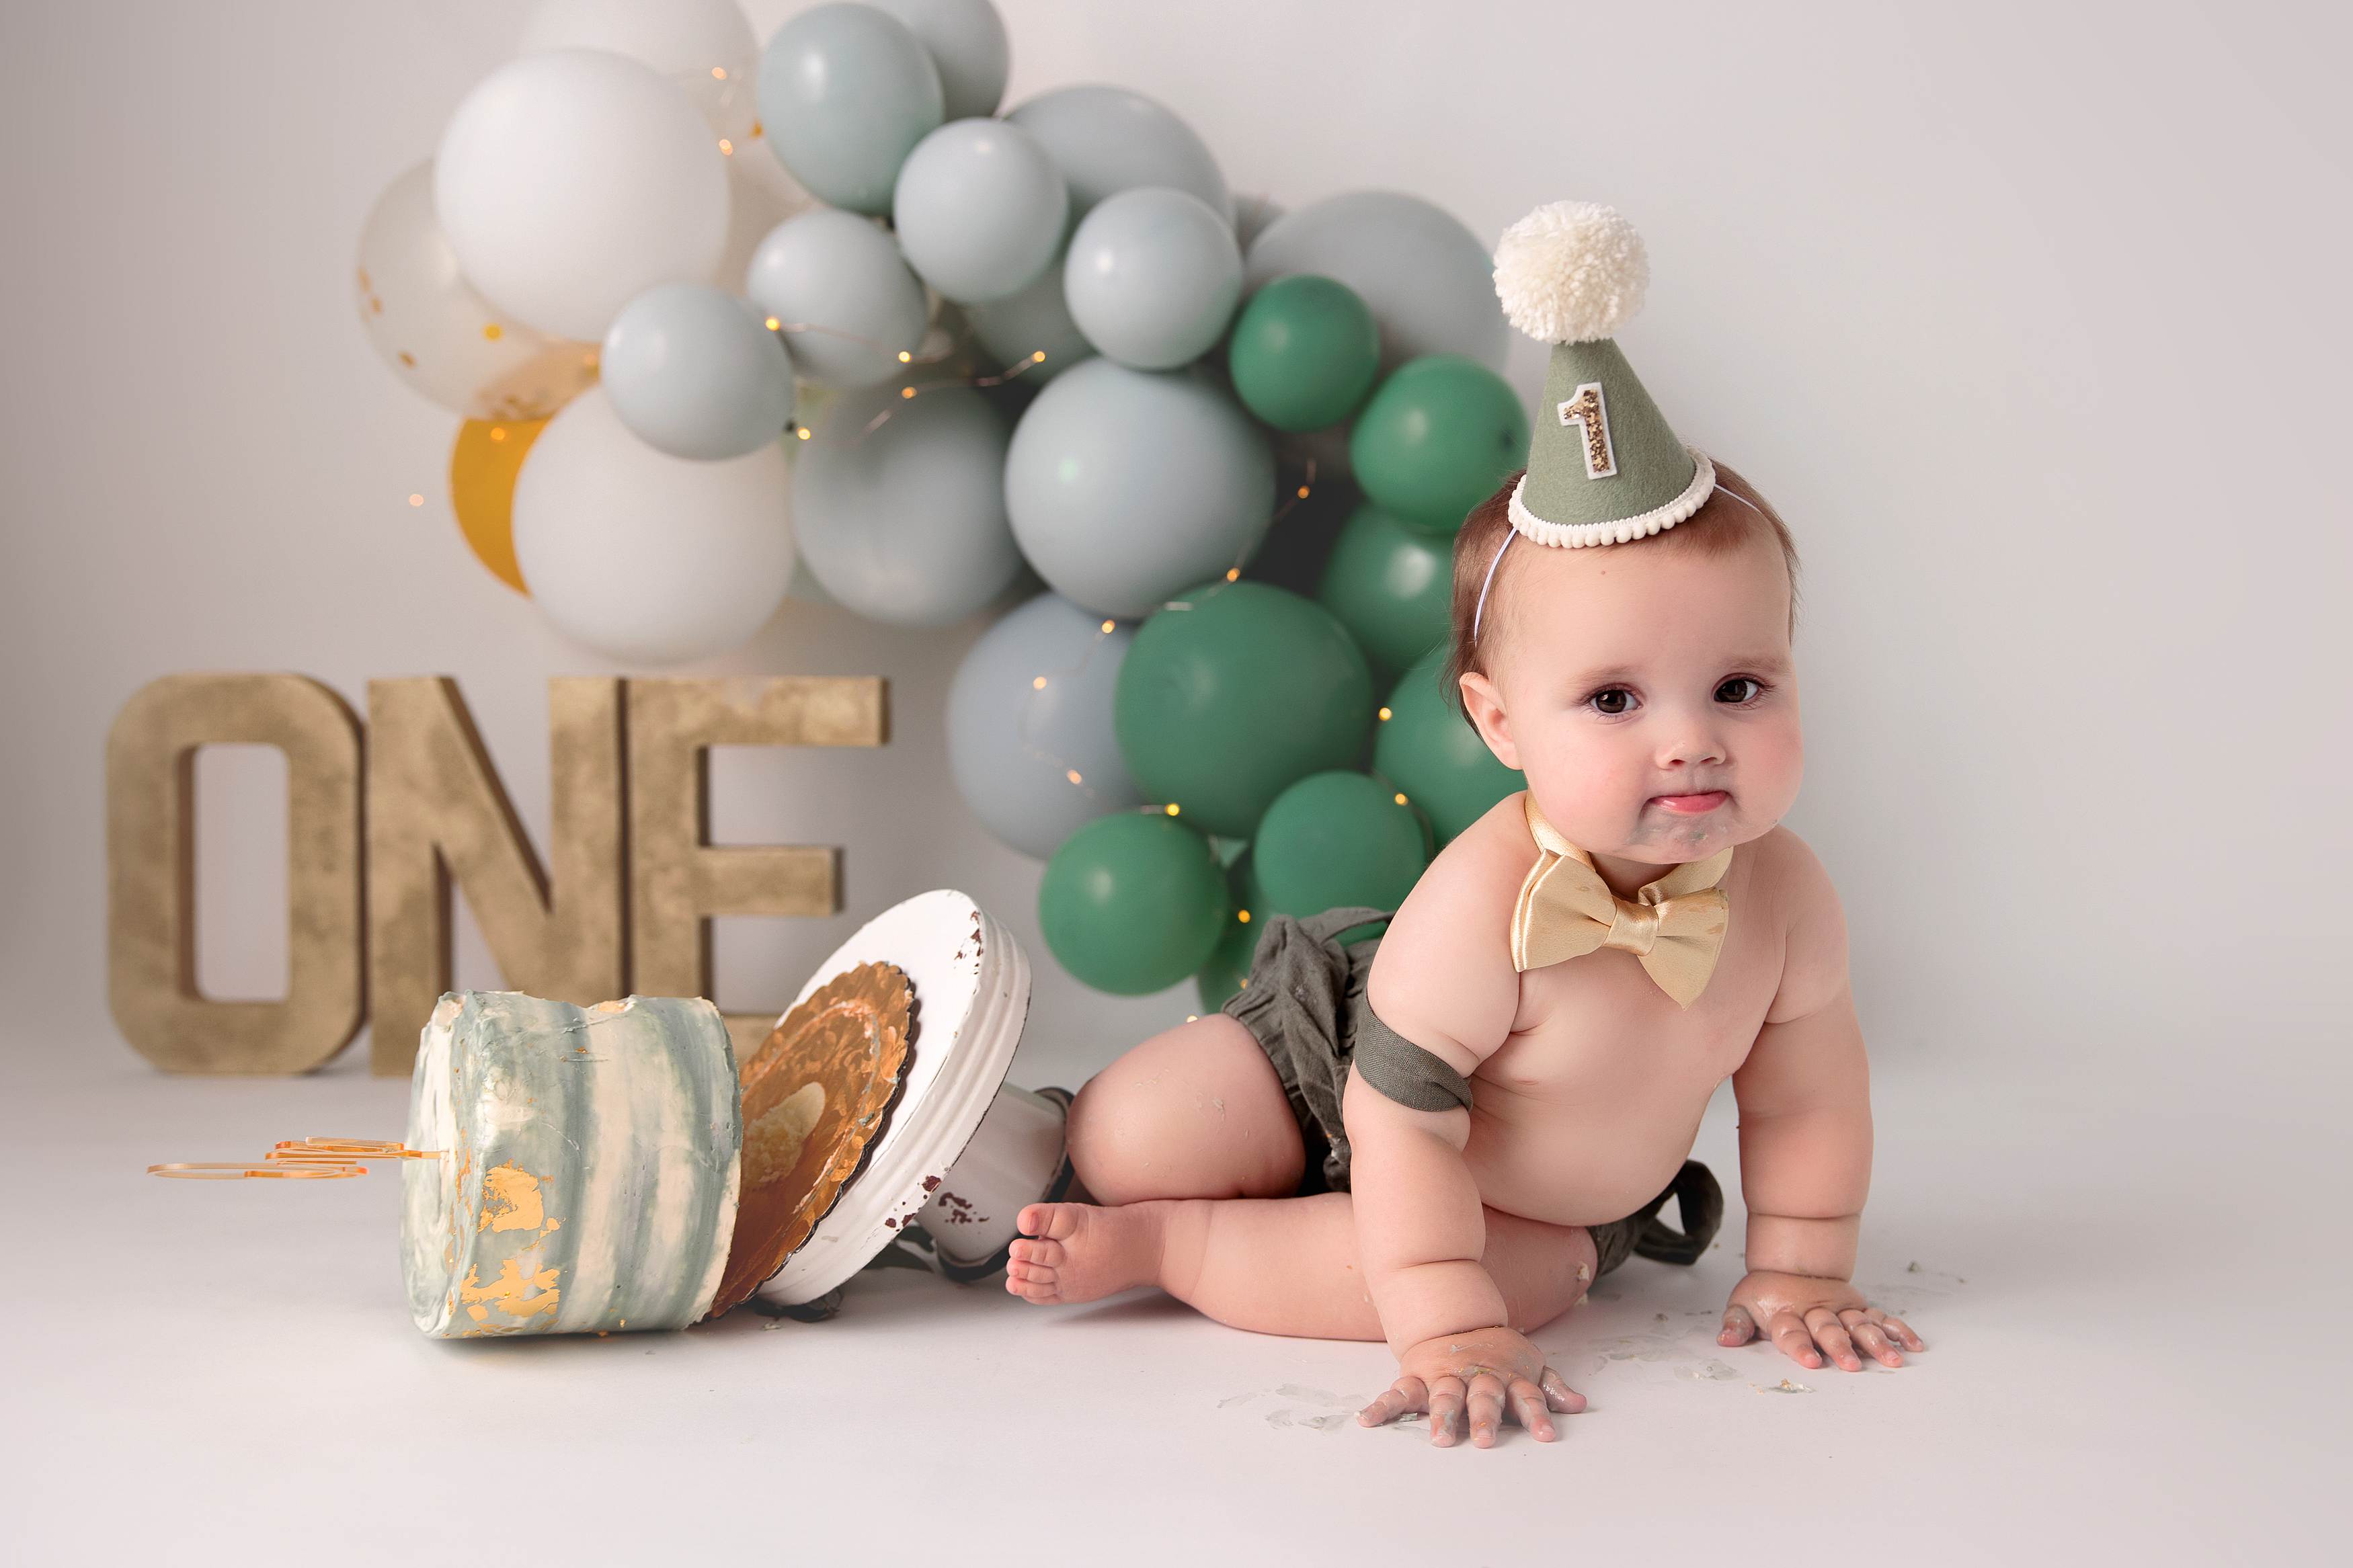
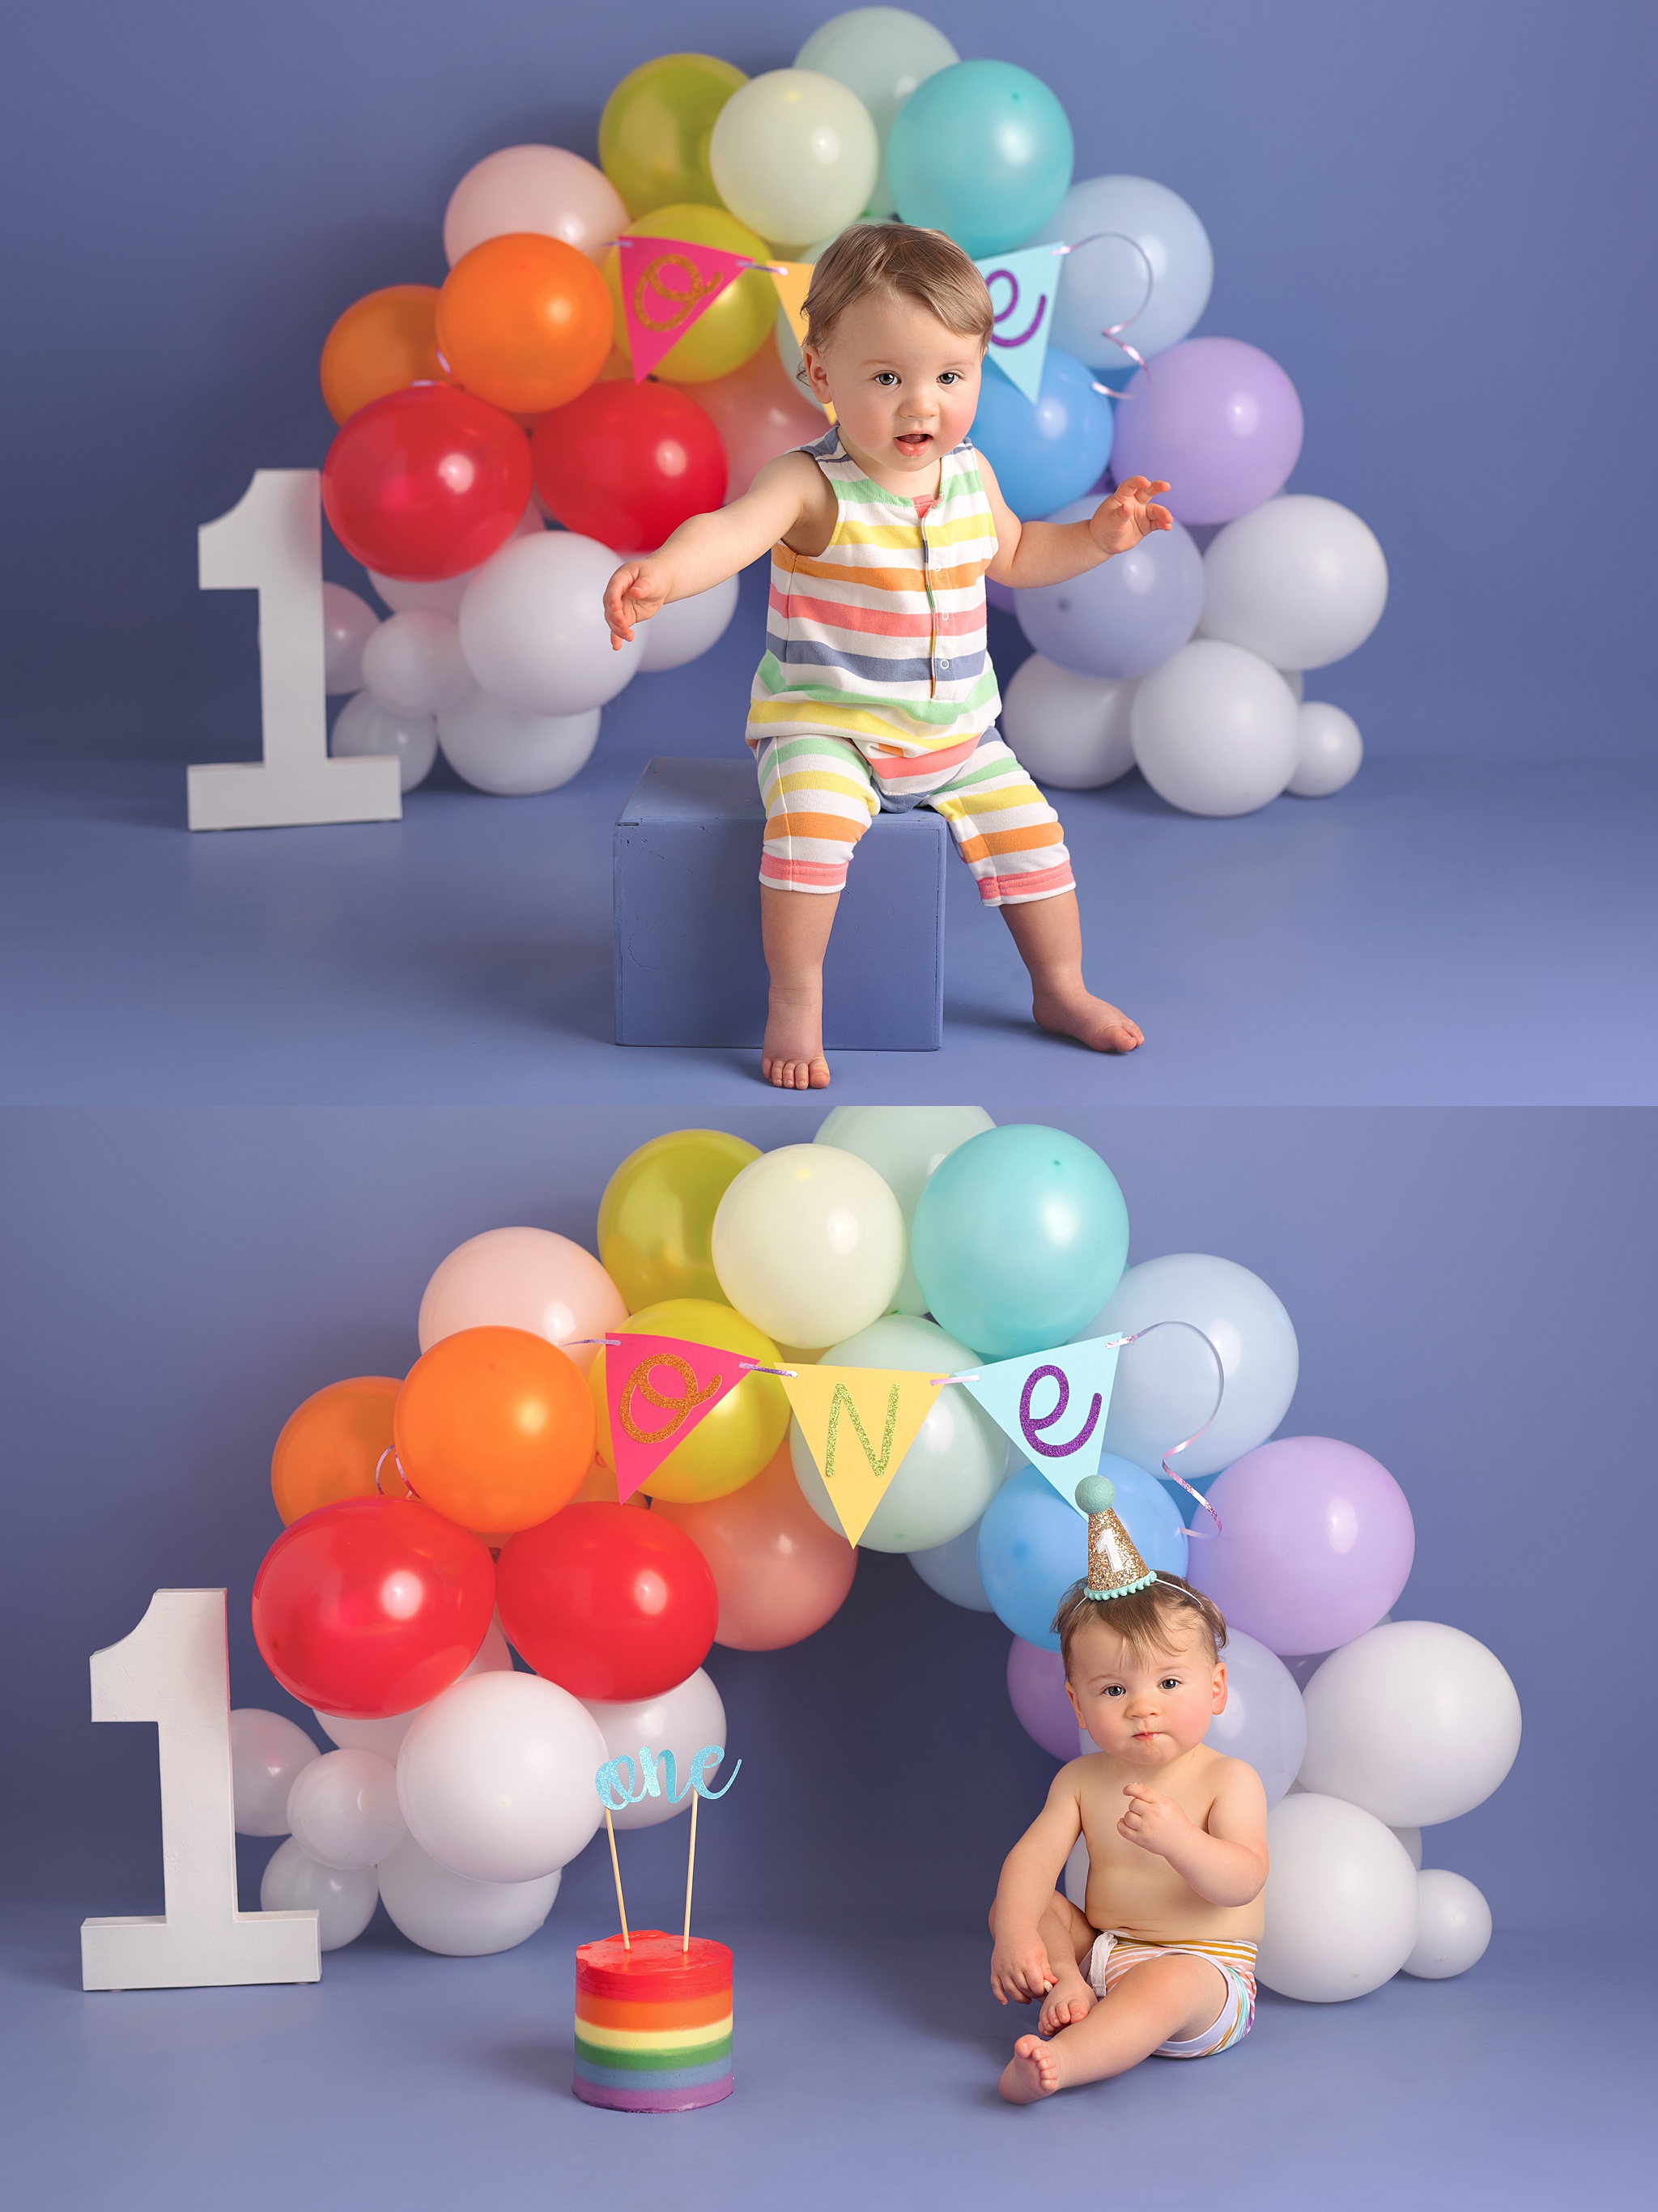
I LOVE making balloon garlands for cake smash sessions, and I have done a few tutorial videos showing how I construct my balloon garlands. As cool as the garland making process is, I think DOUBLE STUFFING is way more fun! I don’t always double stuff my balloons, but I just love the variety in tones double stuffing balloons gives!
What is double stuffing a balloon?
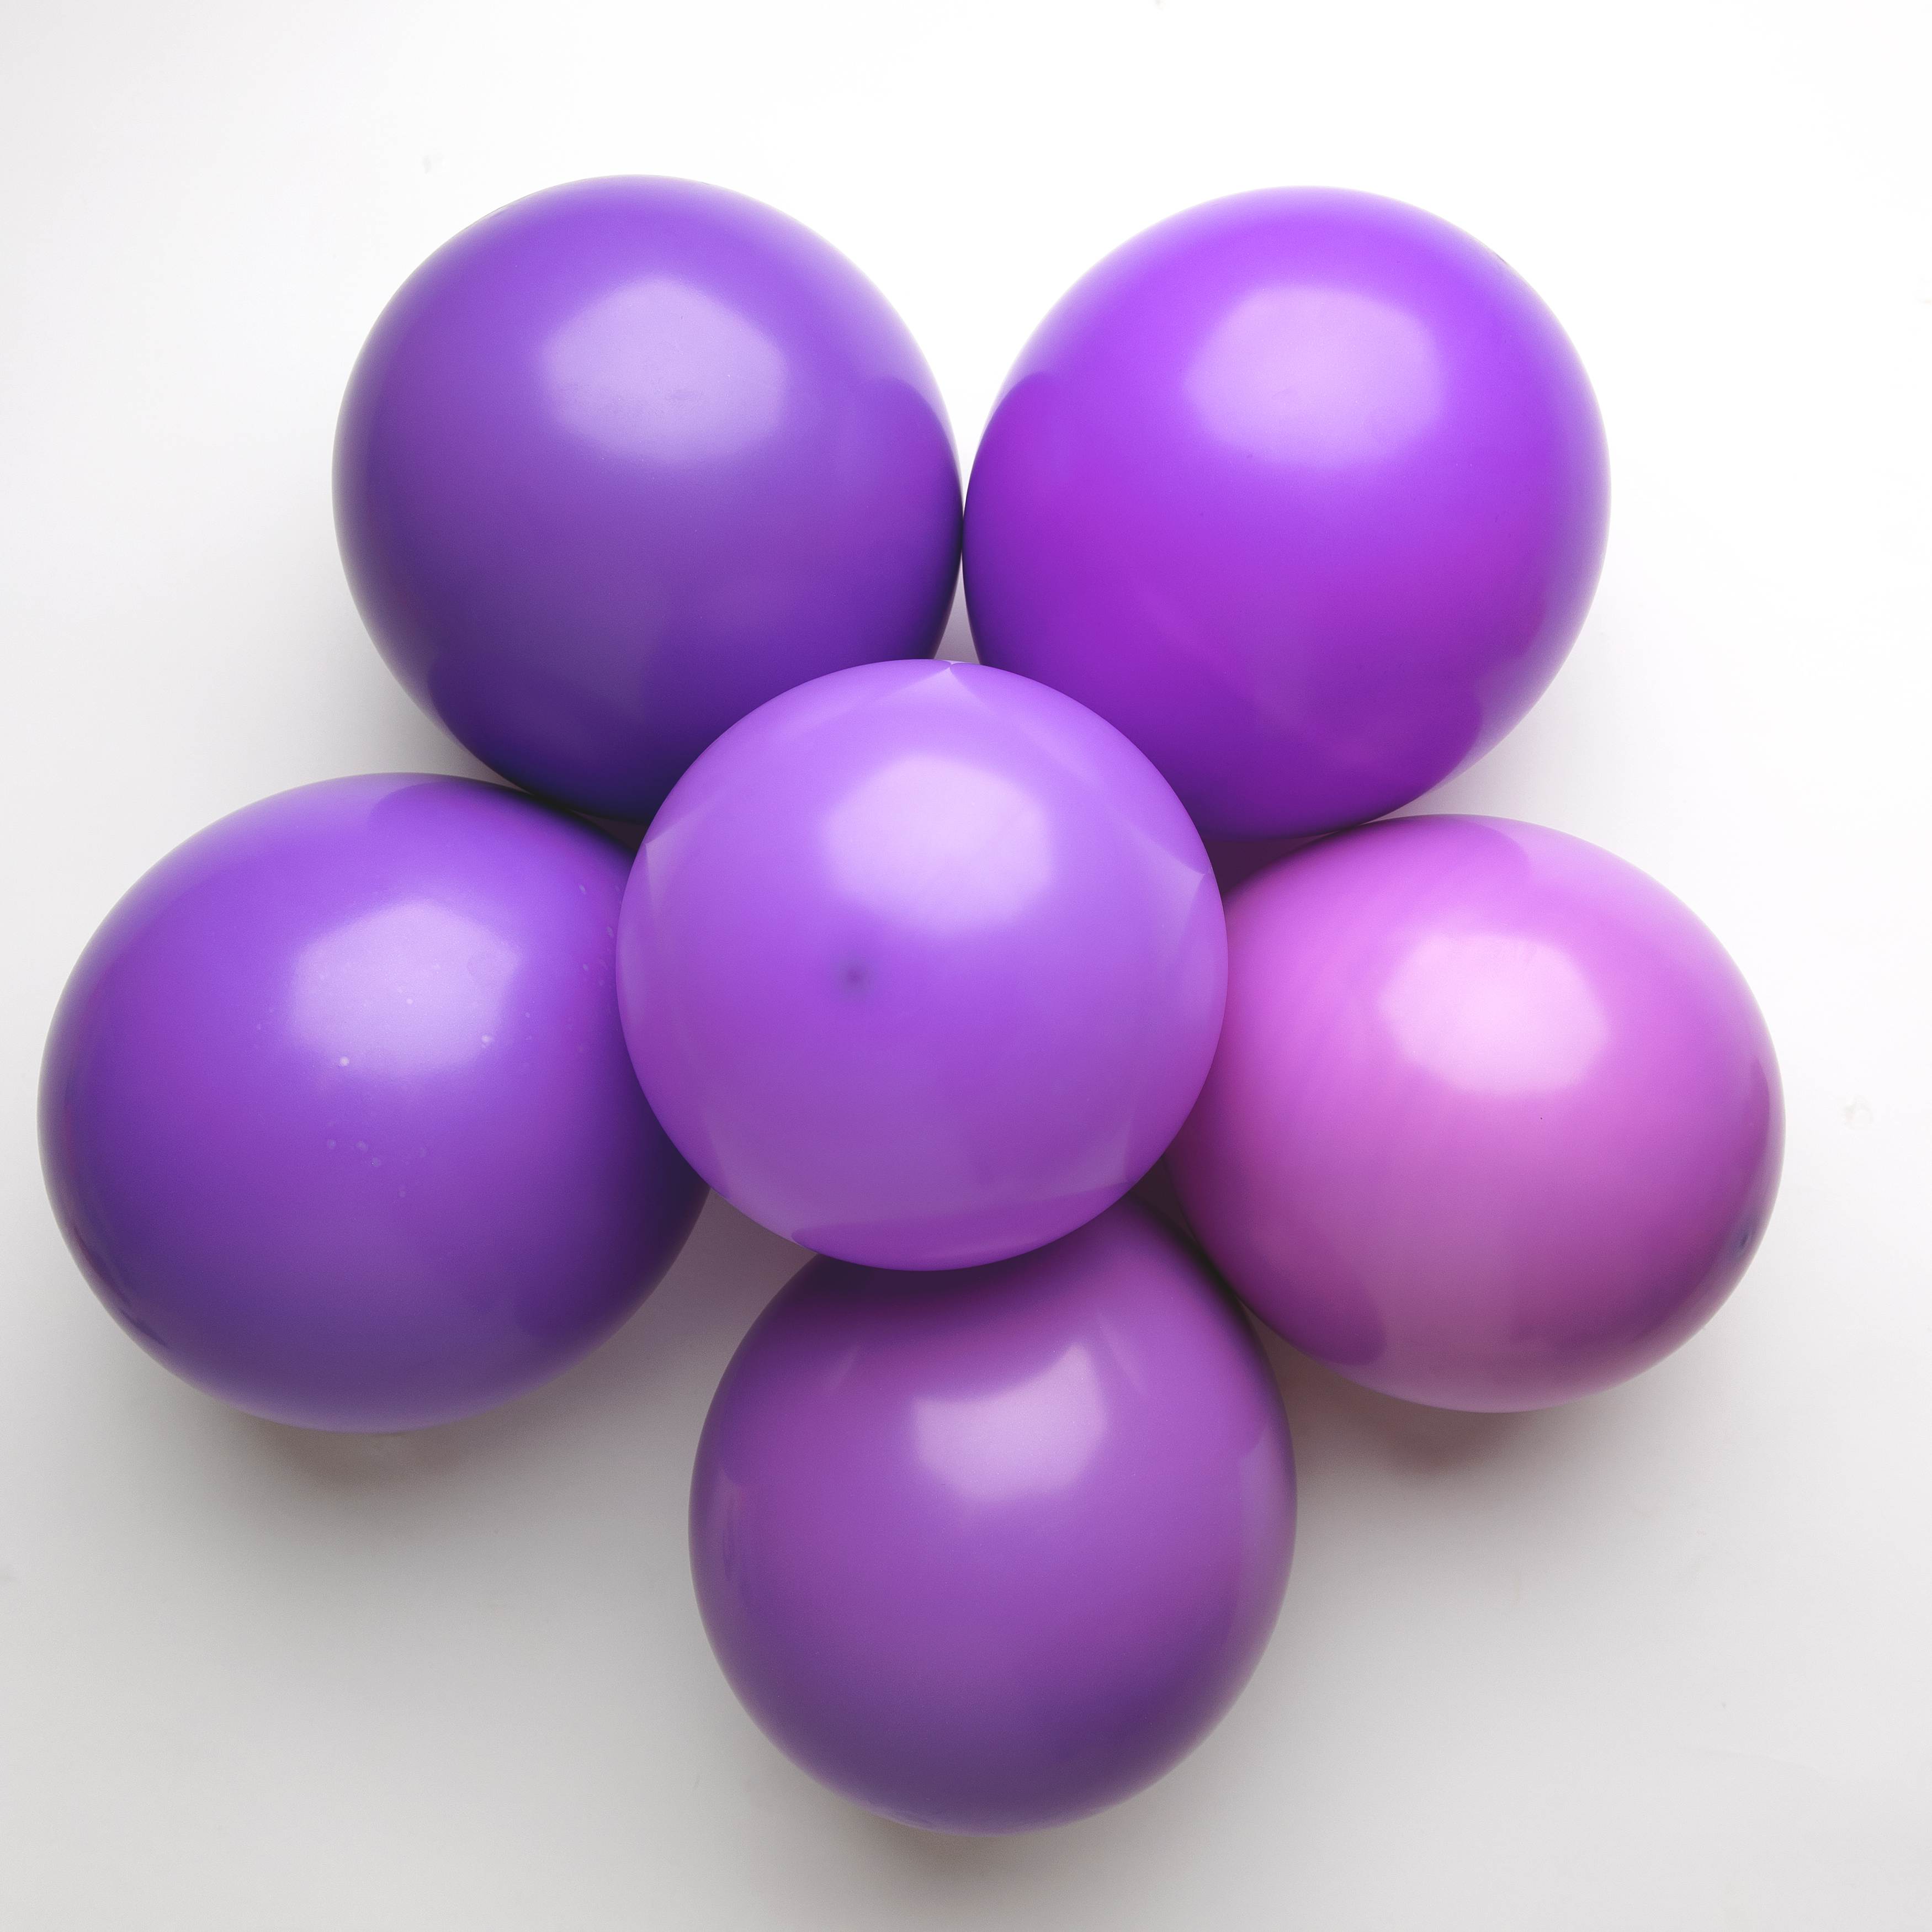
-Double stuffing is exactly as it sounds…you STUFF a balloon into another ballon before blowing your balloon(s) up. The color of balloon on the inside changes the overall color of your blown up balloon. You can make balloons darker, cooler, warmer, and more! I absolutely love a tone-on-tone look in all of my photography, and double stuffing is such a great way to create subtle shifts in color while still keeping the overall vibe monochromatic. I love making gradient balloon garlands!
How to double stuff a balloon:
.jpg)
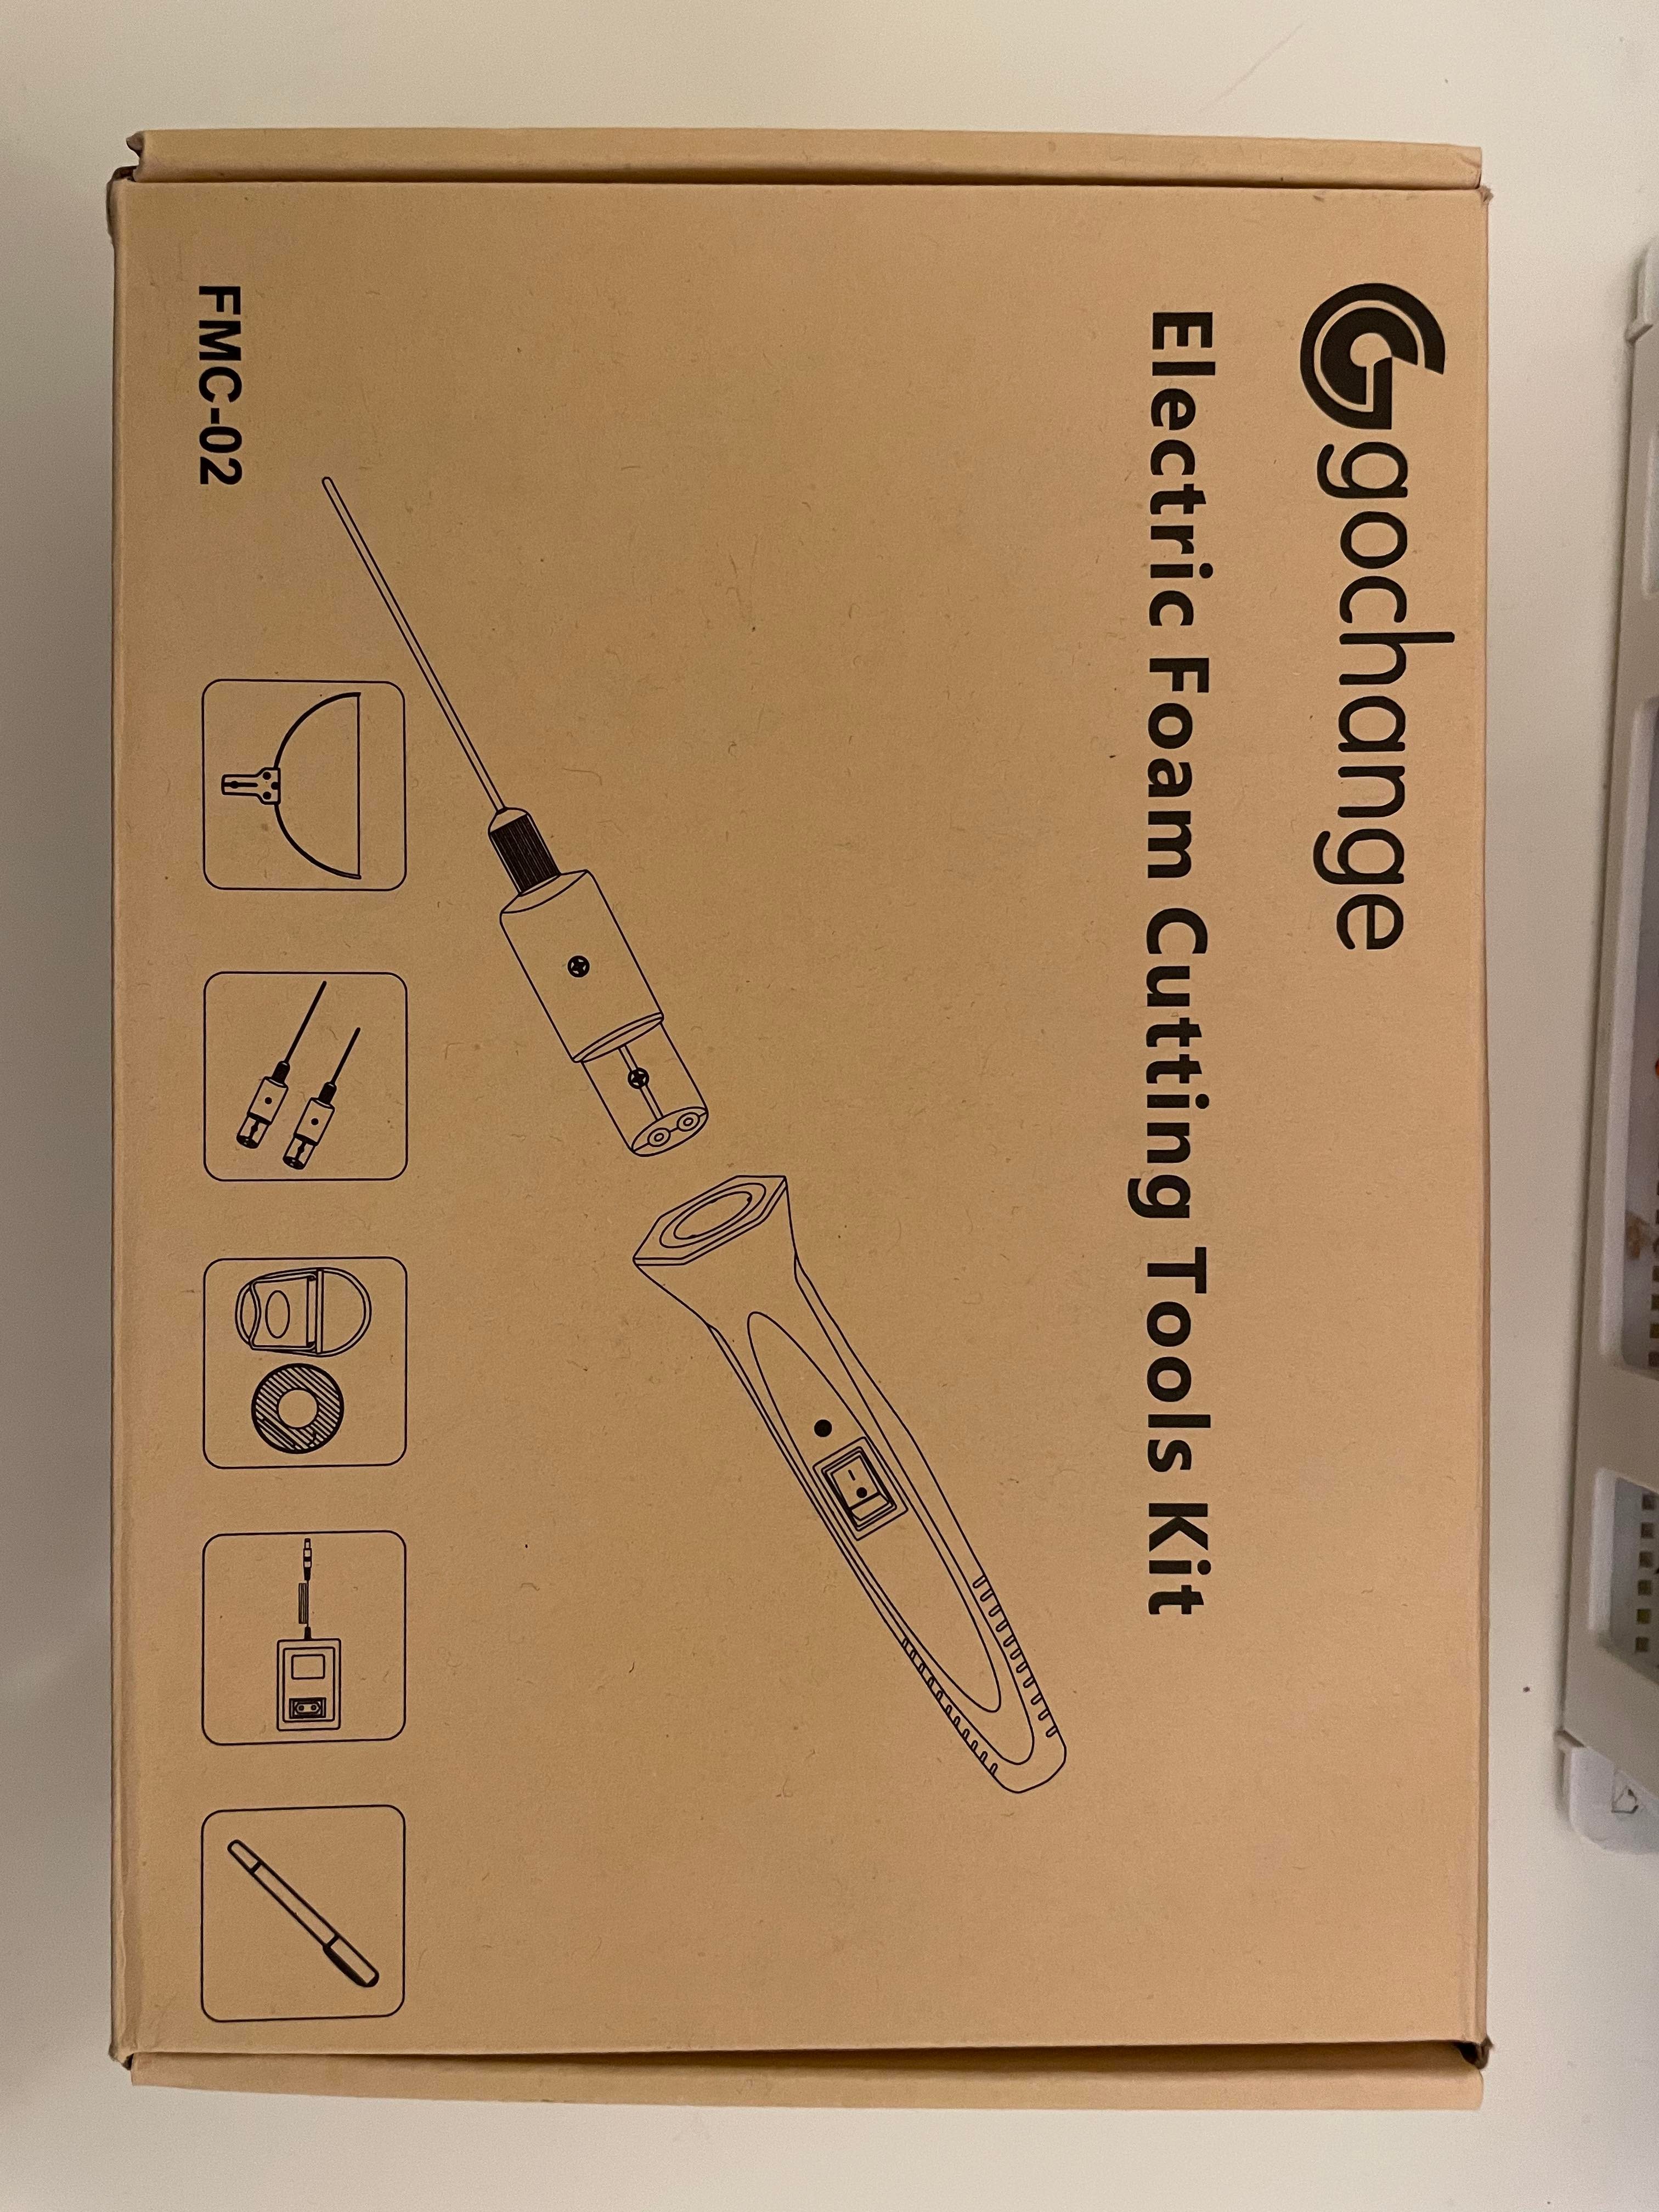
Double stuffing is super simple. You’ll need a sturdy straw (I use a reusable boba straw), a balloon hand pump (you can use an electric pump, but you typically have to stretch the double stuffed balloon a bunch before the electric pump will be able to inflate, and I just find it faster to hand pump) , and two balloons. I always place the balloon with the color I am wanting to be closet to on the outside, and the “shifter” balloon on the inside. Place the “shifter” balloon on one end of the straw, then stretch the main balloon on top of the shifter balloon. Then you will pull the double stuffed balloon off the straw by the top of the balloon. Then use your hand pump to inflate, and finally, tie off the INSIDE (shifter) balloon.
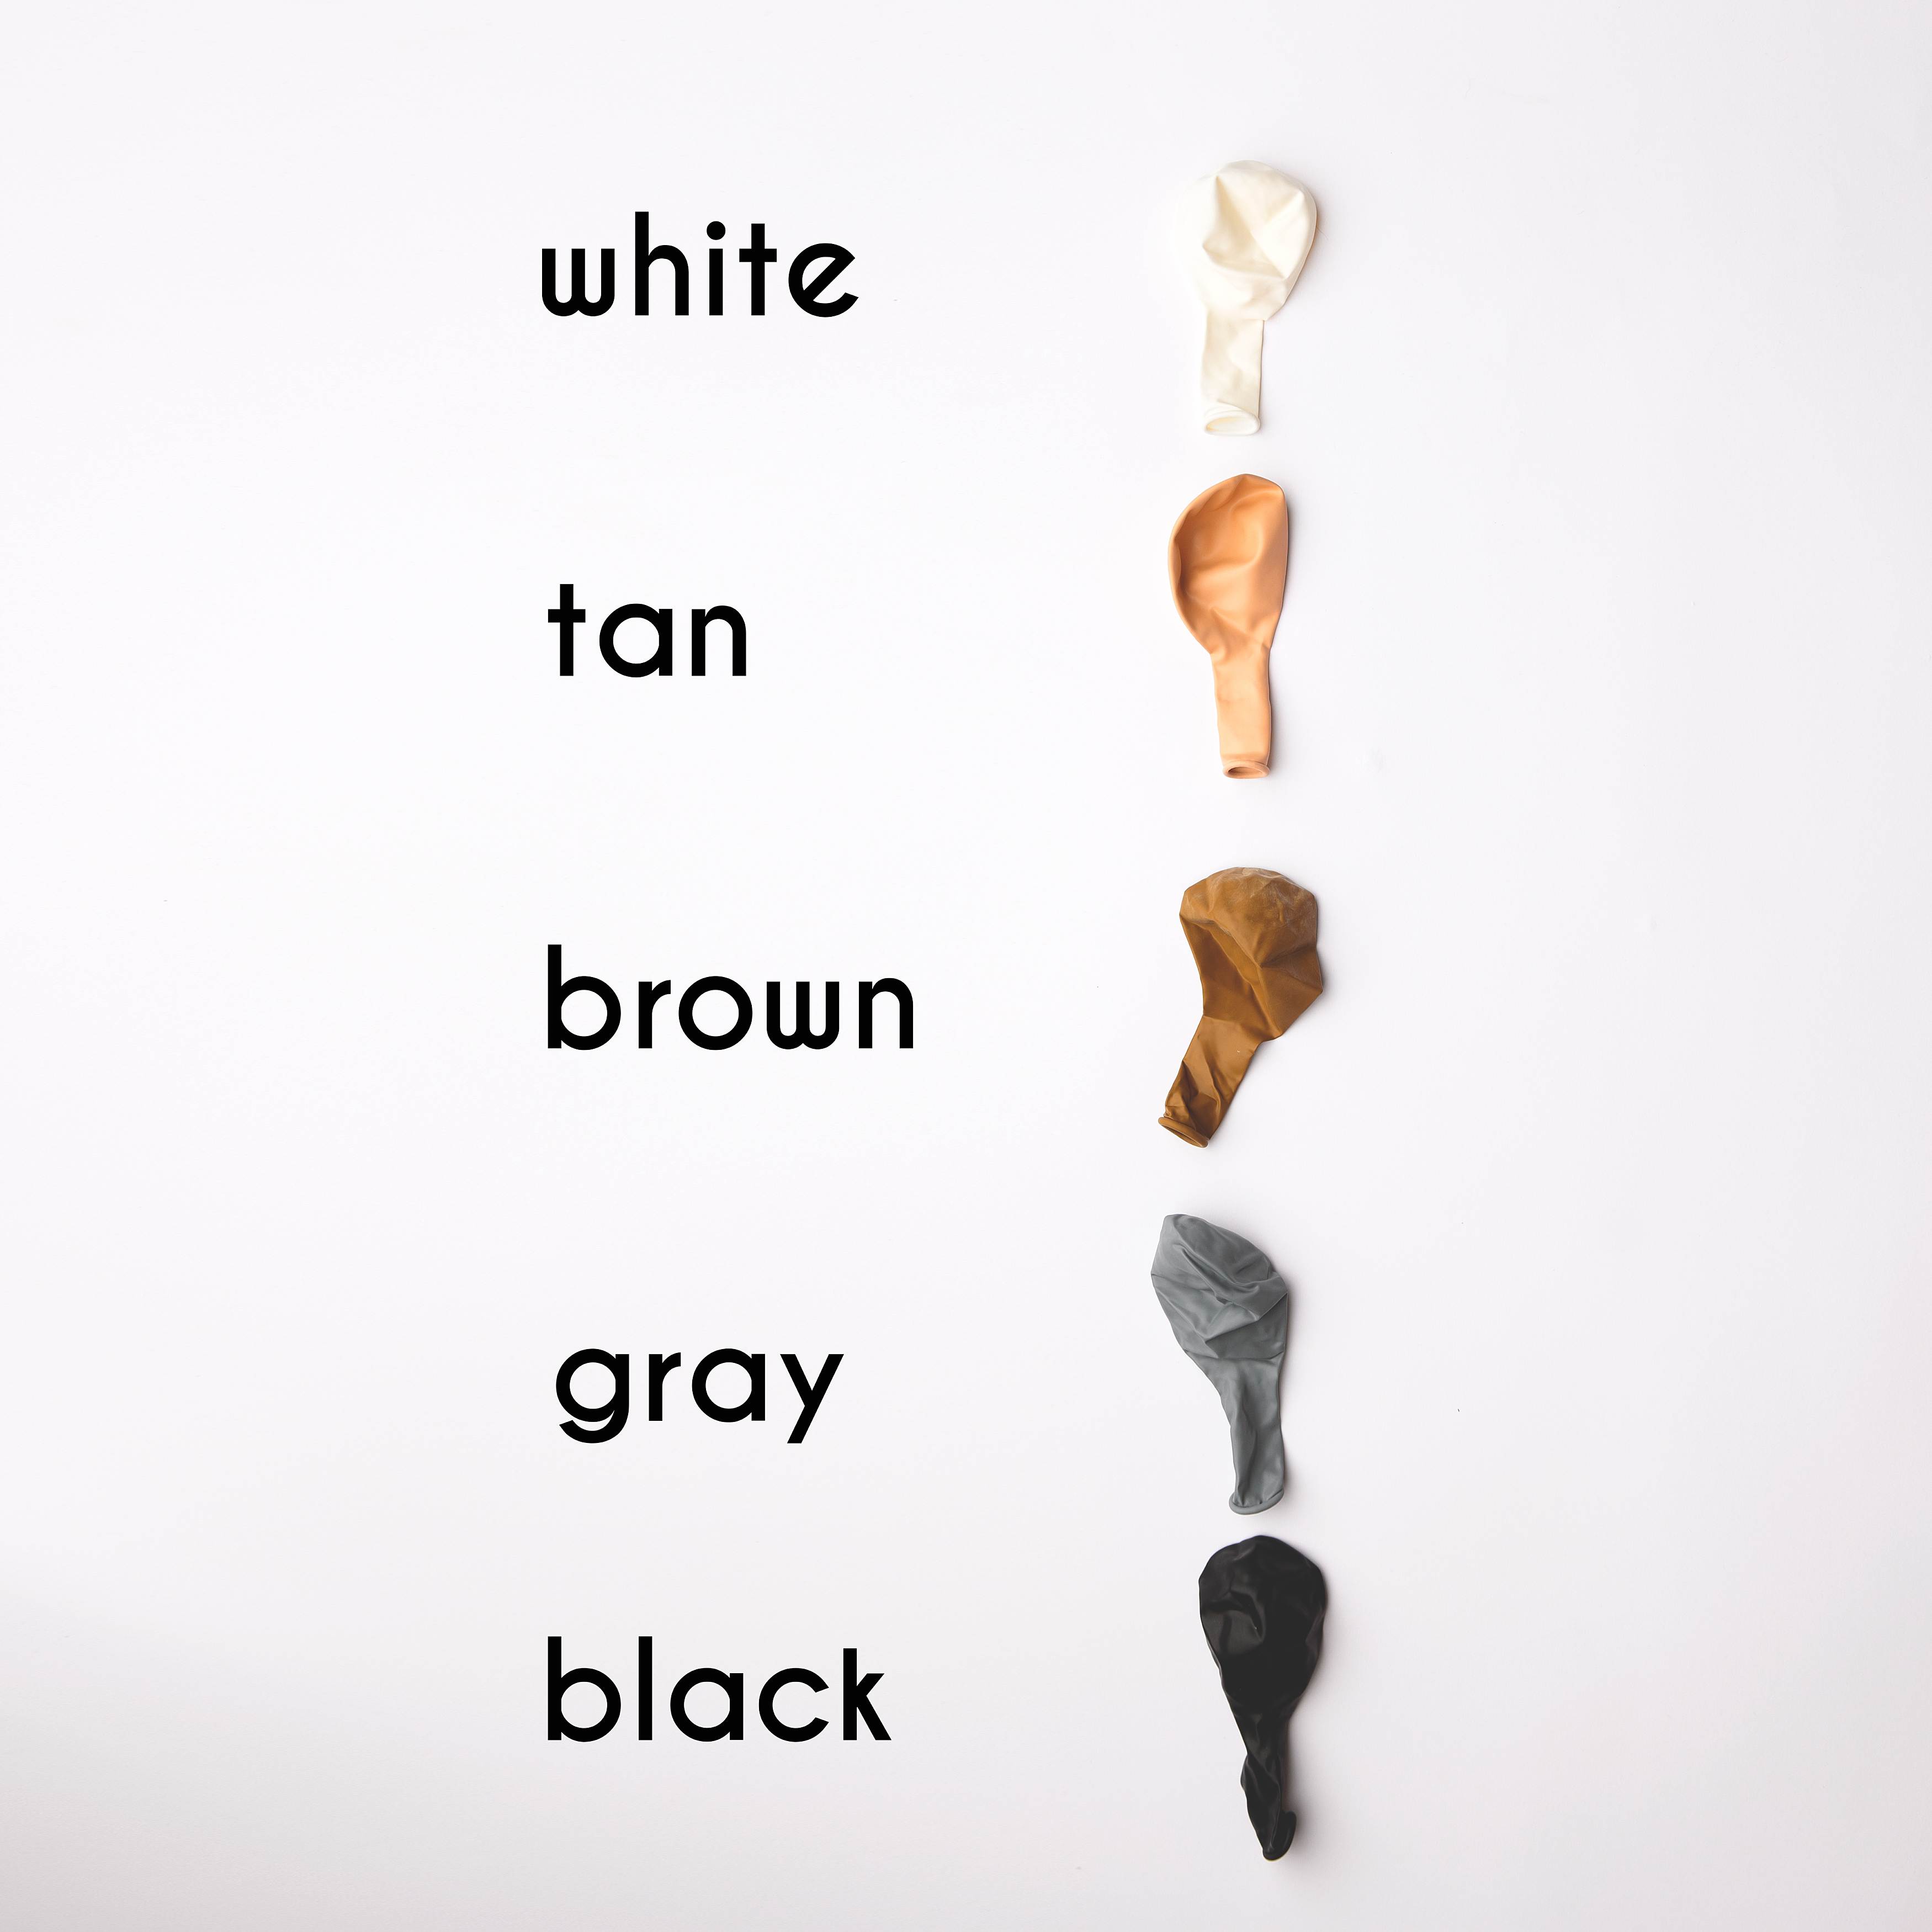
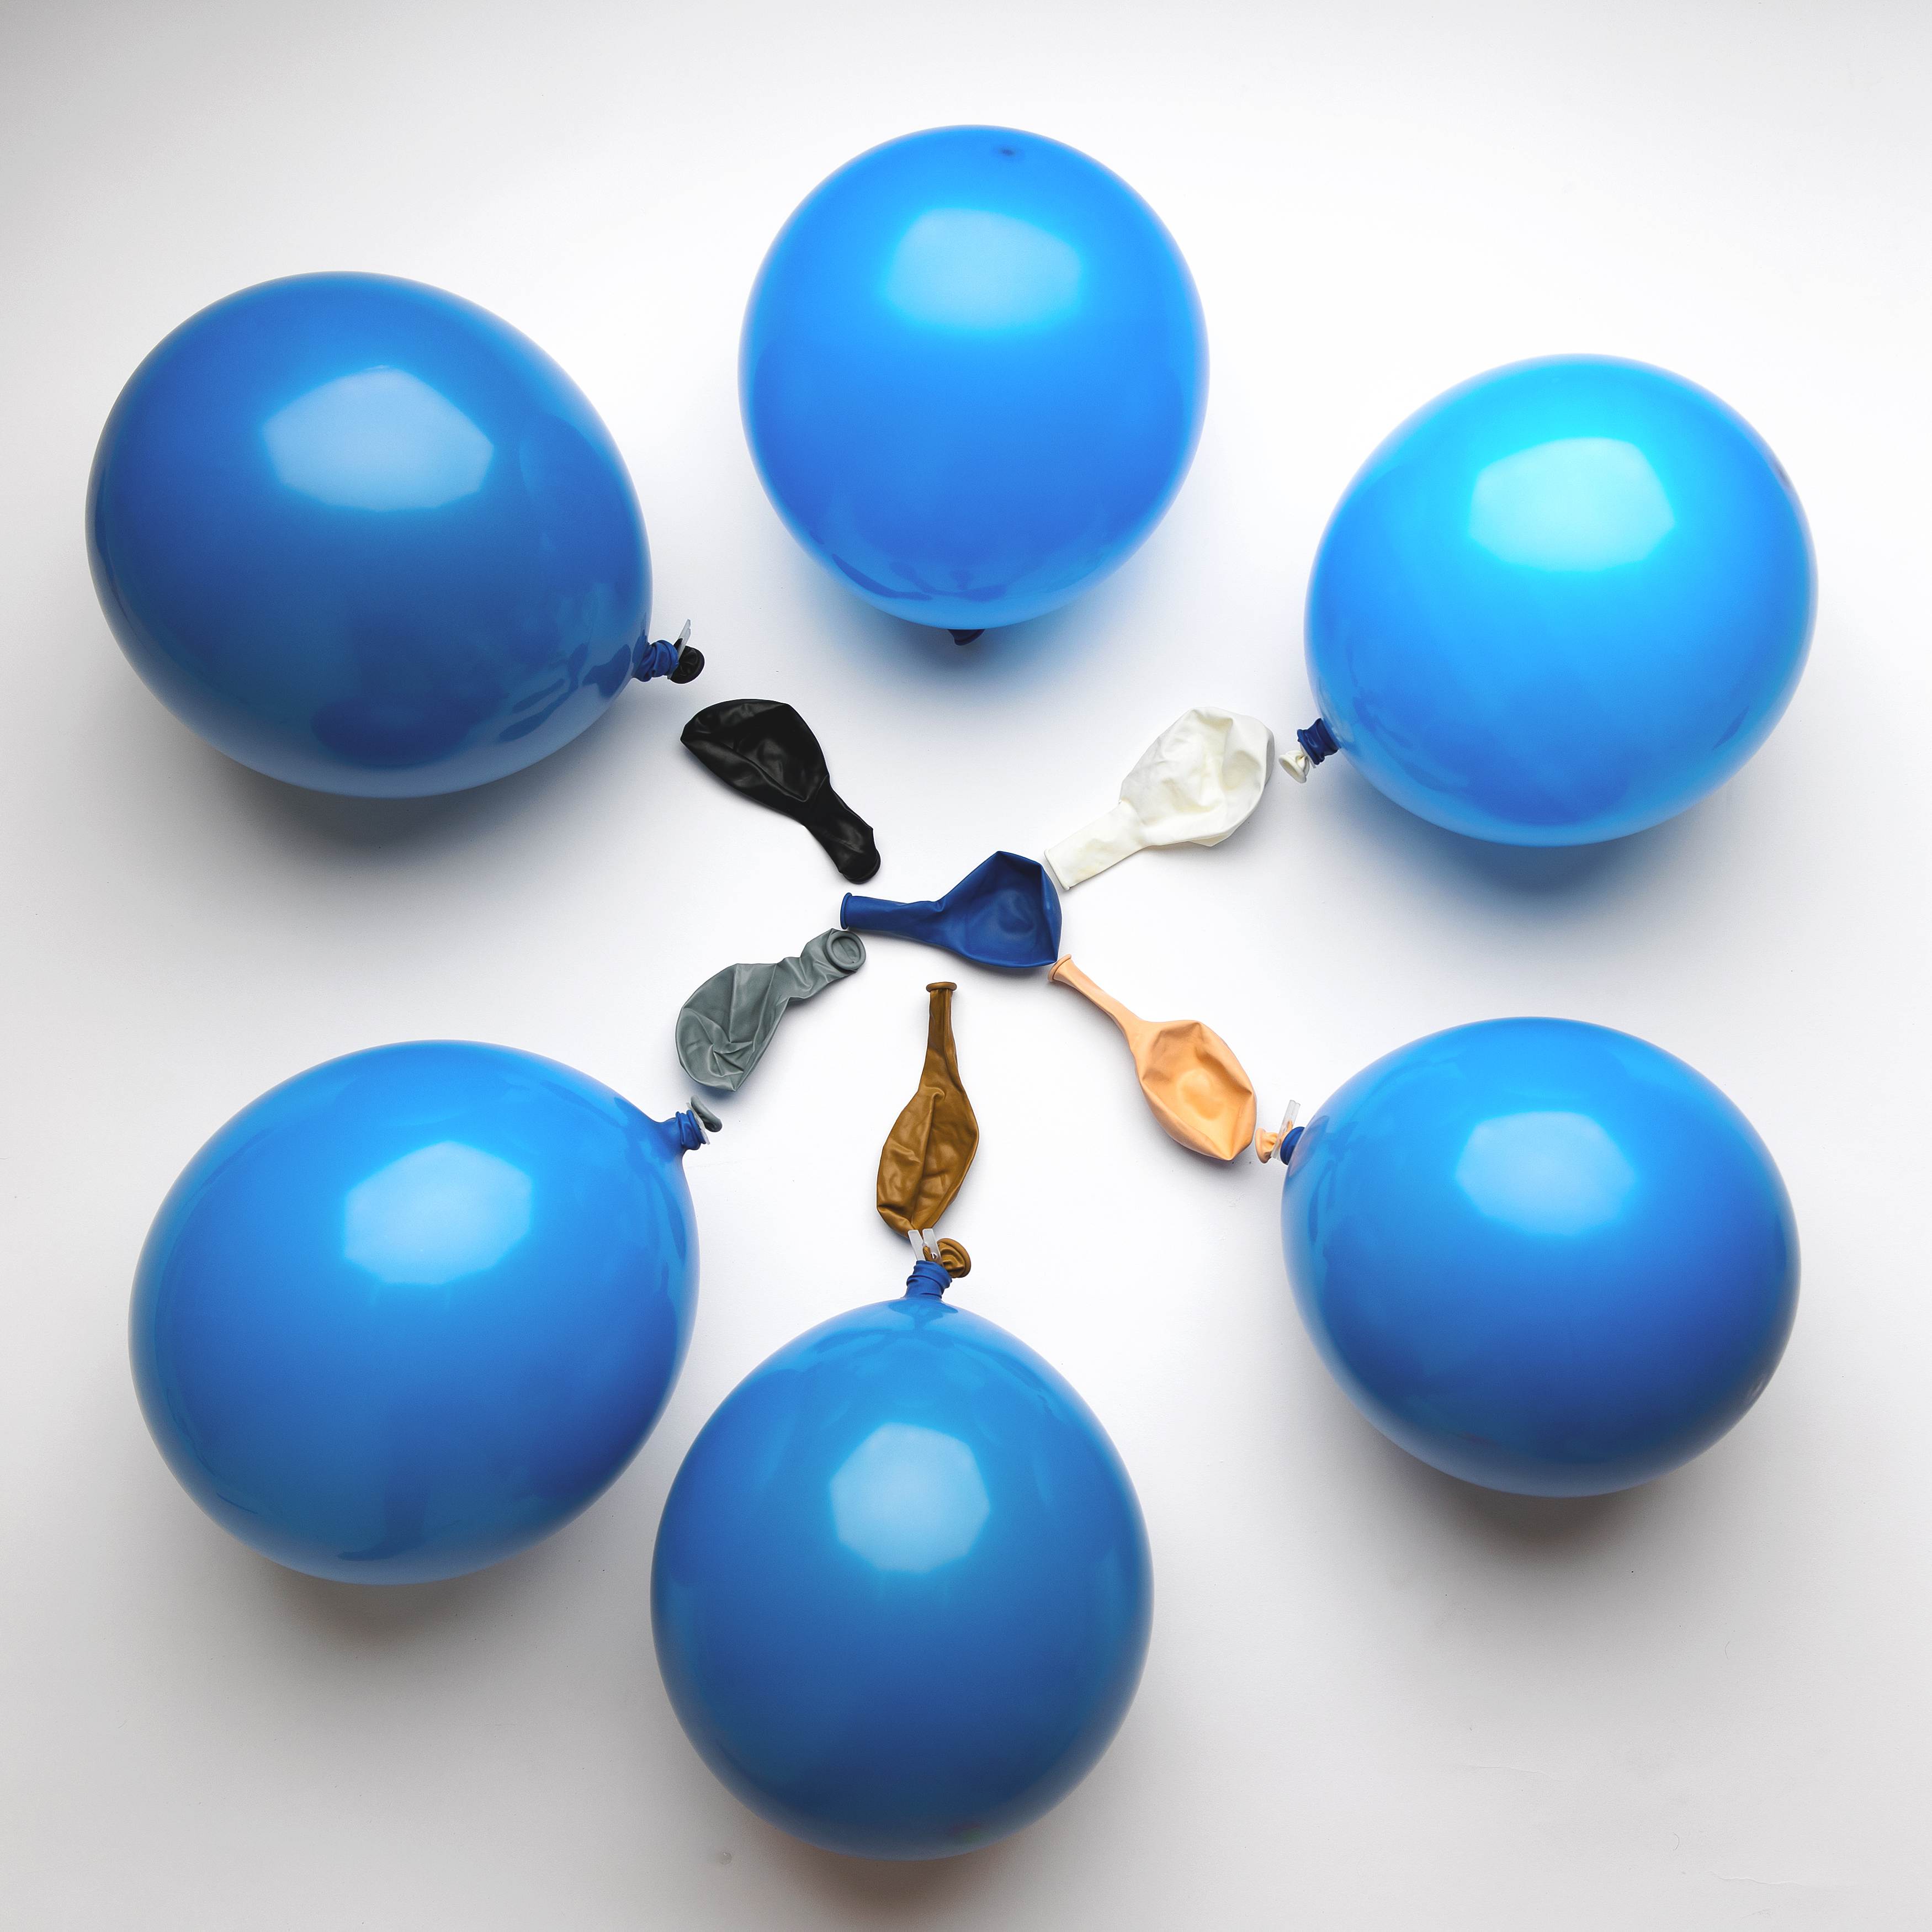
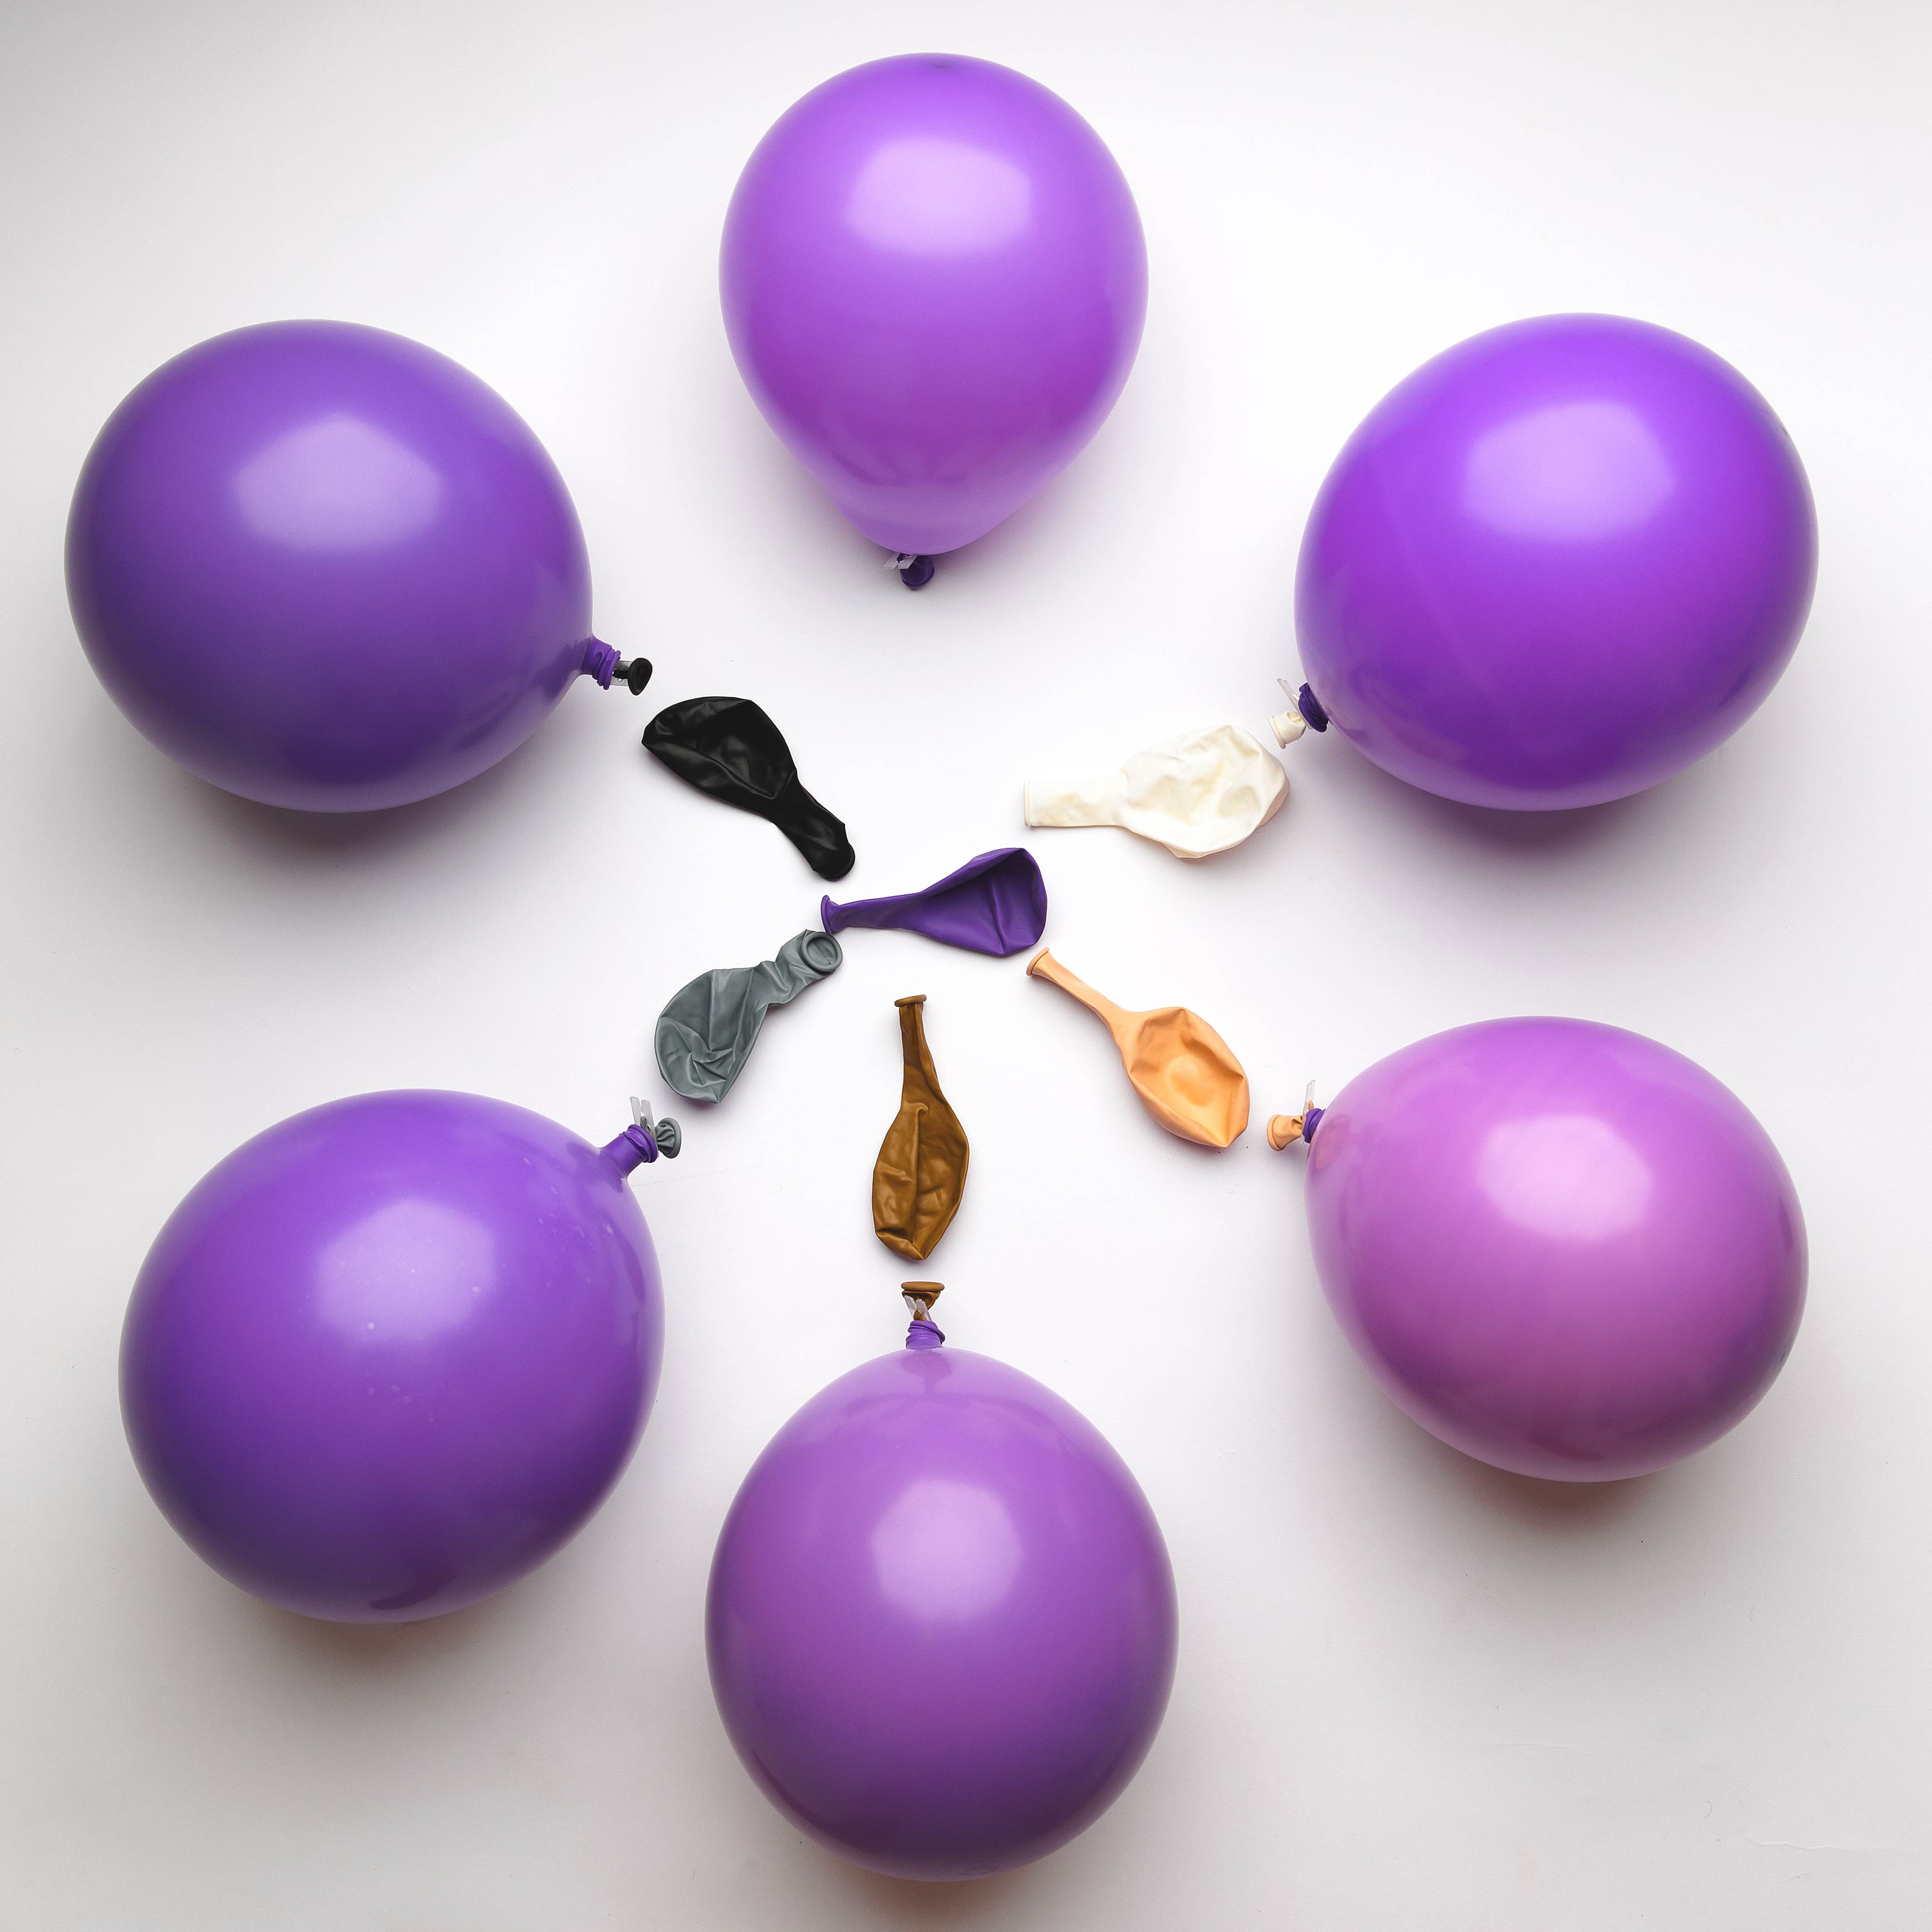
I love using browns, grey, and black balloons to shift the main color of my balloons. I have found that lighter main colors tend to shift more when double stuffing.
In my examples below, I show double stuffing with the following “shifter” colors. These colors are on the inside of the double stuffed balloon. The colors in the images below are white, tan, brown, gray and black. I also show an example of the main color balloon without anything inside (not double stuffed). I do some fun double stuffing math, showing how the different shifter colors can make subtle changes to your main/outside balloon. Using double stuffed balloons, you can experiment with color matching, creating gradients of balloons, ore just mixing up fun colors!


.jpg "mill creek newborn maternity and family photographer_2210.jpg")
.jpg "mill creek newborn maternity and family photographer_2211.jpg")
.jpg "mill creek newborn maternity and family photographer_2170.jpg")
.jpg "mill creek newborn maternity and family photographer_2168.jpg")
.jpg "mill creek newborn maternity and family photographer_2165.jpg")
.jpg "mill creek newborn maternity and family photographer_2166.jpg")
.jpg "mill creek newborn maternity and family photographer_2164.jpg")
.jpg "mill creek newborn maternity and family photographer_2167.jpg")
.jpg "mill creek newborn maternity and family photographer_2169.jpg")
.jpg)


.jpg)

.jpg)
.jpg)
.jpg)
.jpg)
.jpg)