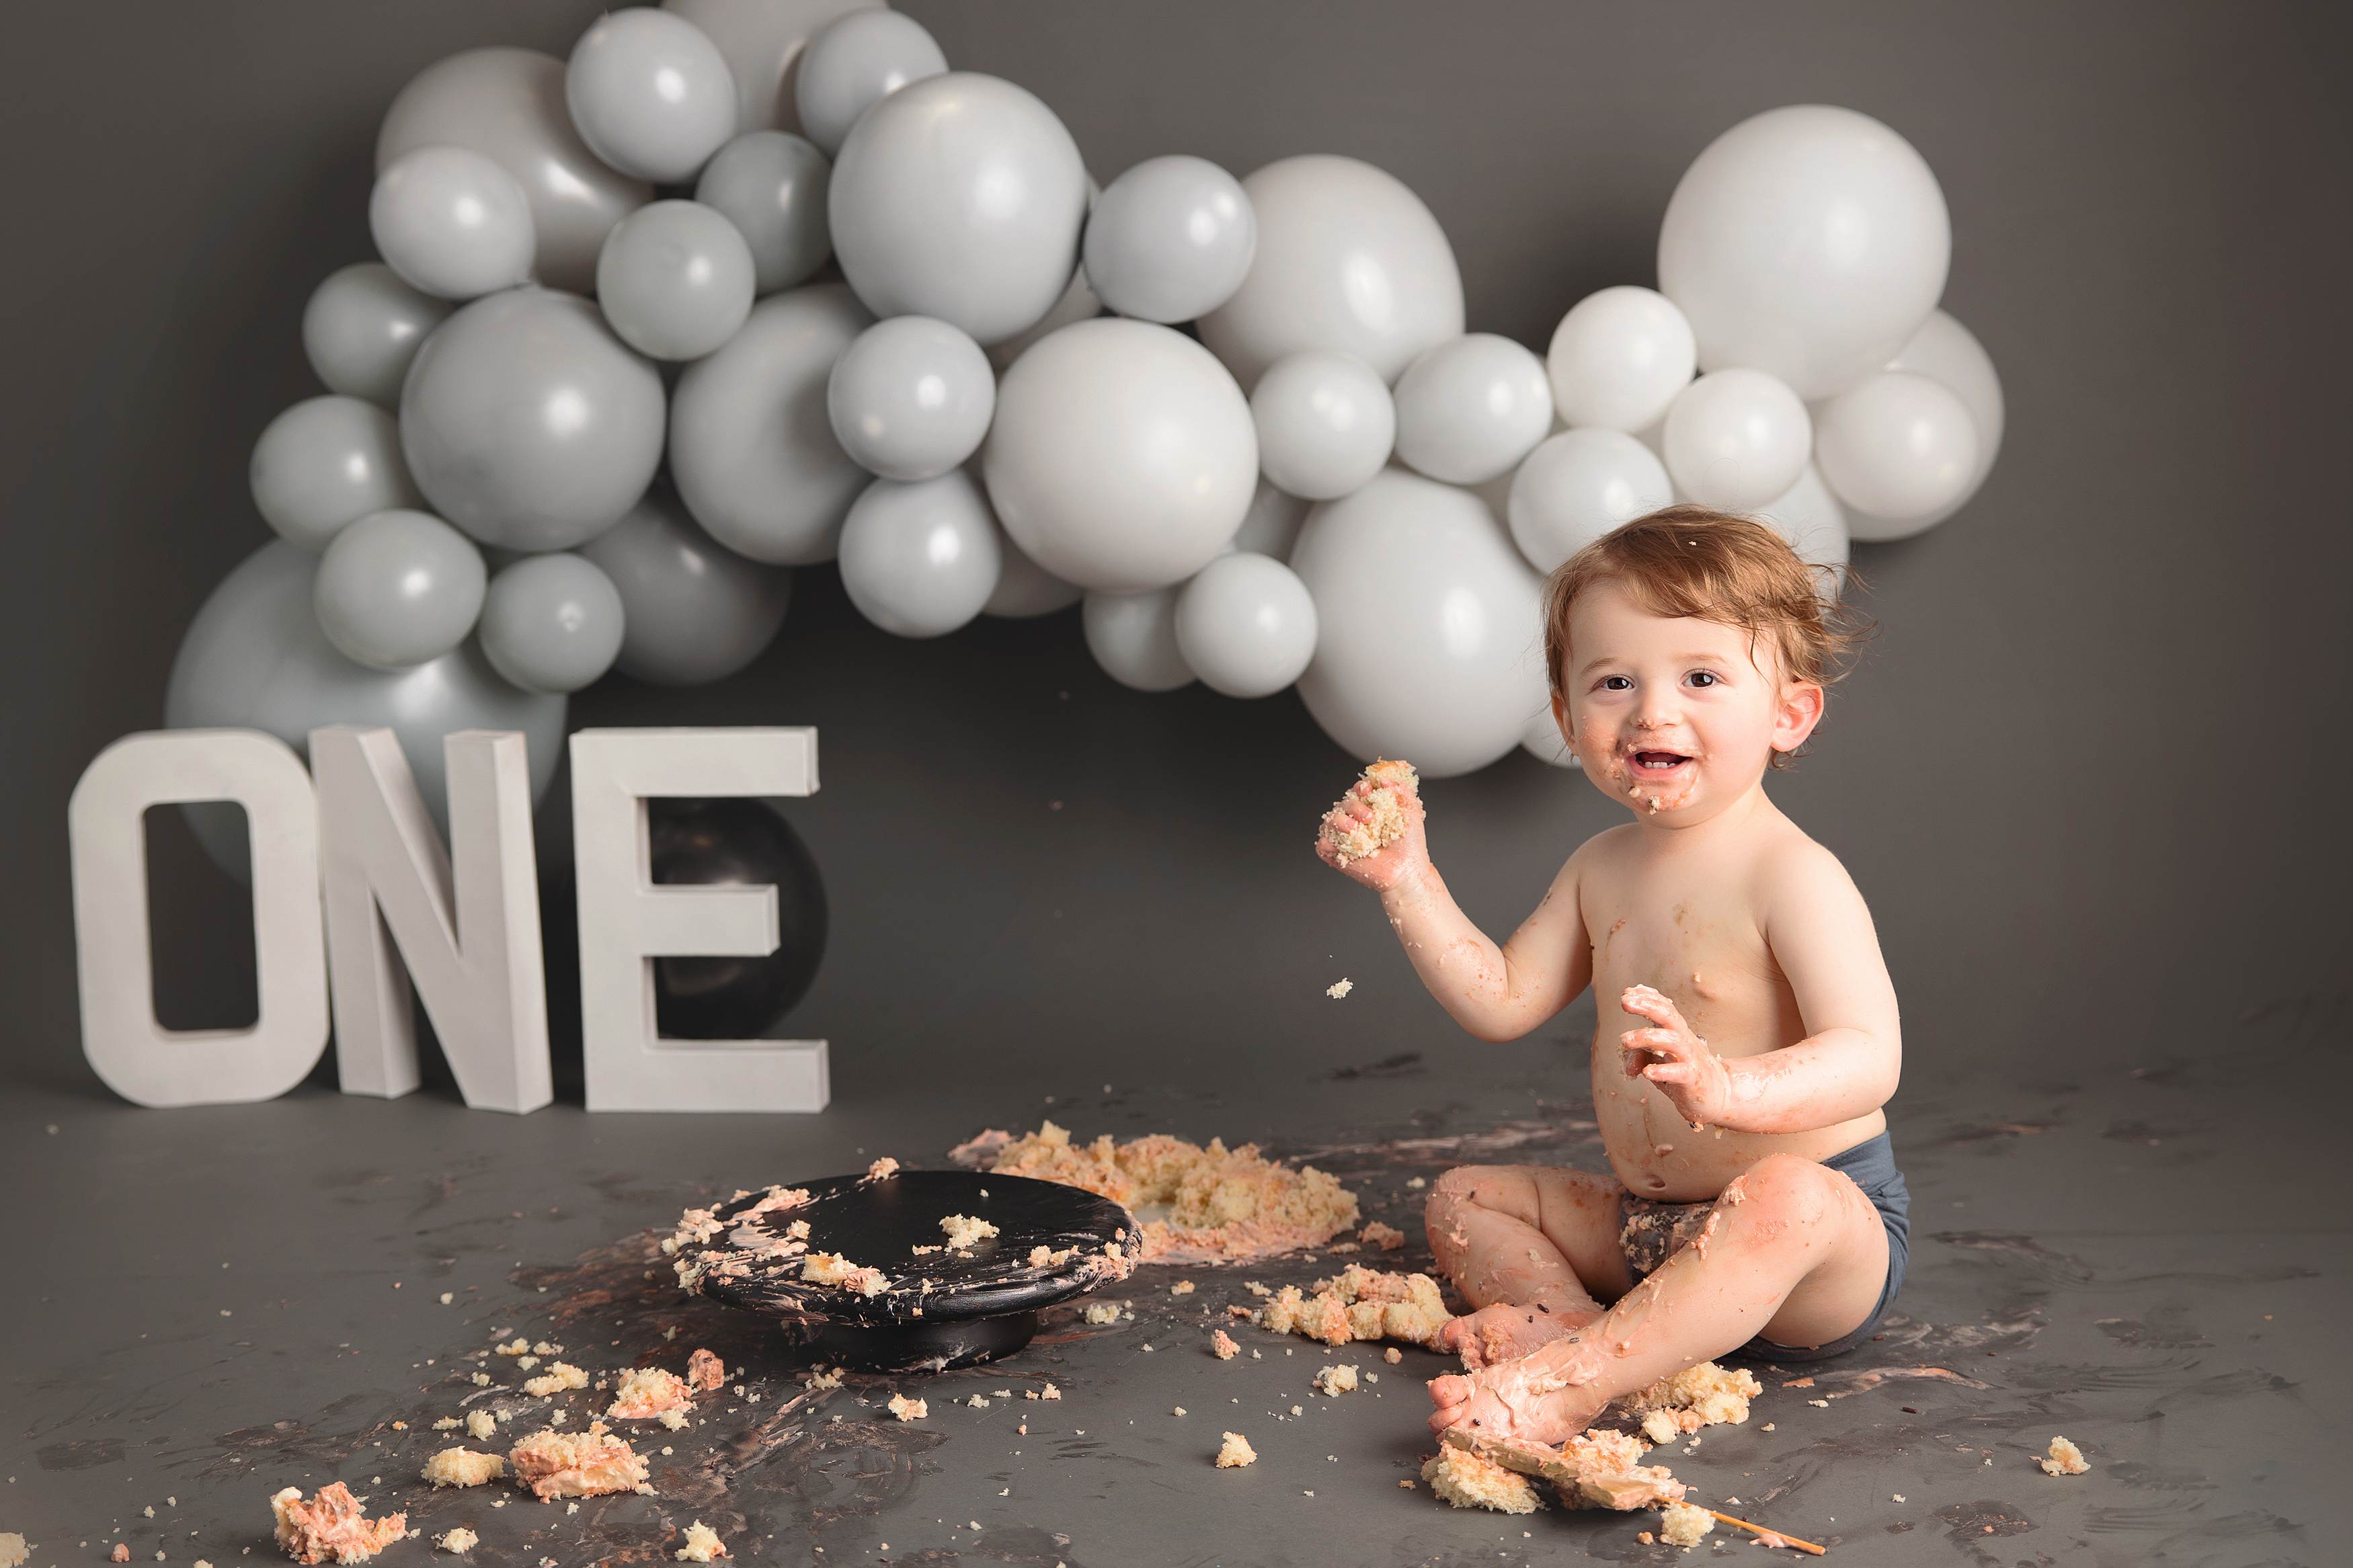
 I’ve had a lot of people asking for more details about my printed styrofoam balloon garland, so I figured I should put all the info in one easy to follow place! I’ll show you the steps I used to create a reusable balloon garland that will NEVER deflate. I’ll include the original file I used to print my own, as well as few other colors (I just changed the balloon colors in photoshop) if you want to use them to print your own! Below is a link if you’d like to download and print the balloon garland I created (scroll to the end)
A few tips/tricks that will help you make your ballon garland more realistic:
-Make sure the light direction on the backdrop is the same as what you use in your own studio. My images all have the light source coming from the right, if you have your light set up on the left, just flip the image horizontally BEFORE printing. You can do this in photoshop, or in the walgreen’s photo app.
-There is a TON of empty space on the files I’ve included. I suggest adding to the image with other things you want to print/create a styrofoam stand-up with!
-For the color changed balloon garlands, it looks a bit messy because I didn’t keep the back wall WHITE…but I did this on purpose. Leave the images ‘as-is’ and print them with the wall color changed as well. This part will be cut off anyway, and will avoid having a stark white edge to your balloons that might ruin the illusion.
-Take your time when cutting your balloons out. When trimming the section that overlaps, I prefer to include entire balloons to overlap vs having a straight seam across a balloon.
-When spraying your spray adhesive, spray the back of the banner not directly on the styrofoam. The 3M Super 77 spray adhesive is the best I’ve found so far and shouldn’t eat the styrofoam, but it will if you spray directly onto the foam.
-Walgreens ALWAYS has a sale going on, do a google search for promo codes before checking out!!
Step by step ordering instructions:
After you pick up your print, follow these steps to attach your garland to styrofoam! Here’s a quick video, but I also have step by step written directions below!
-Cut out your design (in this case, the balloon garland)
-Remove the silver and white plastic from both sides of your styrofoam. I use R-TECH insulation foam from Lowes. I used the 1″ thickness, but the 1.5″ would work too! I have a minivan and the entire sheet fits perfectly in the back of my car. 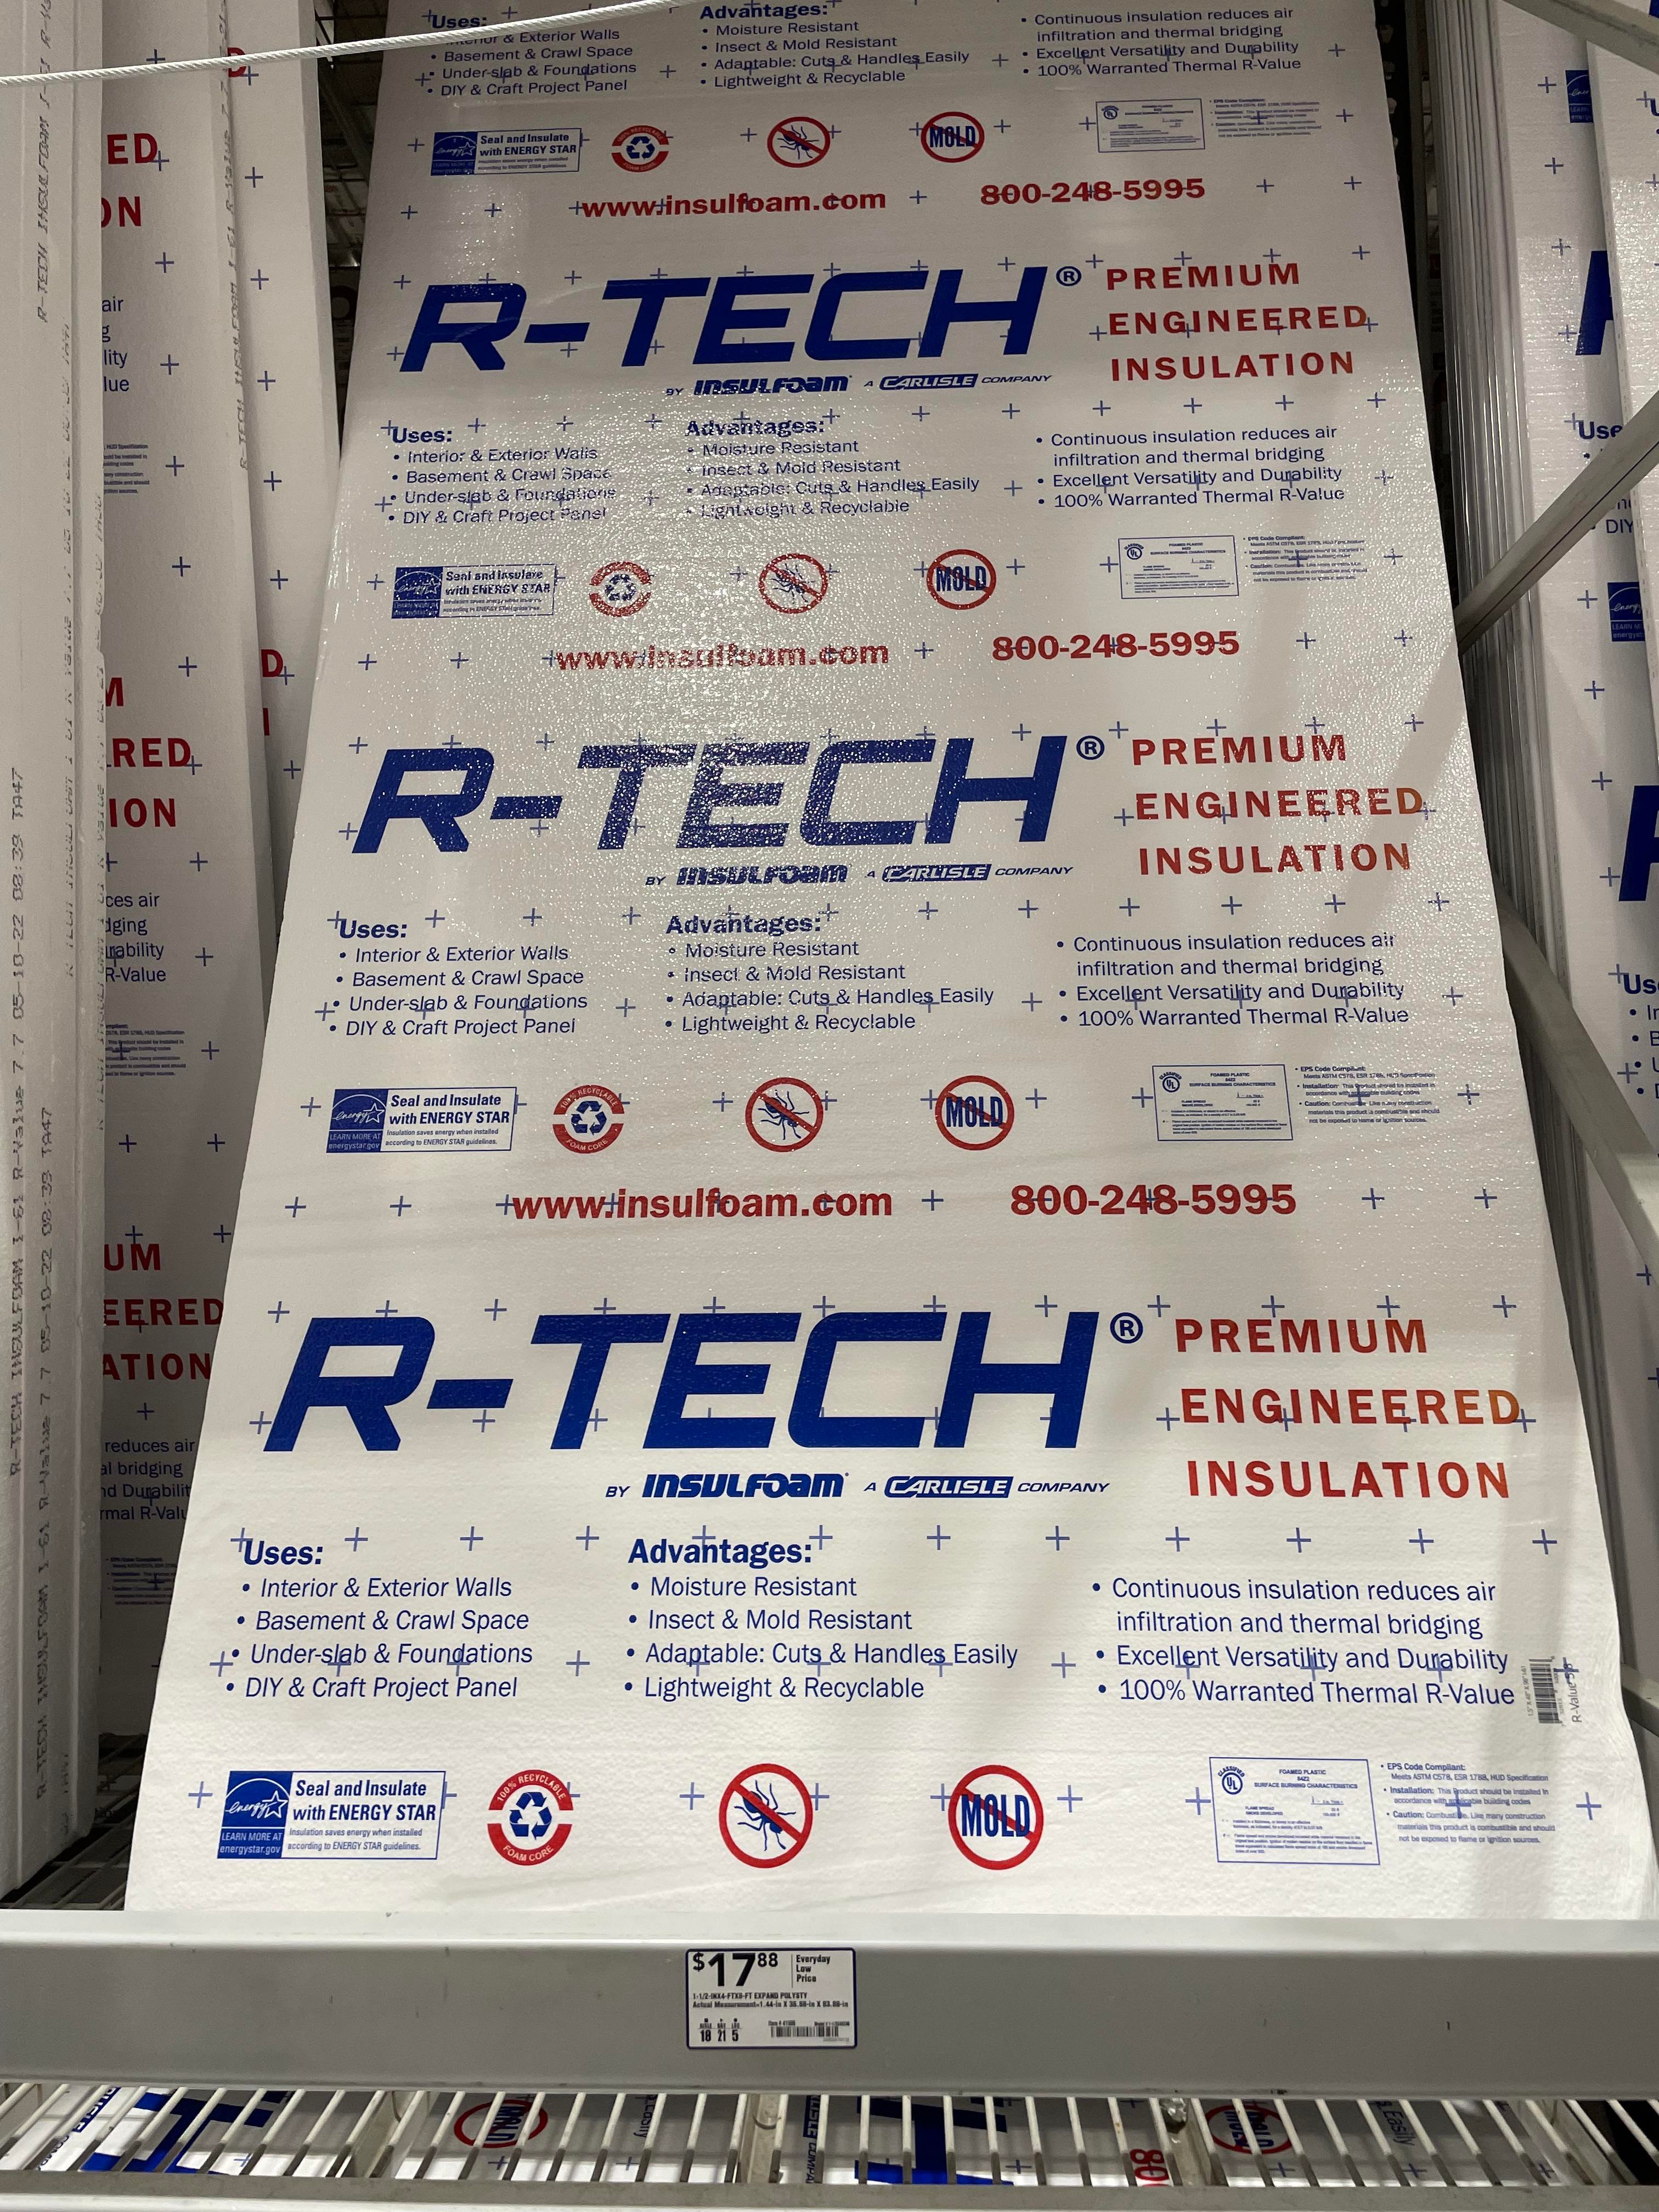
-There is overlap between the two printed sections of garland. I like to include the entire balloon when overlapping vs cutting straight across. This hides the seams better.
-Spray the back of the cut out balloon garland print (start with the larger piece) with 3M super 77 adhesive spray. This spray won’t eat away at your styrofoam, some adhesive sprays will!!

-Flip the print right side up and press it on the styrofoam, smoothing out any wrinkles with your hands.
-Spray the adhesive on the back side of the smaller section.
-Flip the smaller section over and line it up on top of the larger section. Press firmly to adhere.
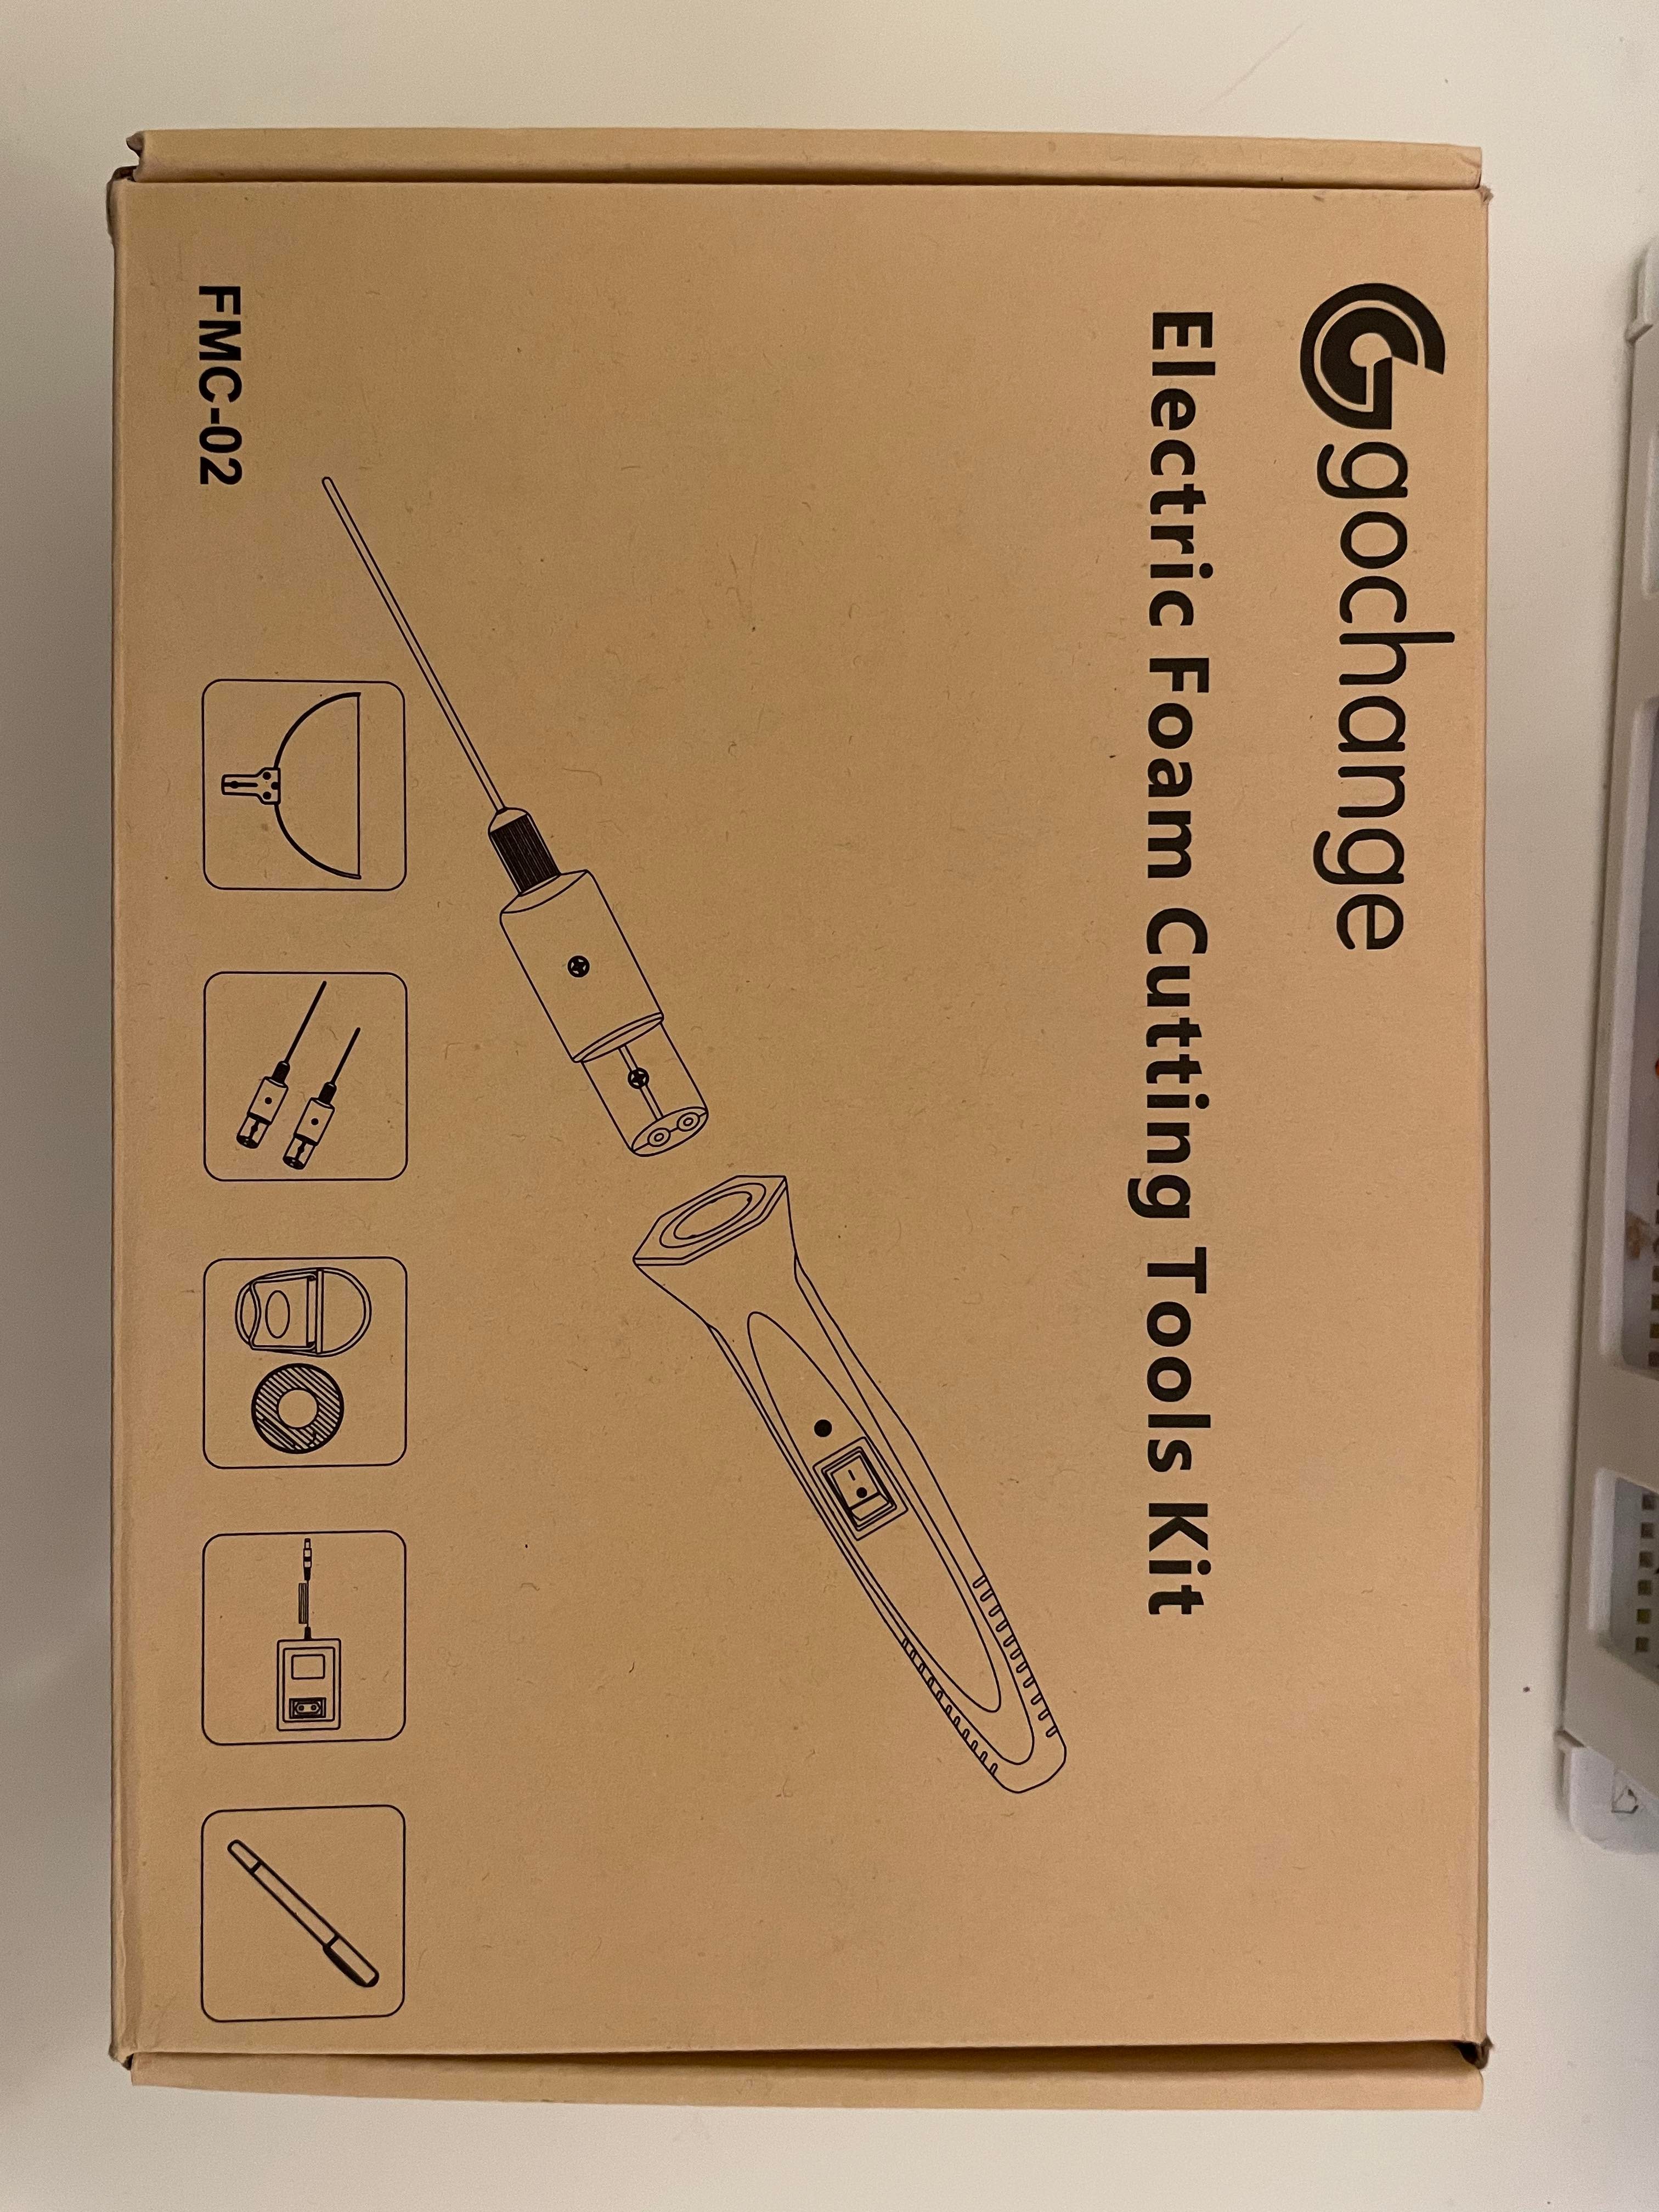
-Use a hot knife (I use this one) to cut around the edges of the design. I try to keep the heat tool at a 45 degree angle toward the center of the design. This will bevel the edges and help hide the white edges of the styrofoam when photographing.
-DONE! You are a badass and now have a balloon garland that will never deflate!
If you would like to use the balloon garland image that I used for my banner, feel free! I have color changed the garland to a few different colors as well, feel free to play around and make them your own! The color changed versions look wacky because I didn’t deselect the back wall when color changing, which of course changed the color of the white wall as well. Don’t panic, I did this on purpose…this will help eliminate having a stark white line along the edges of your balloons, which can ruin the illusion! The wall portion gets cut off, but just in case there is a sliver of wall, it won’t show! Download balloon garland images HERE