


Dorothy Newborn Romper Tutorial

I teamed up with Hannah of Buttercup Baby Props for an awesomely themed newborn photo shoot. Hannah is a pretty big deal in the newborn photography world, she makes the most amazing wool layers, bonnets, and props. She’s also super creative, and awesome. I am so proud to call her a friend!
While Hannah needle felted up a tin man bonnet, a scarecrow bonnet, a tin man bonnet, and other props for our themed session, I crafted a gingham romper, fitting for a newborn Dorothy!
The romper was simply adorable, and fit our 5 day-old little model perfectly! I added ruffles to the bum, but that is totally optional! You can obviously choose ANY print/pattern for your romper, and add flair to suit your style.
Fair warning, I am a self-taught sewer…which probably means I do everything “wrong”. Feel free to adapt this pattern, but I will say that it worked GREAT, and fit super well!
Here is the pattern. When you print, make sure not to resize (choose 100% scaling..not fit to page or something else that may resize it).
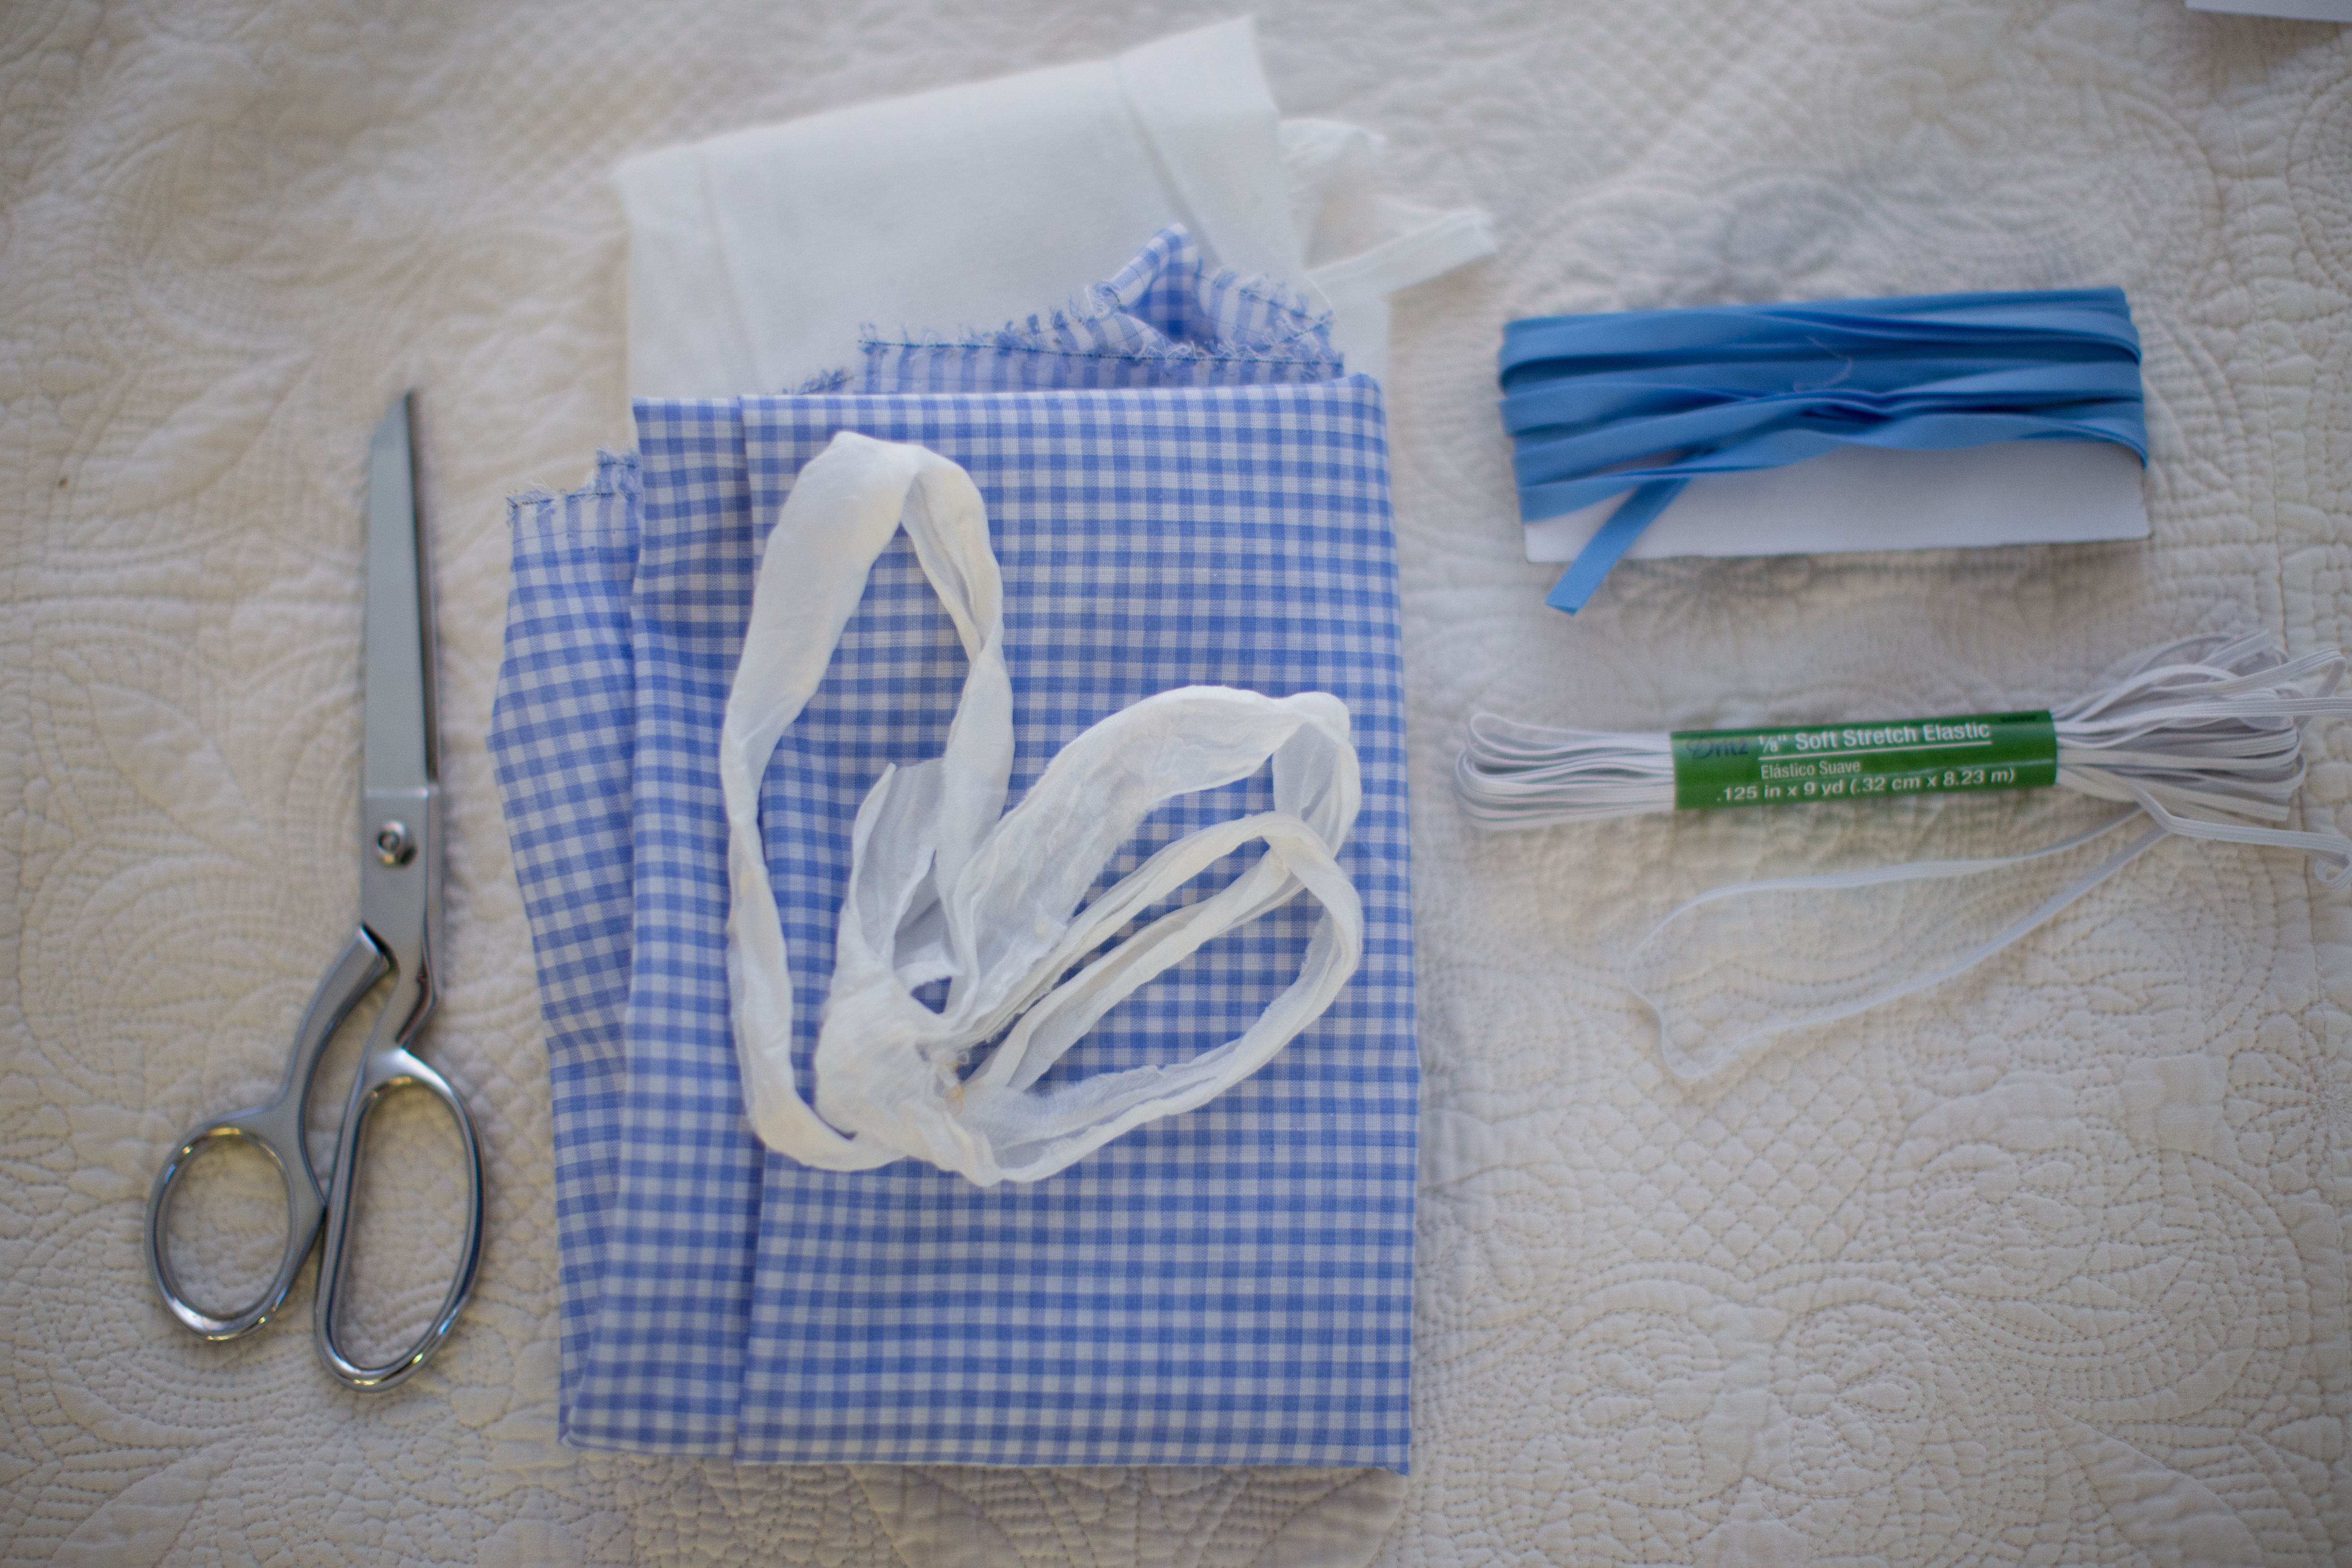 Materials:
14” of fabric of your choice
Thin elastic, approximately a yard.
Thread
Sewing machine
Coordinating ribbon/yard for the ties. About a yard needed.
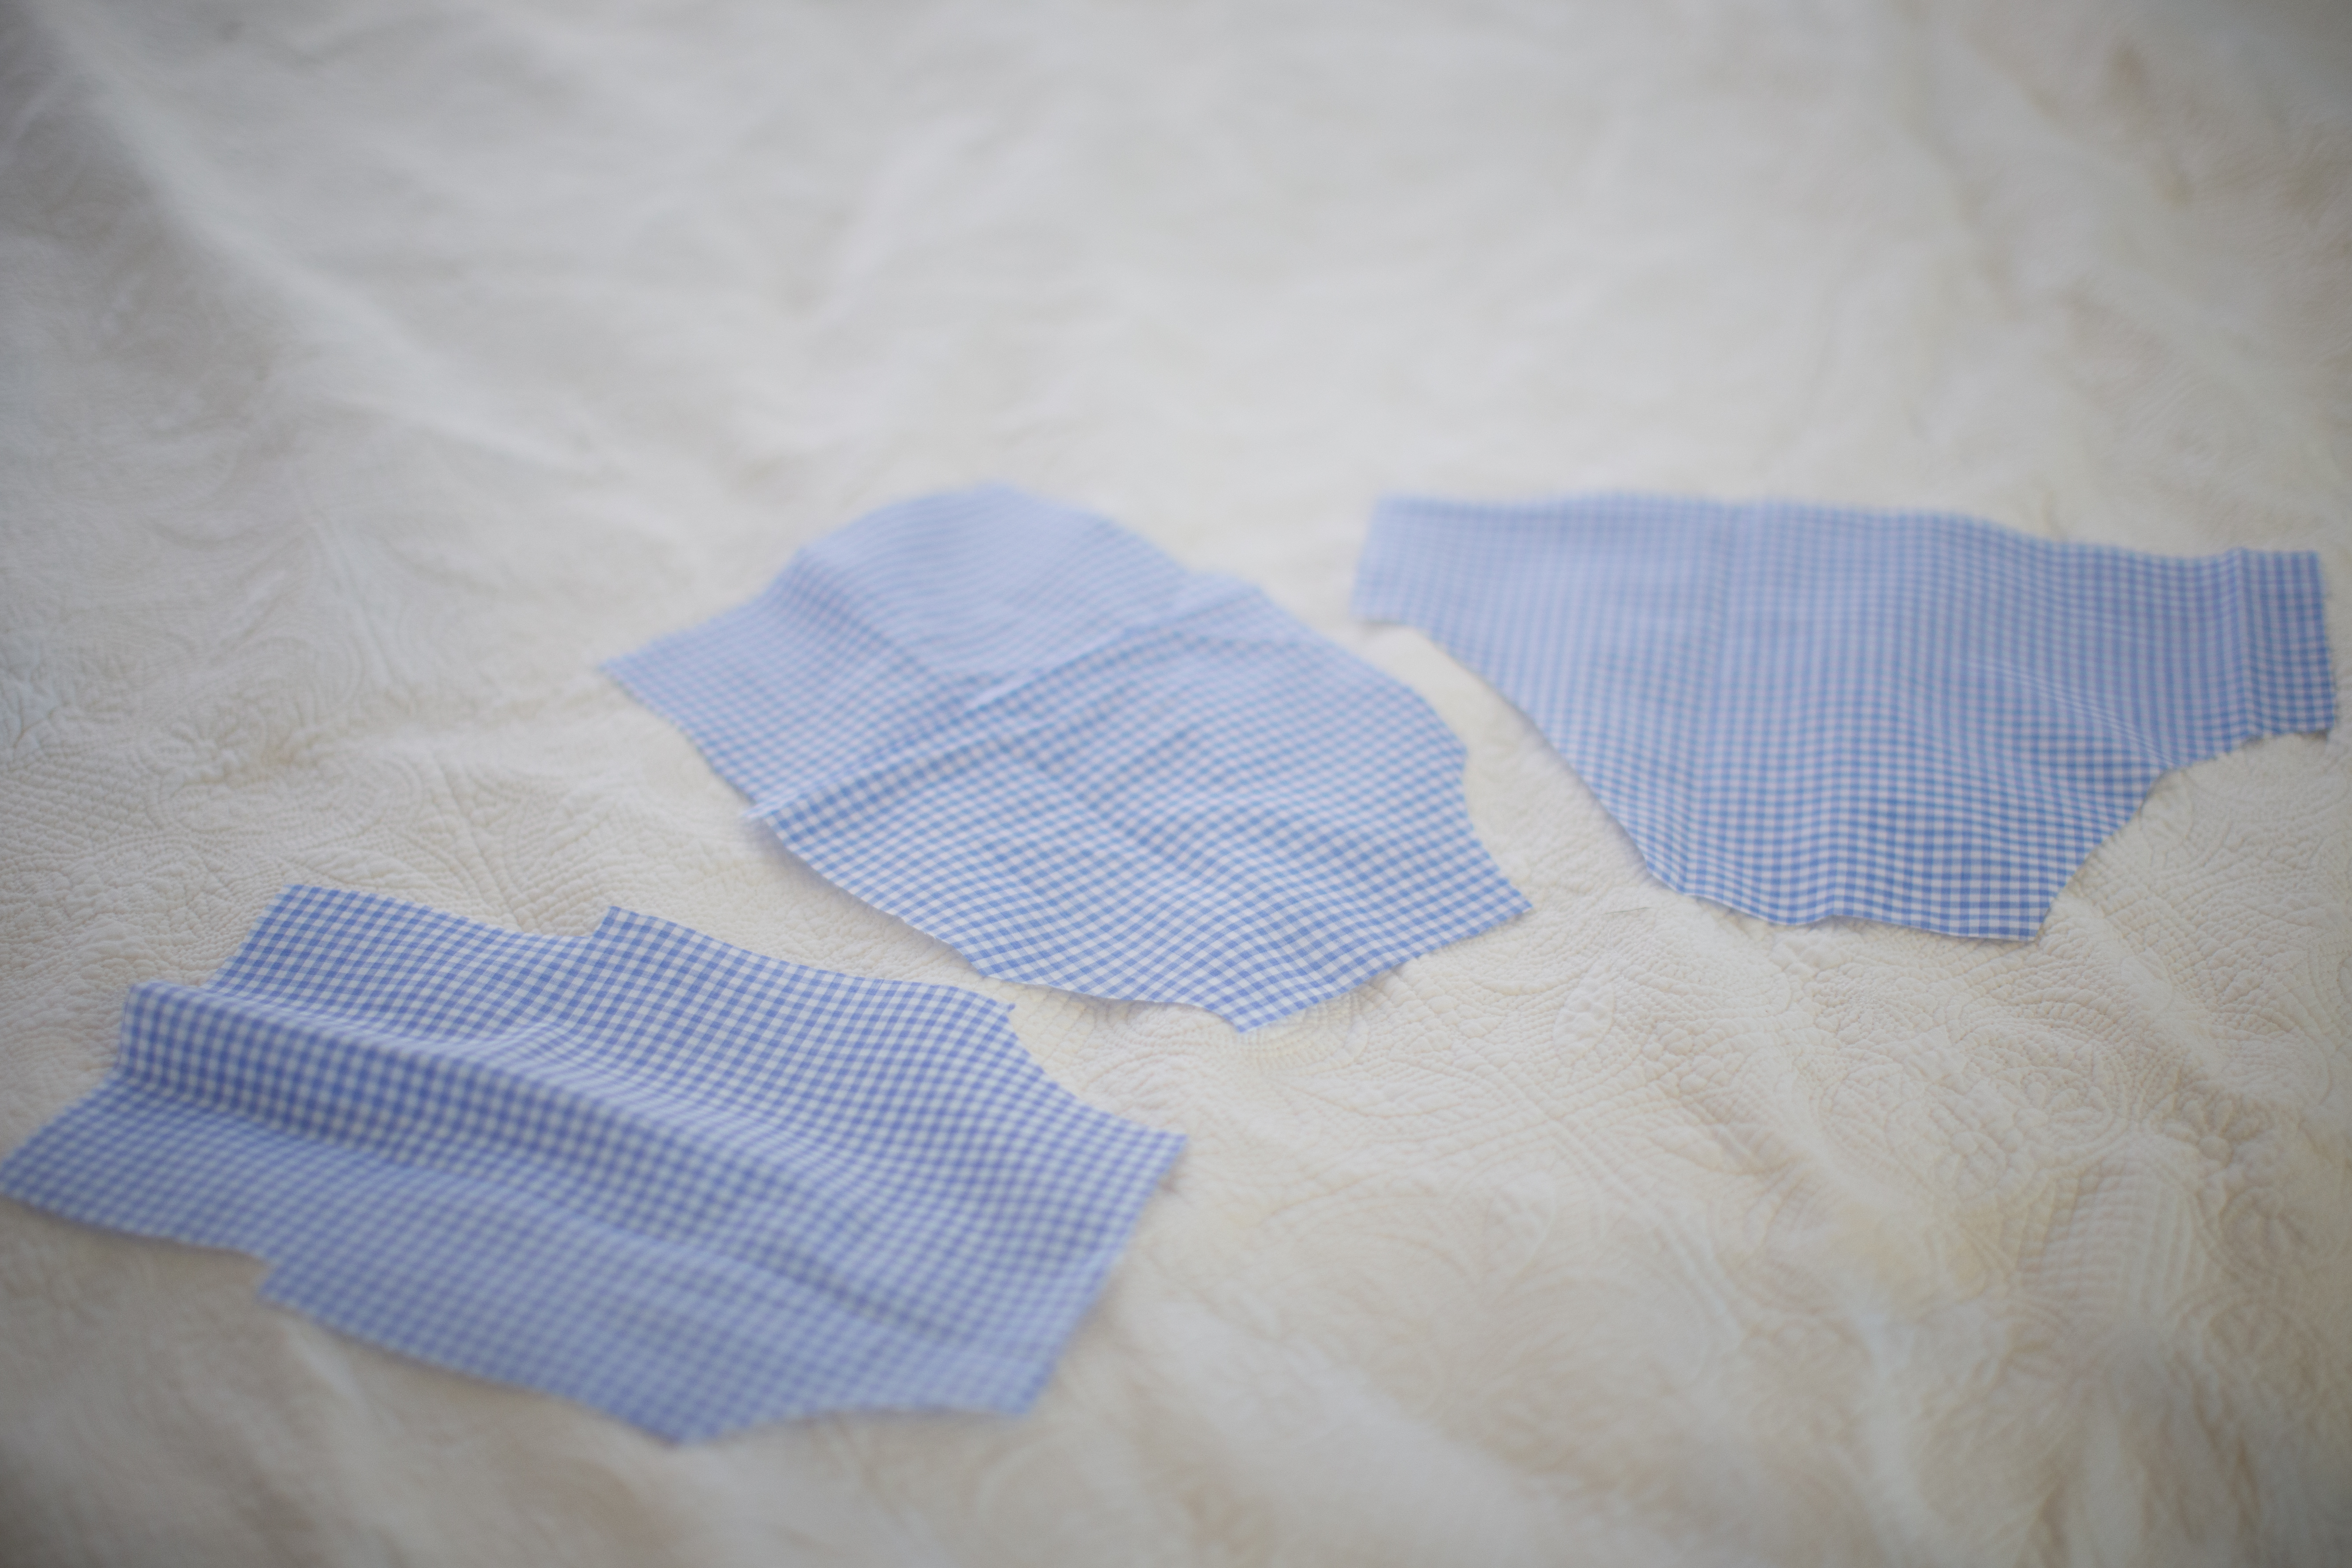
Start by cutting out the pattern pieces, and then connecting the two FRONT pieces. Line up the A triangles, and tape.
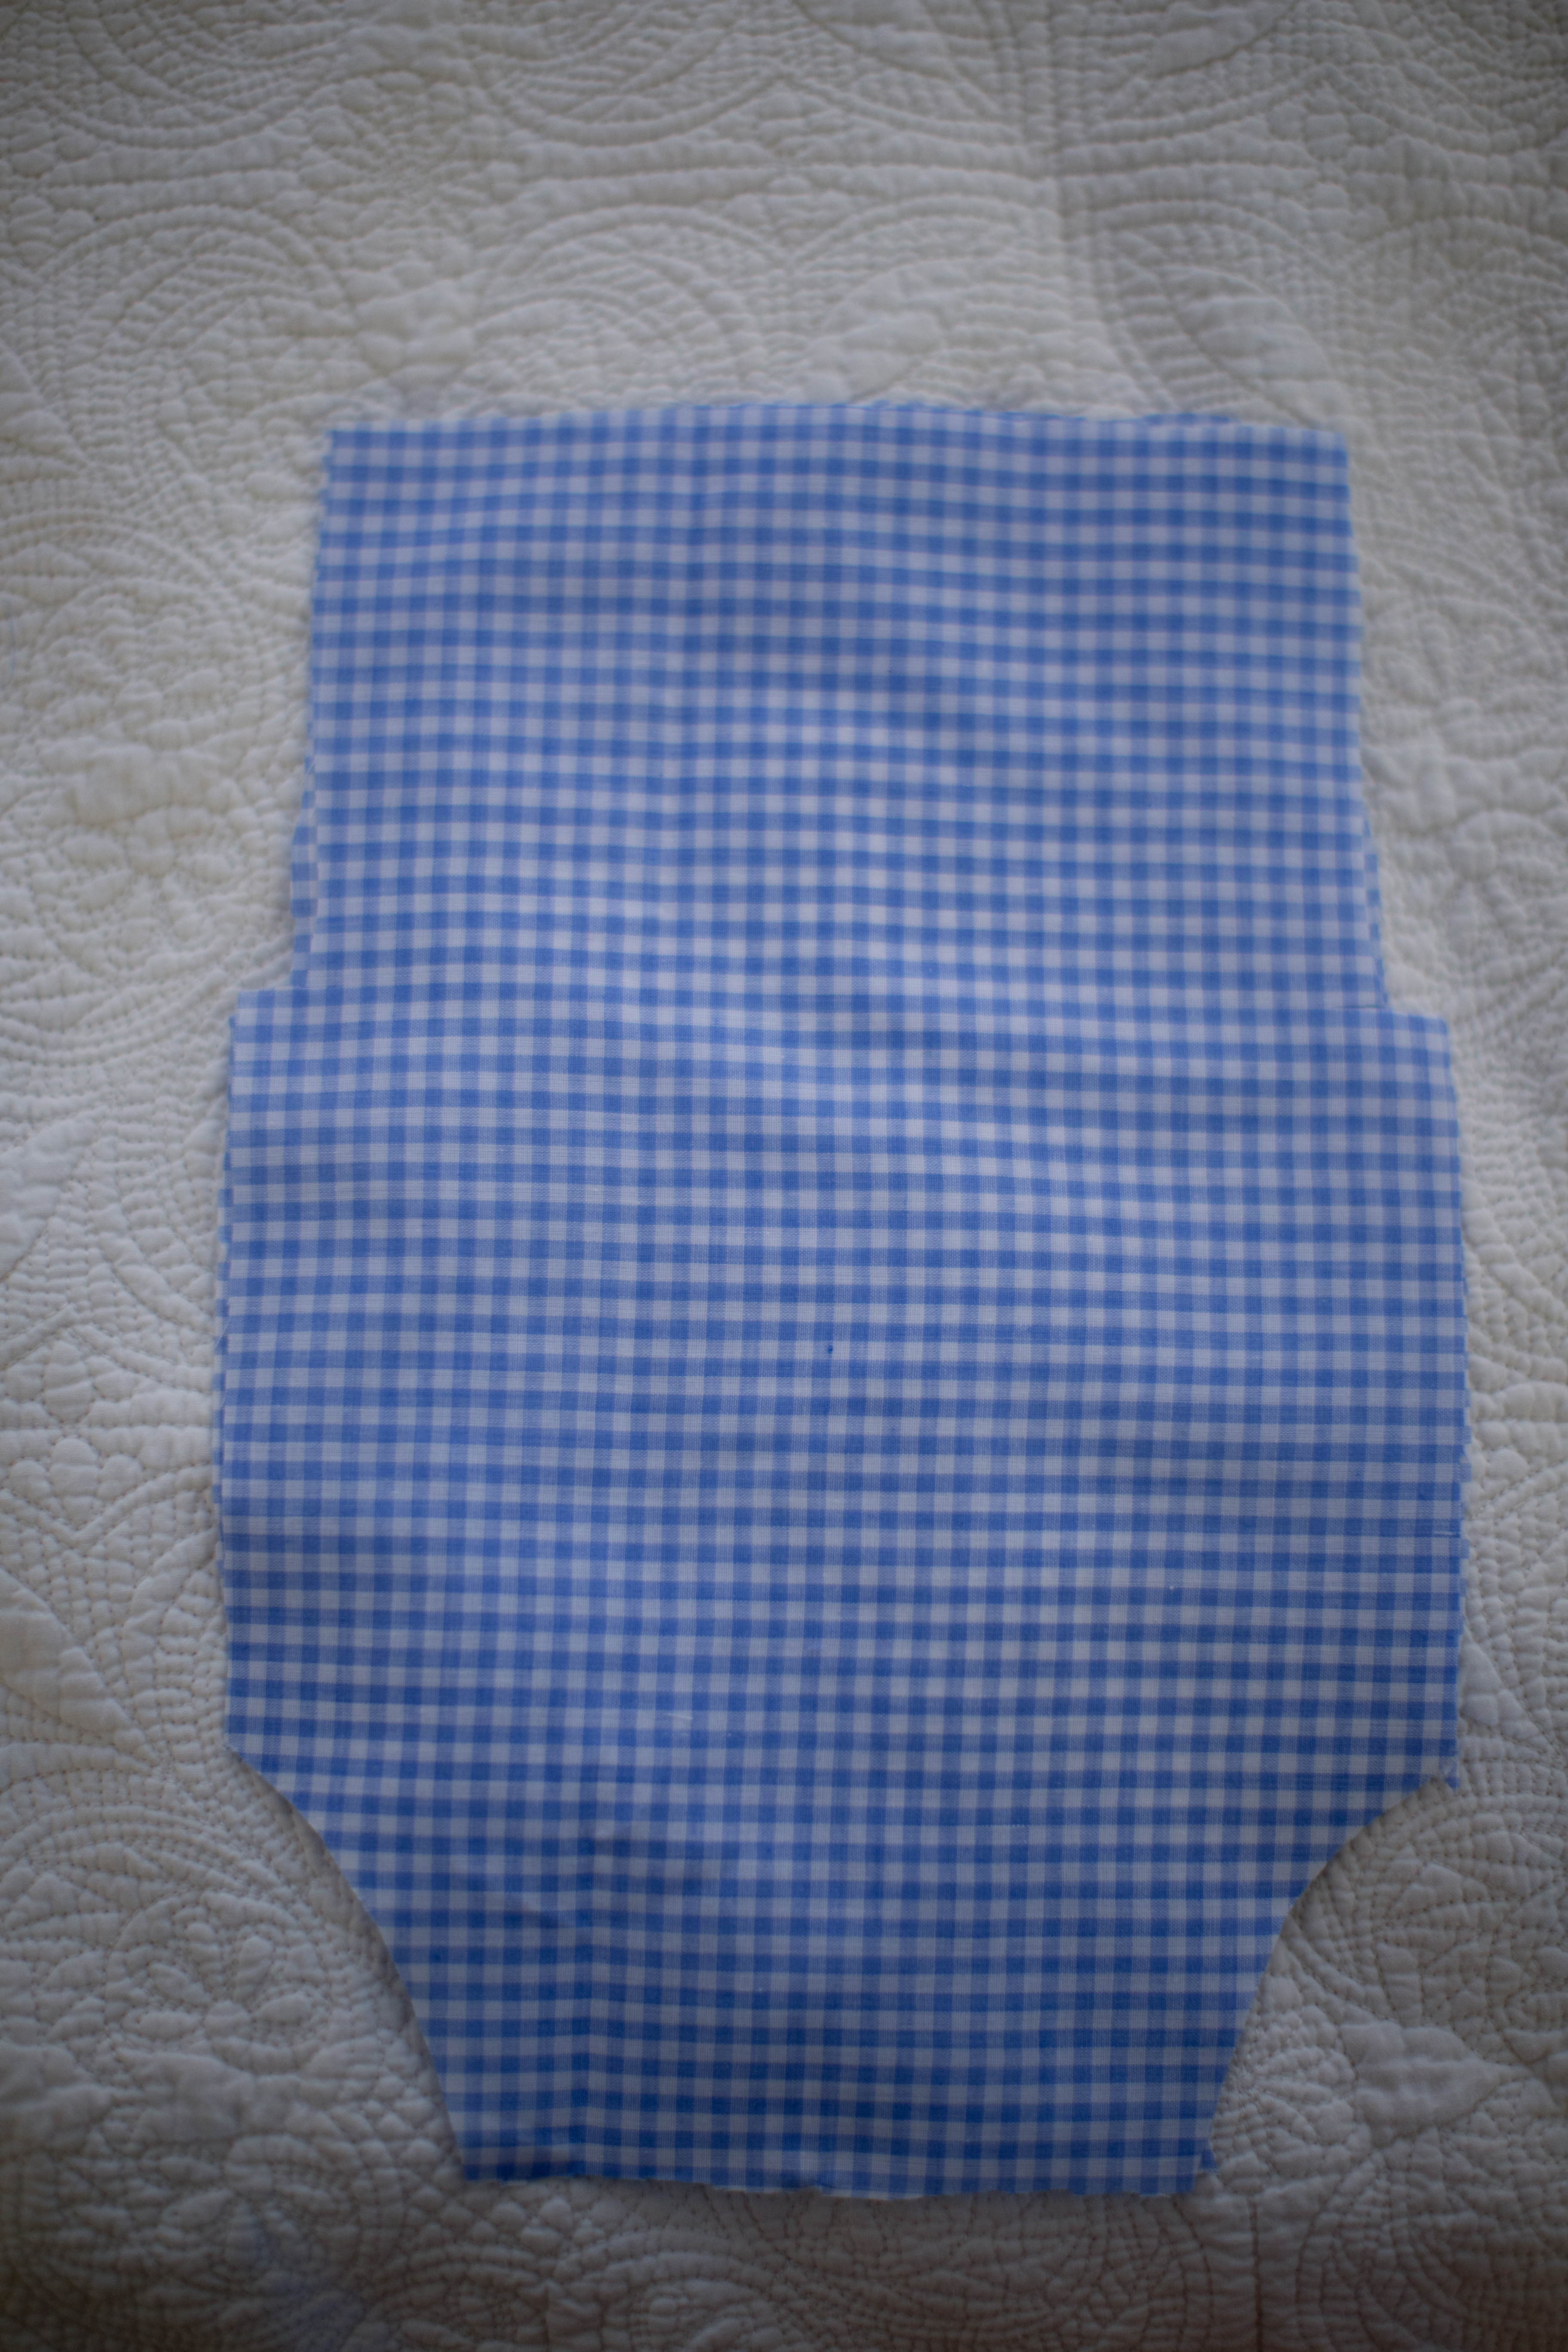
Lay patterns on a fold (where indicated) and line up the “FOLD” edge on the fold. Cut out patterns. Cut two of the FRONT piece.
The pattern is made with a 1/8” seam allowance.
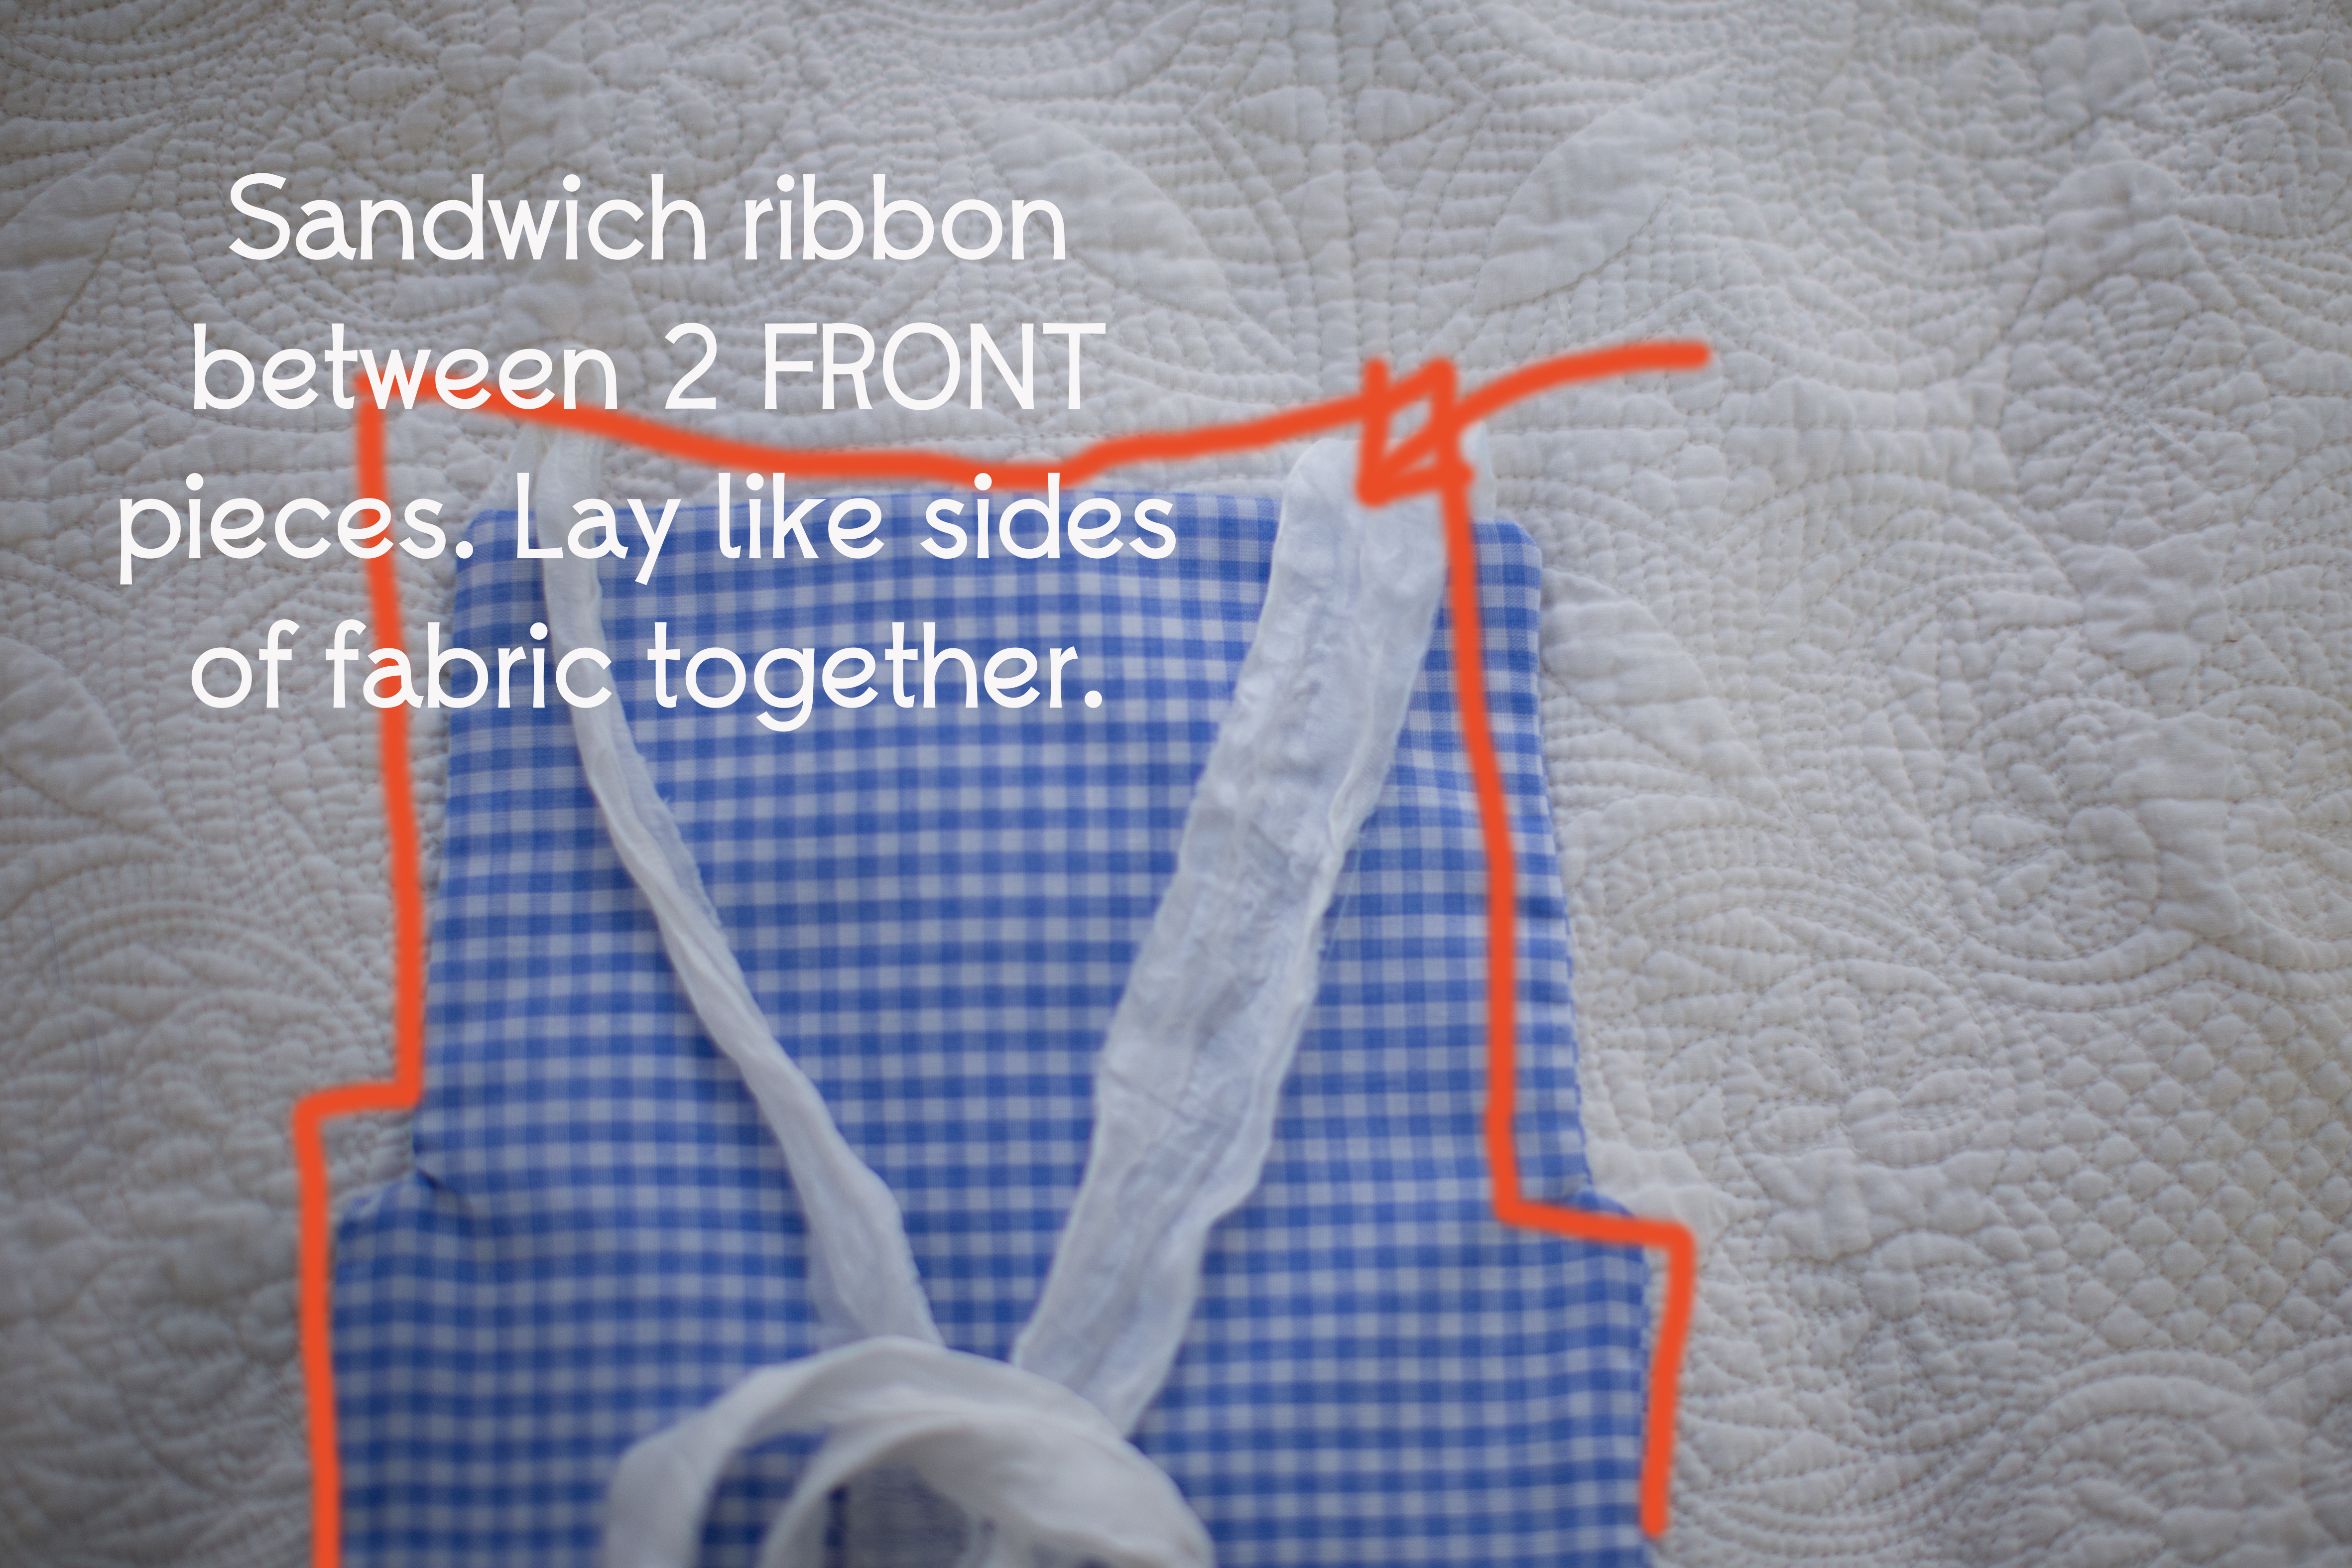
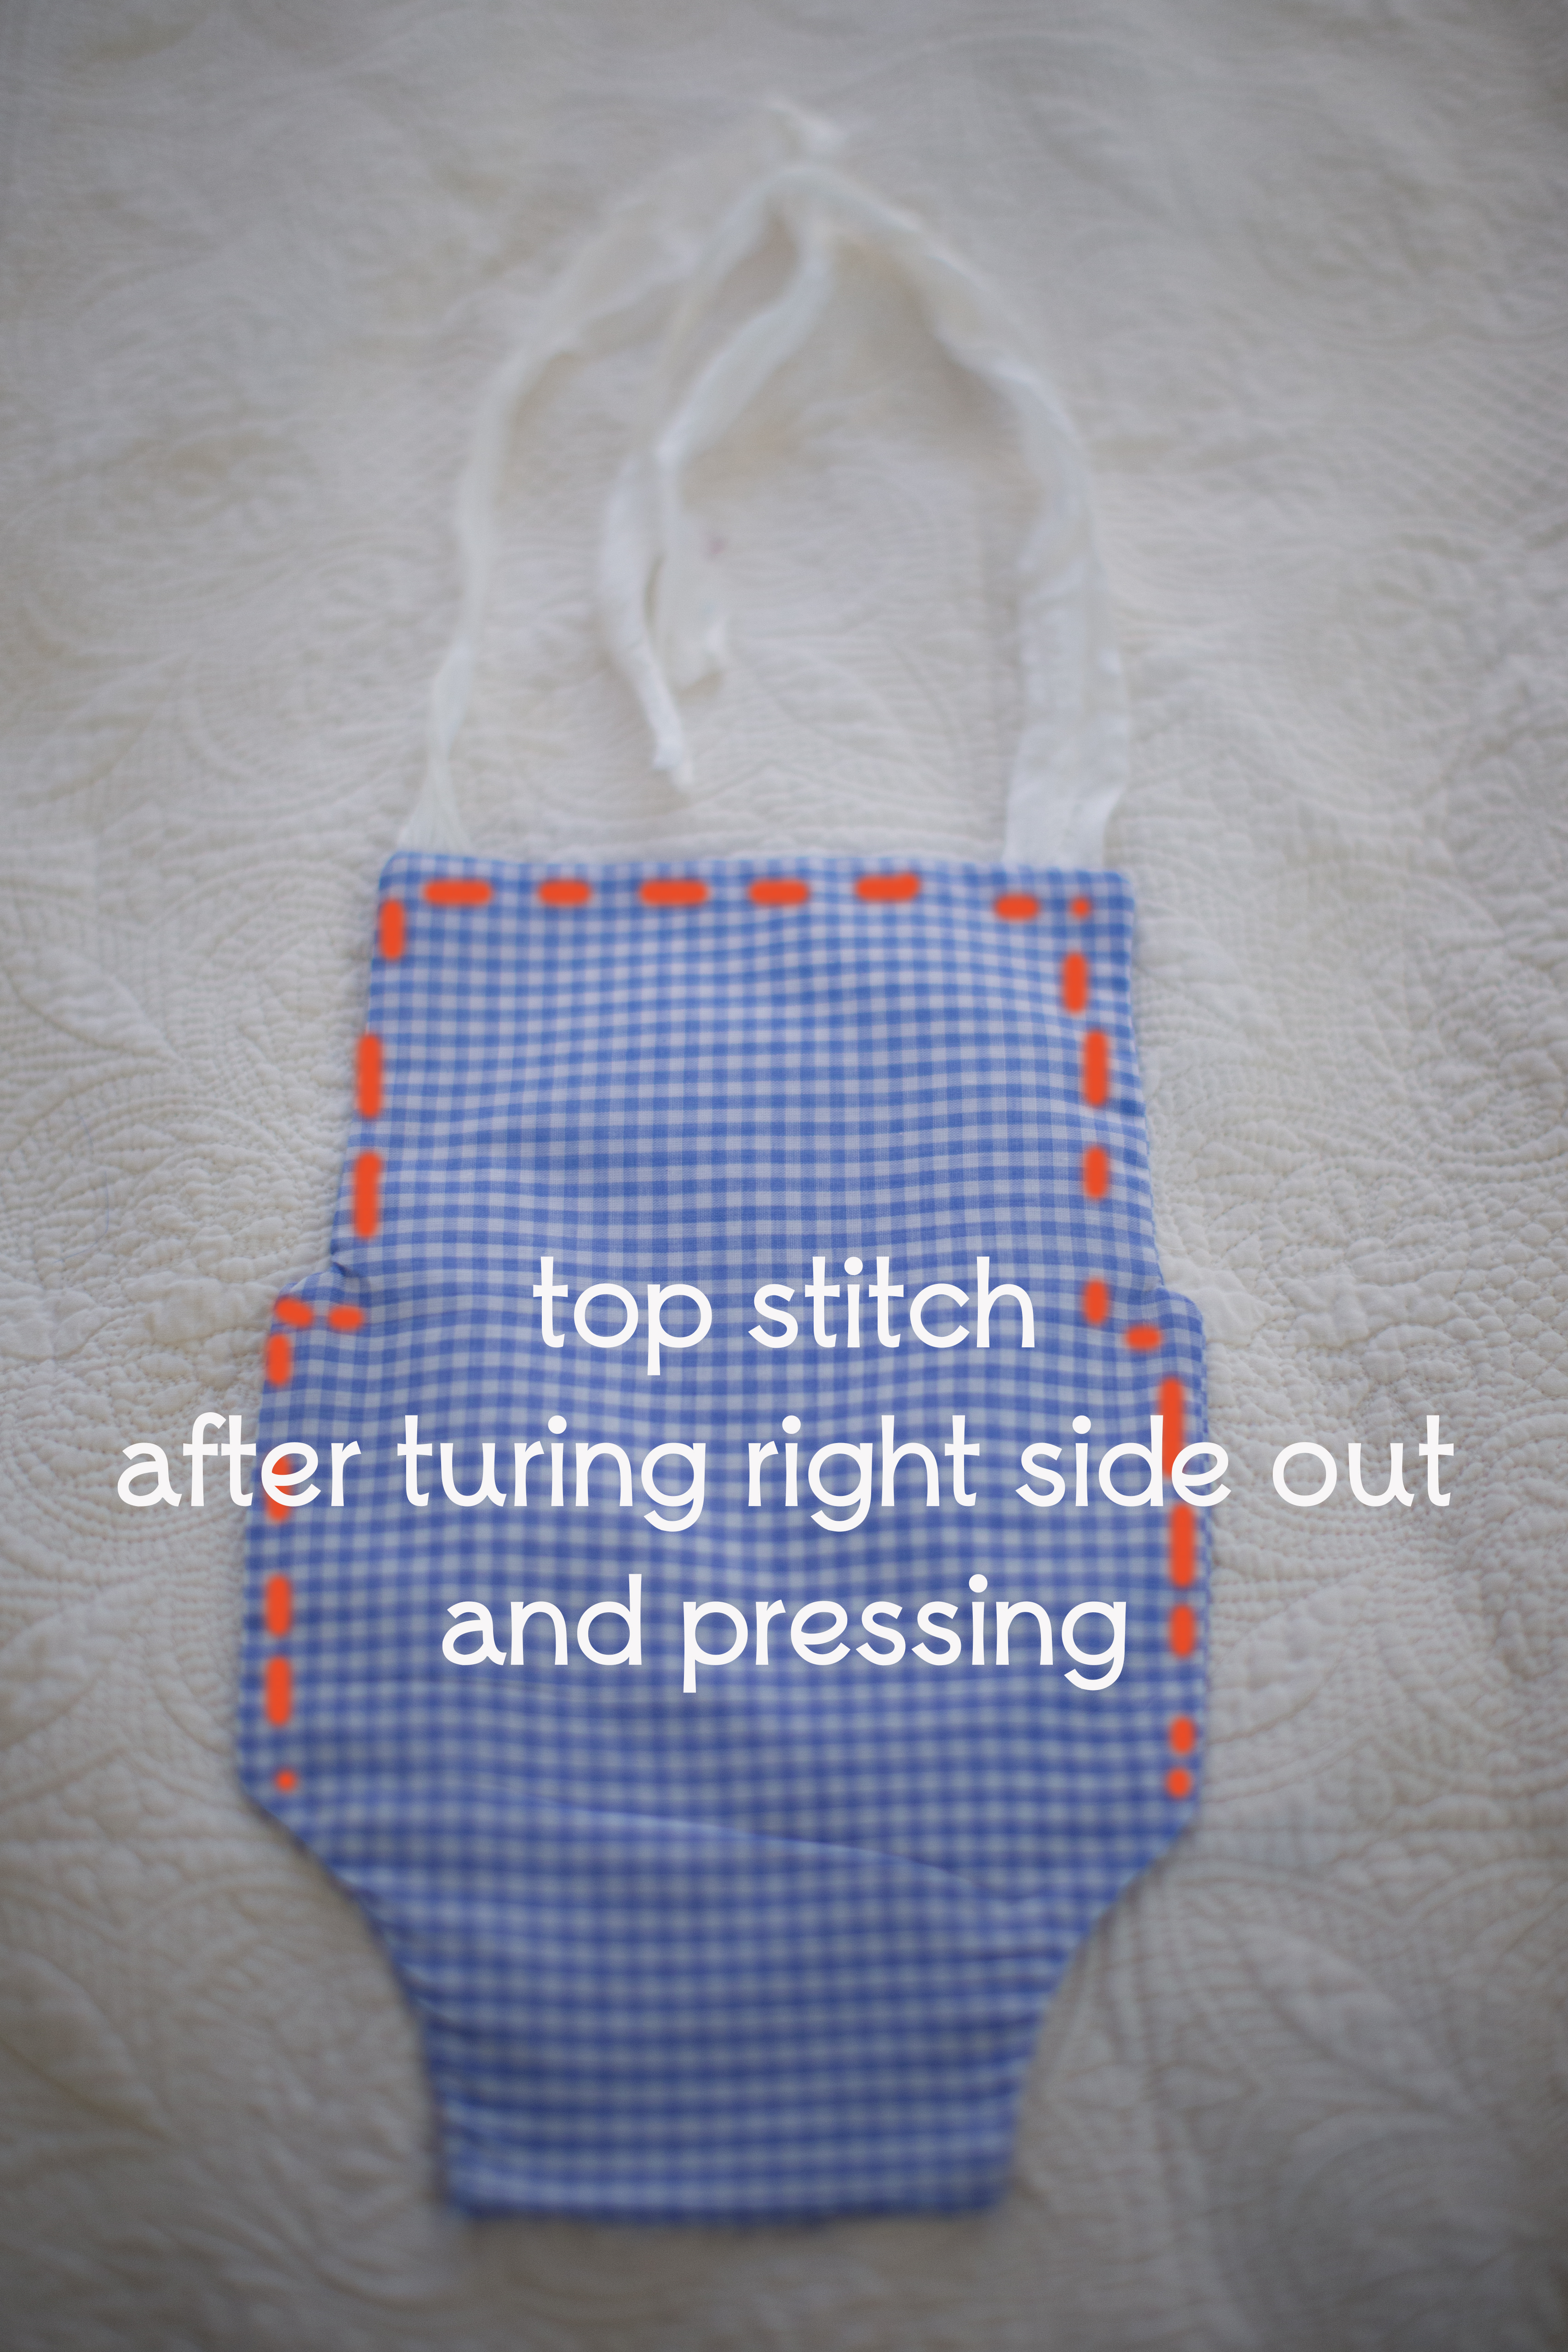
Sandwich your ribbon between the two “Front” cut pieces. Place fabric like sides together. Lay the ribbon ends about ½ in from each top corner. Pin the excess ribbon to the center so you don’t accidentally sew over it!
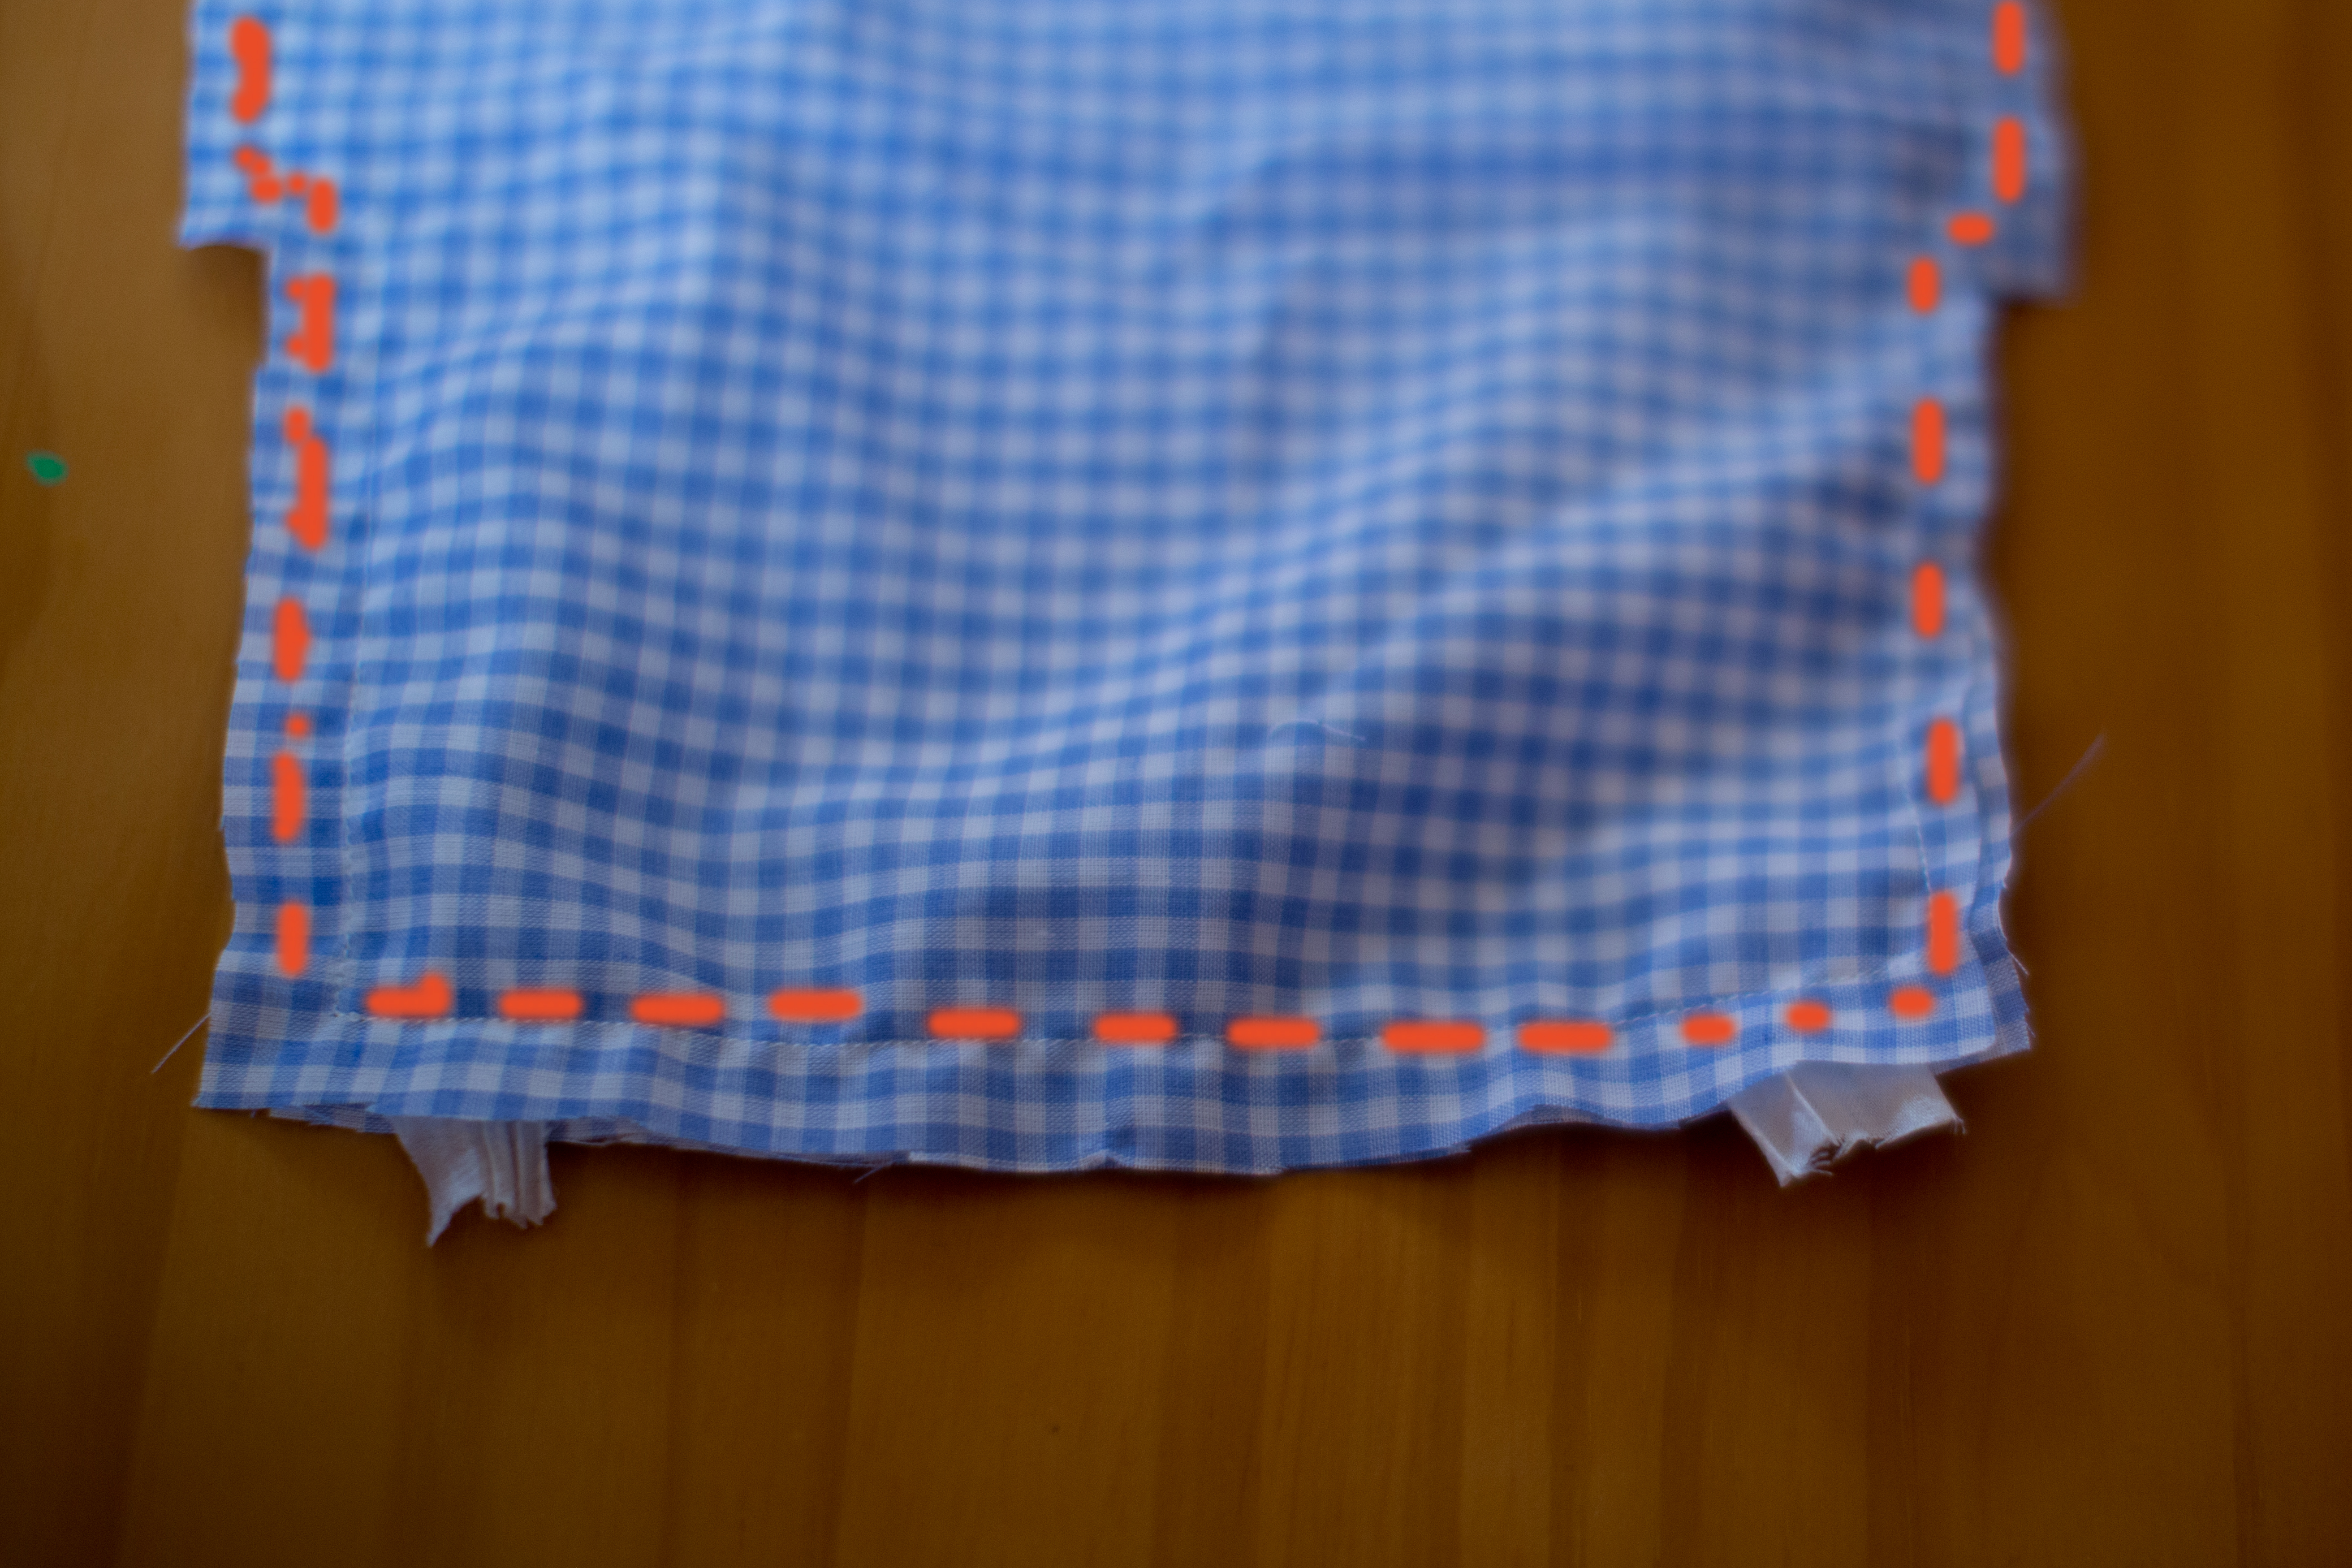
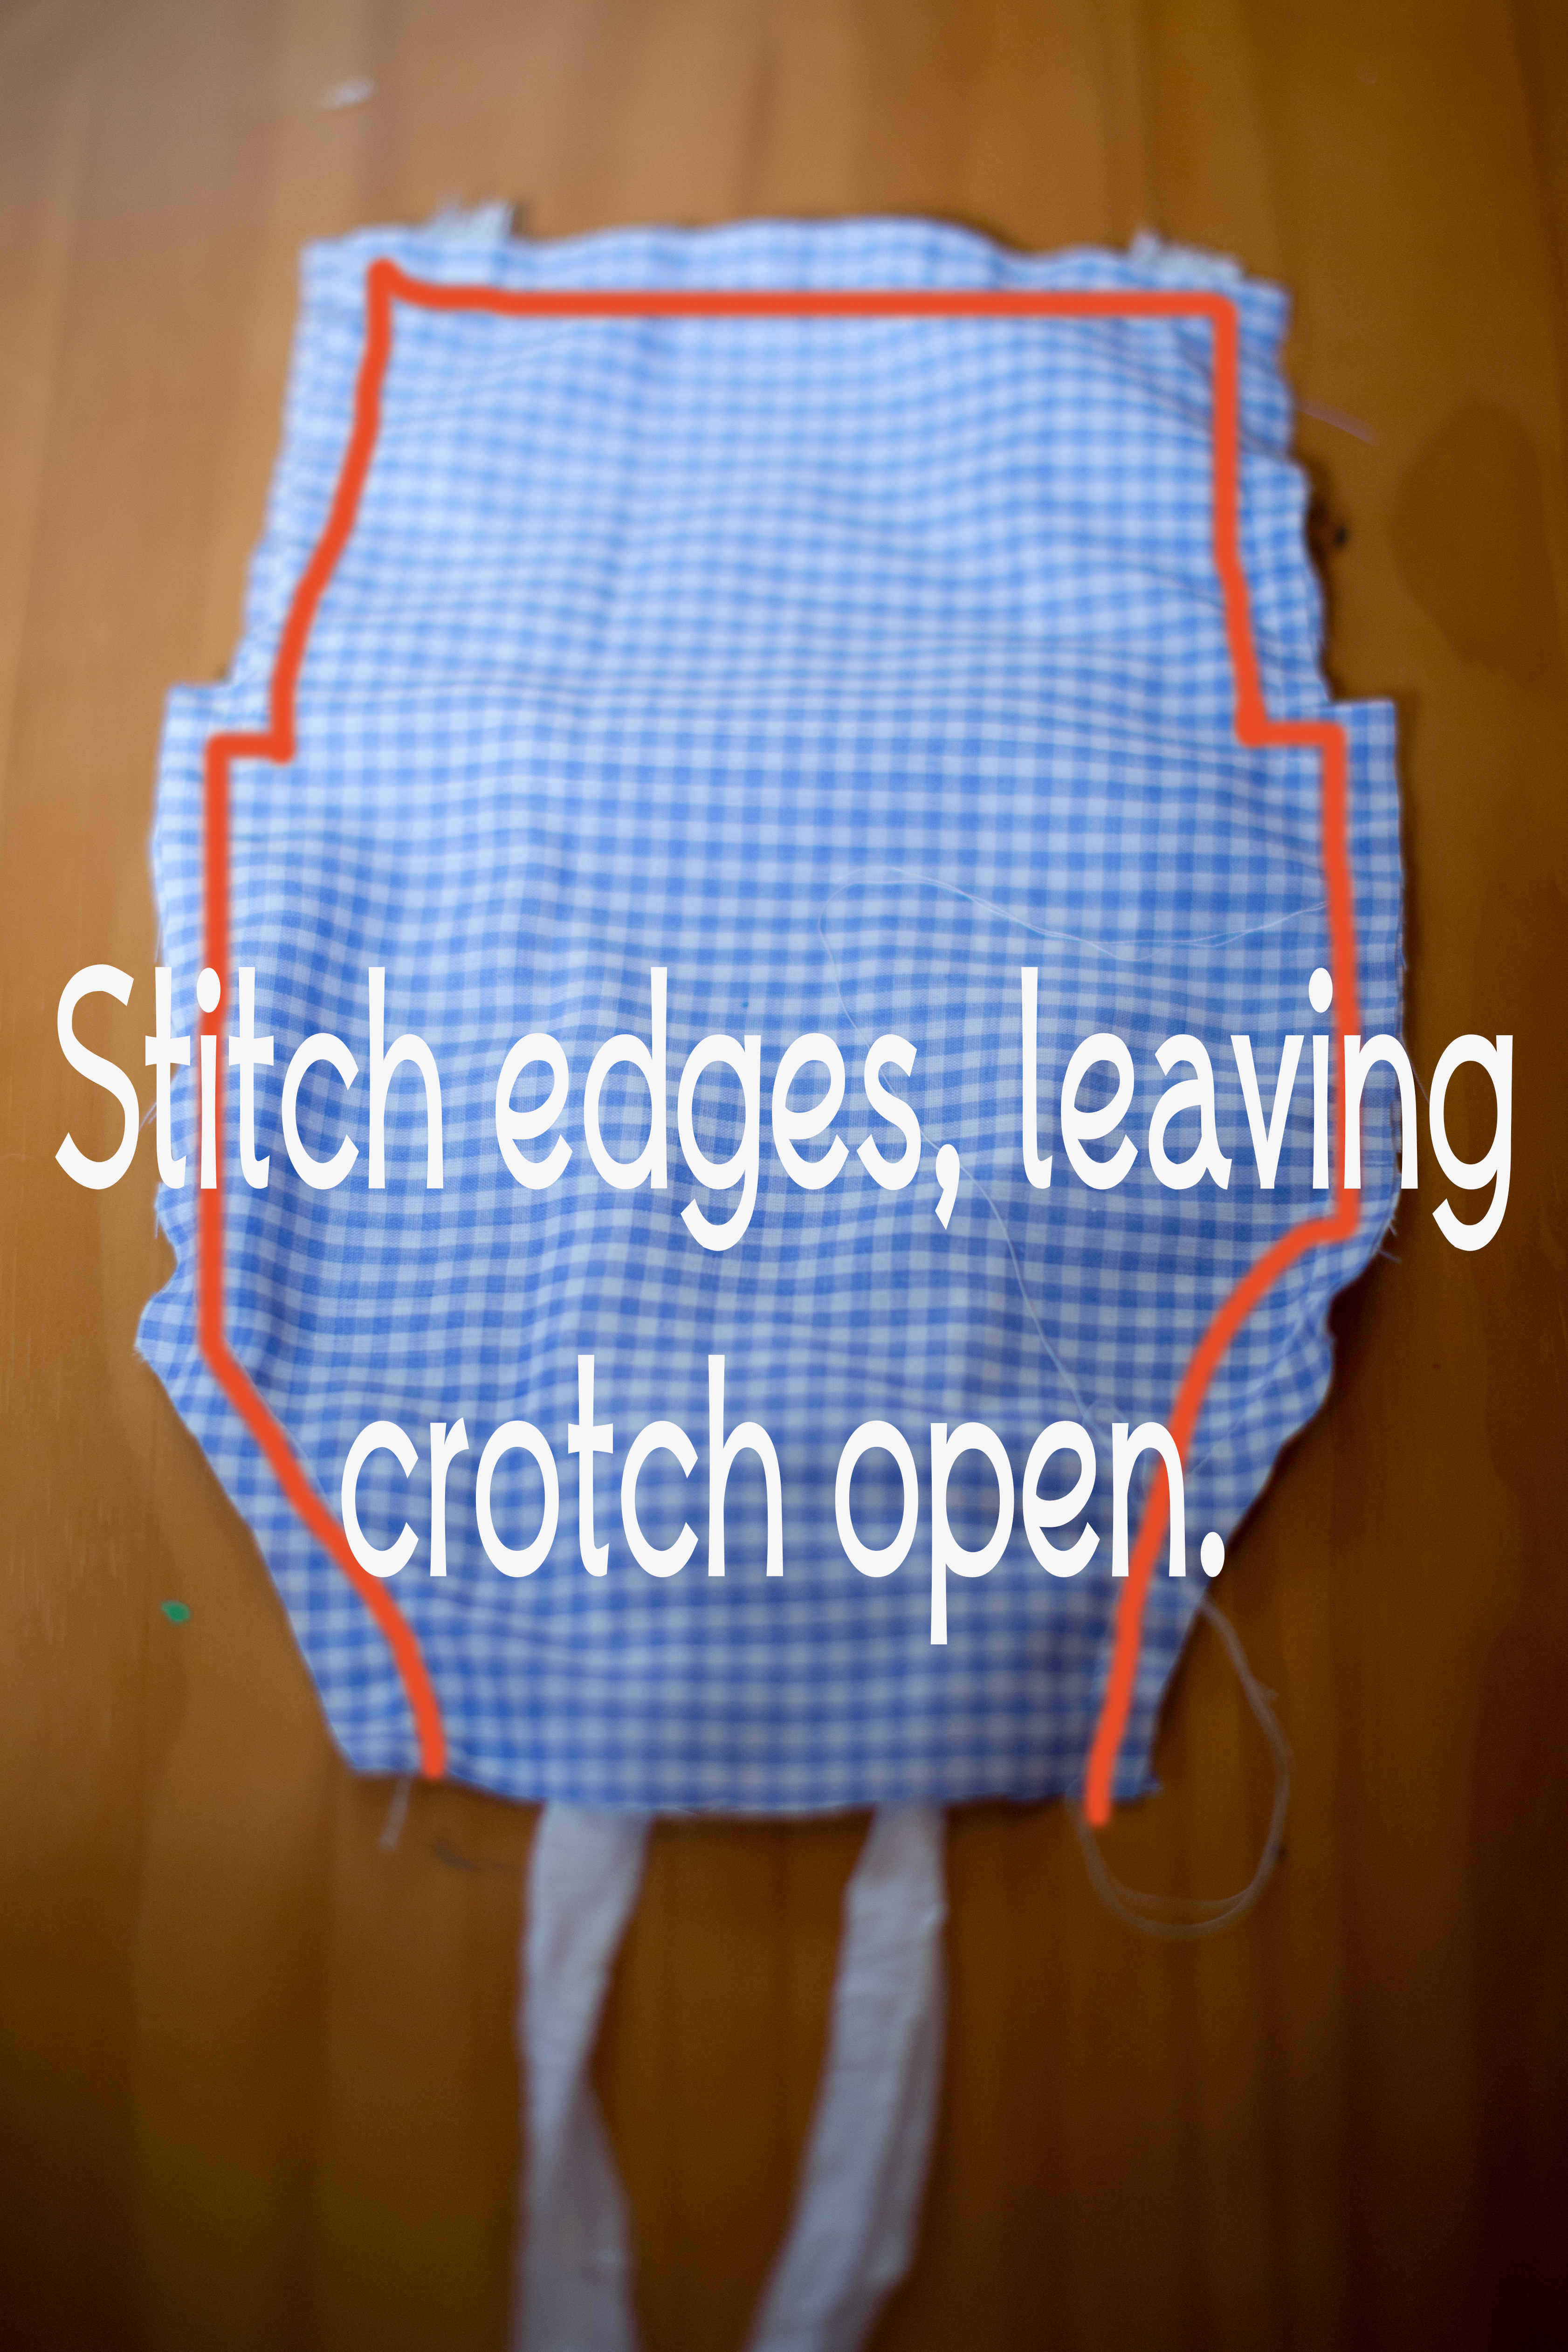
Sew around the edges, leaving the bottom (crotch) open.
Trim bulk, trim corners, etc. Turn right side out, and press. Use something pointy (pen, etc) to turn out the corners completely. Top stitch the front piece after pressing.
.jpg)
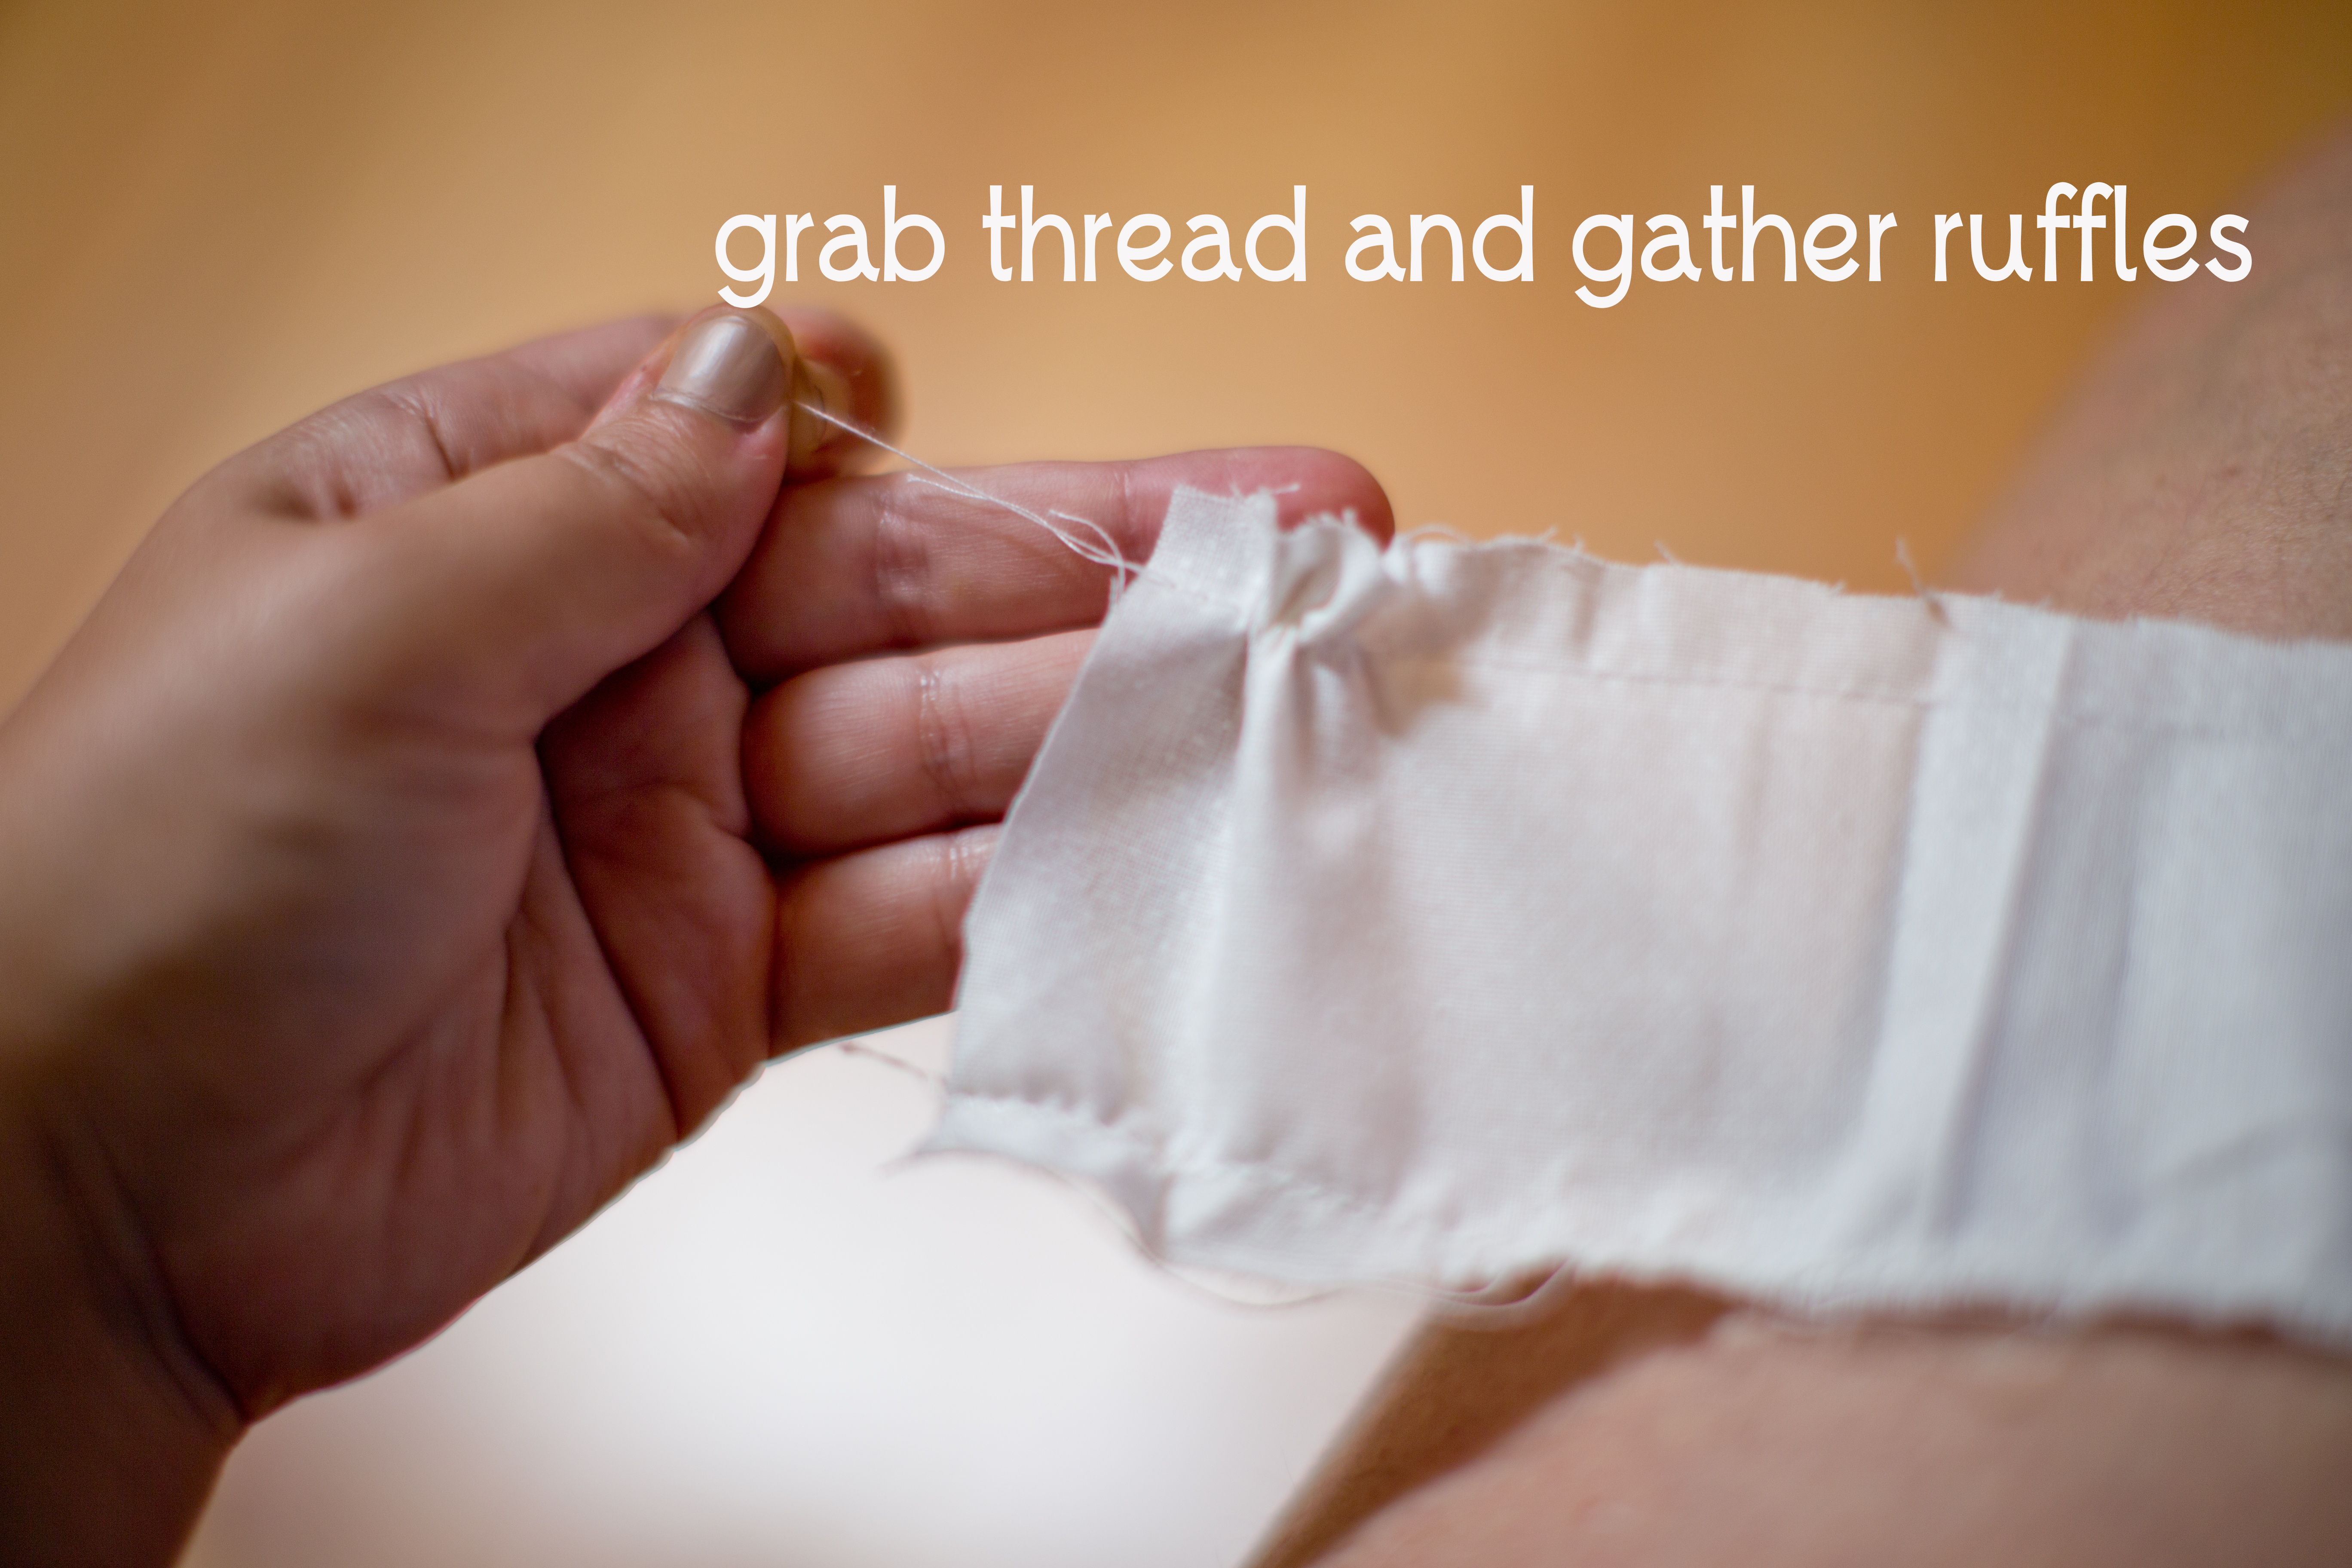
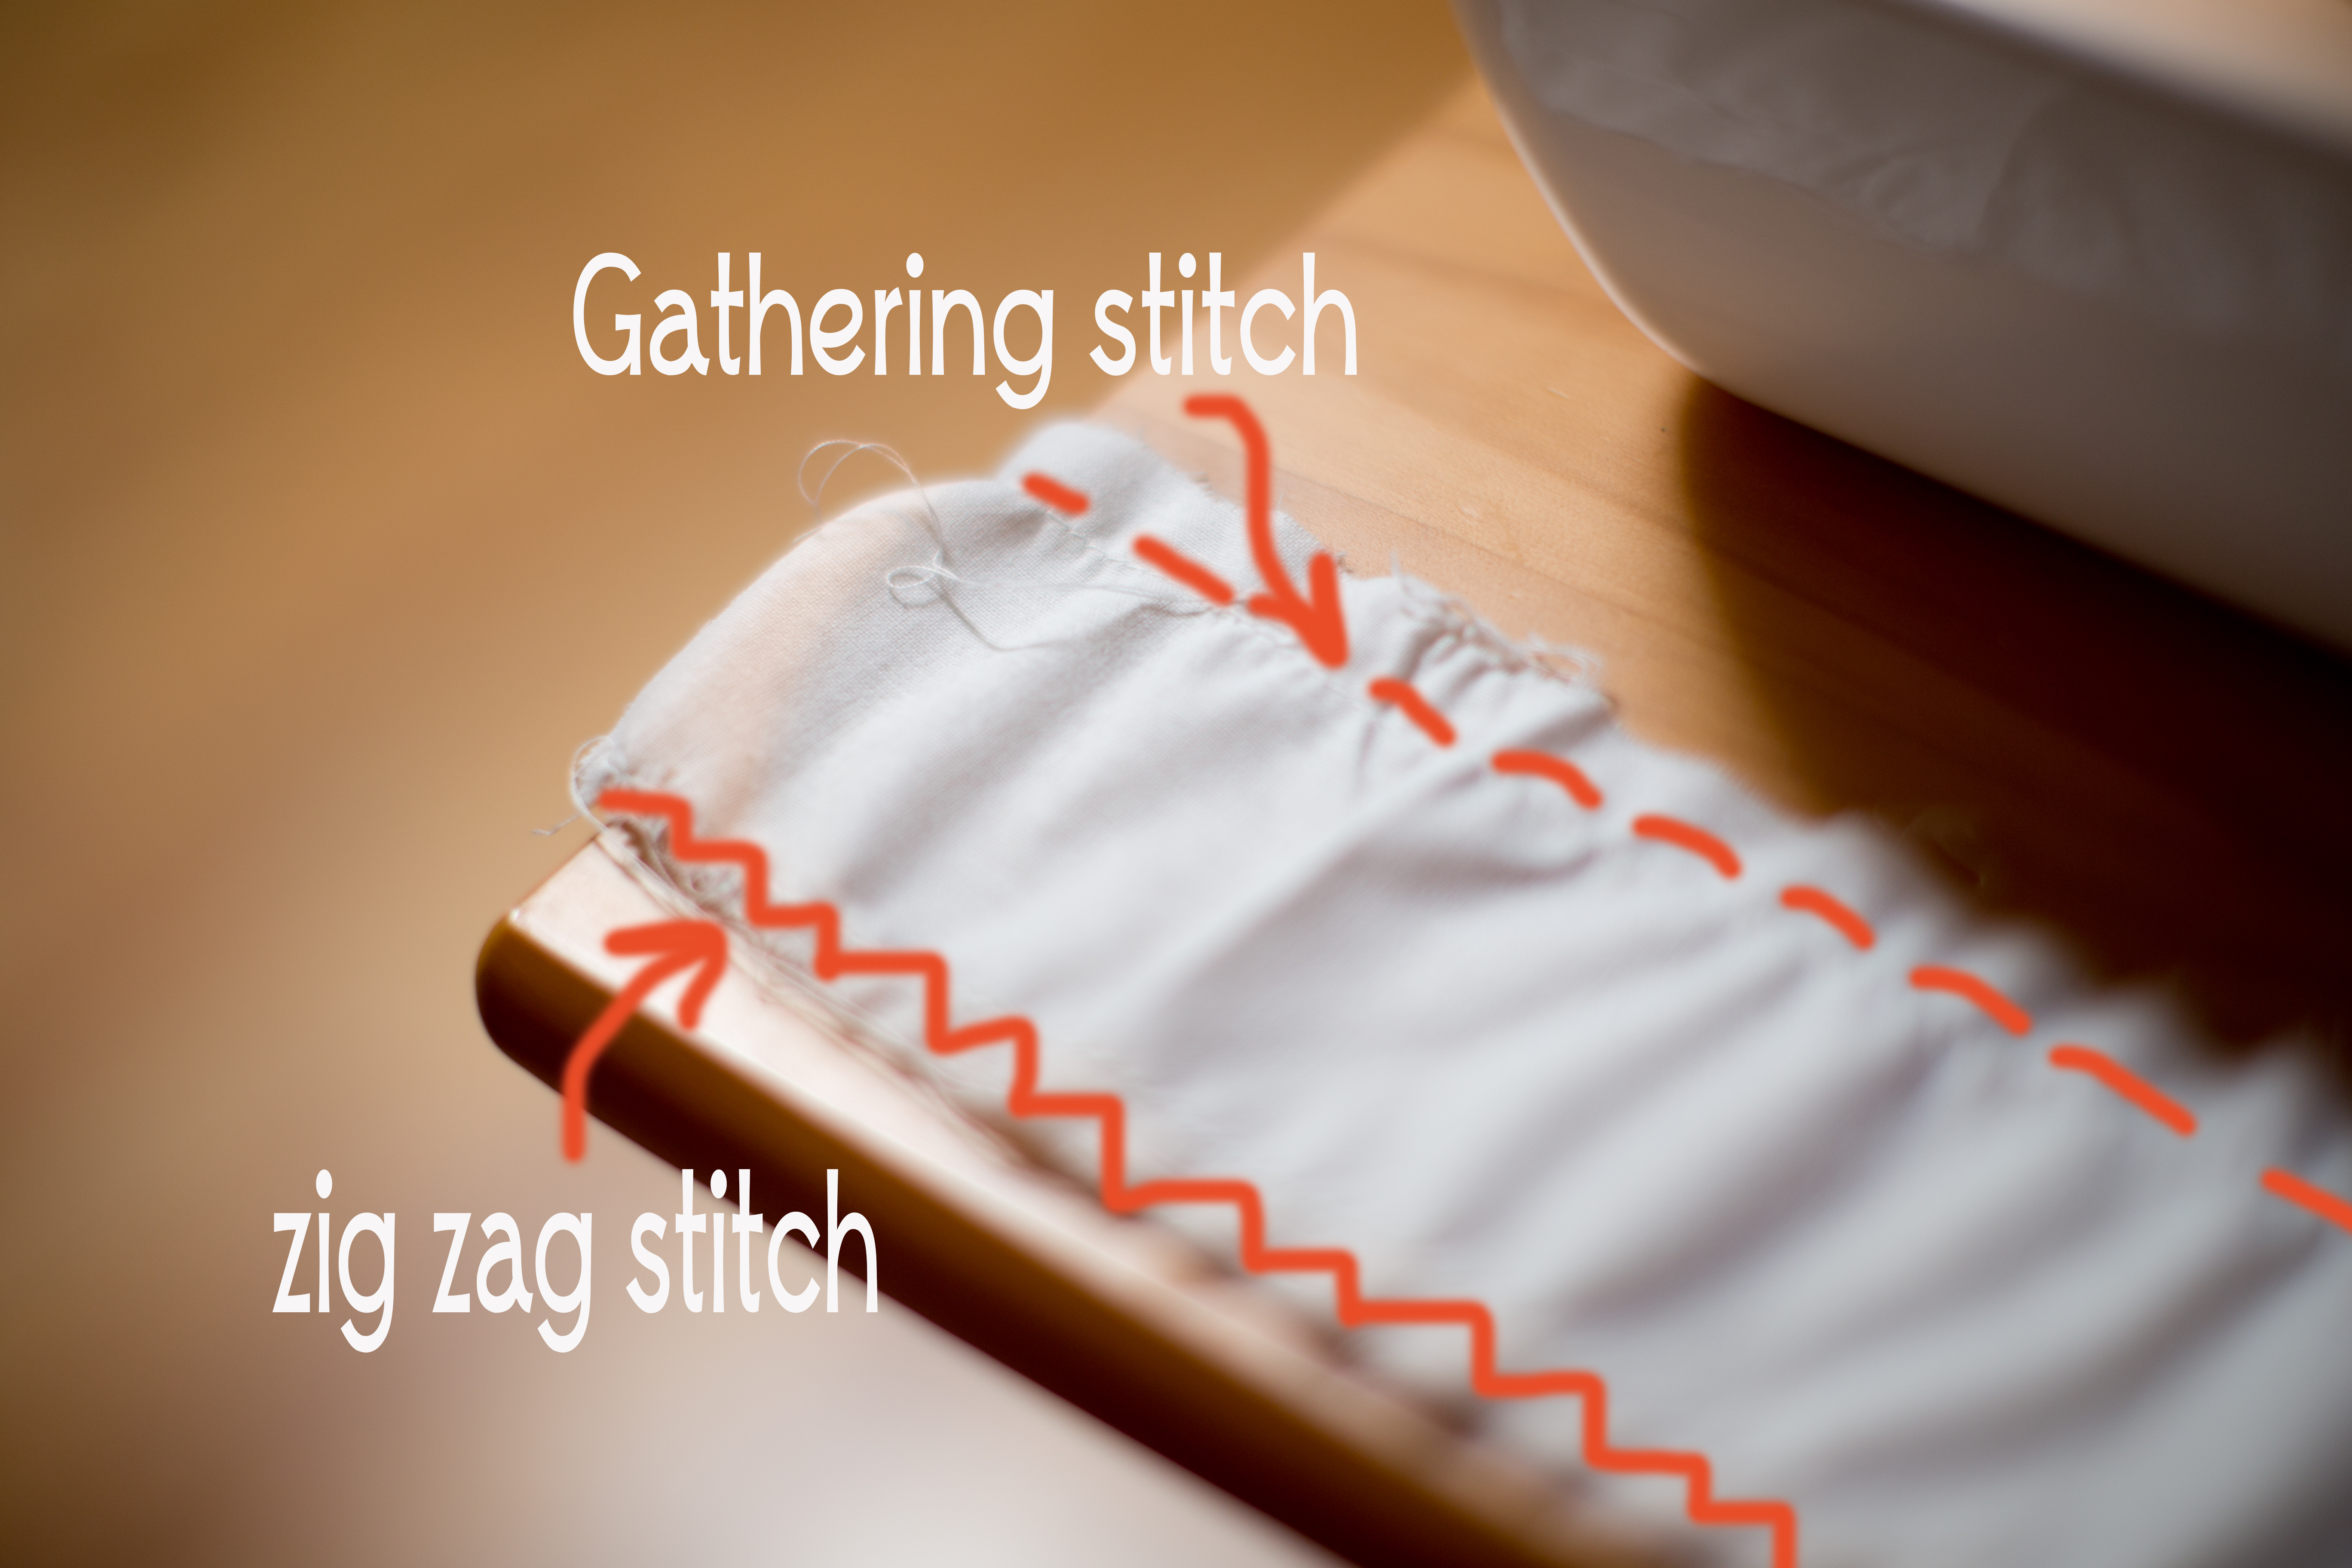
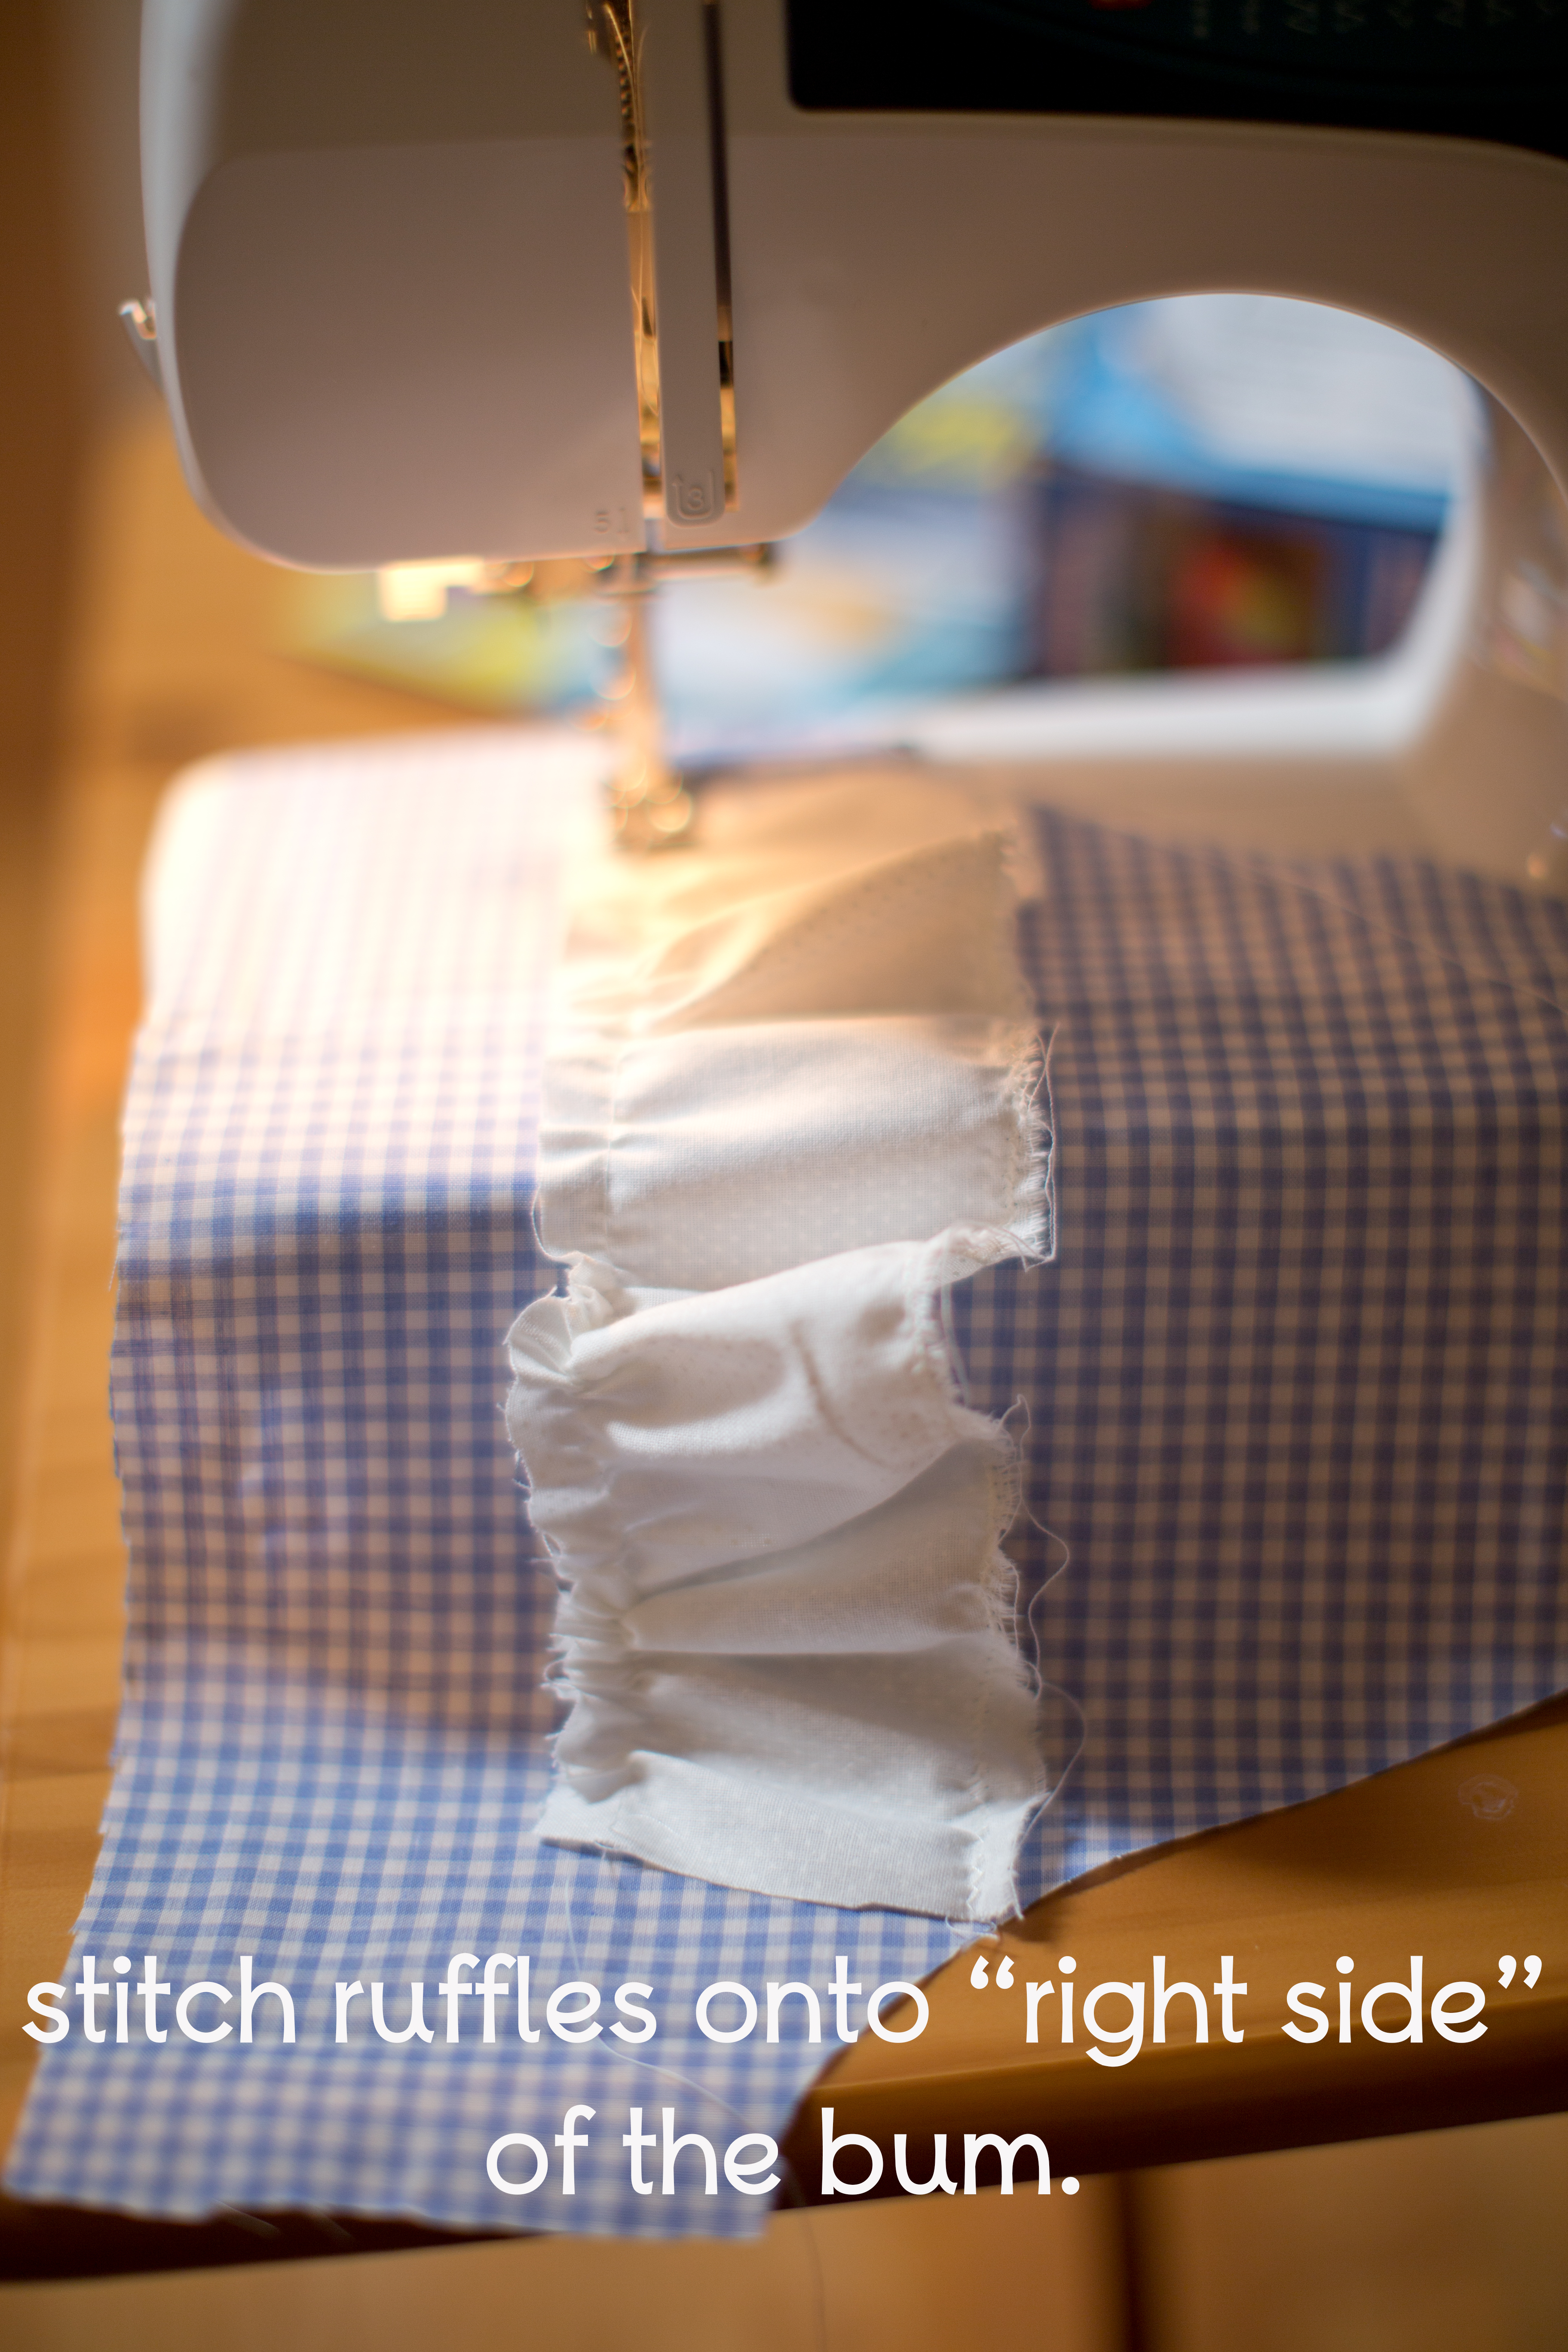
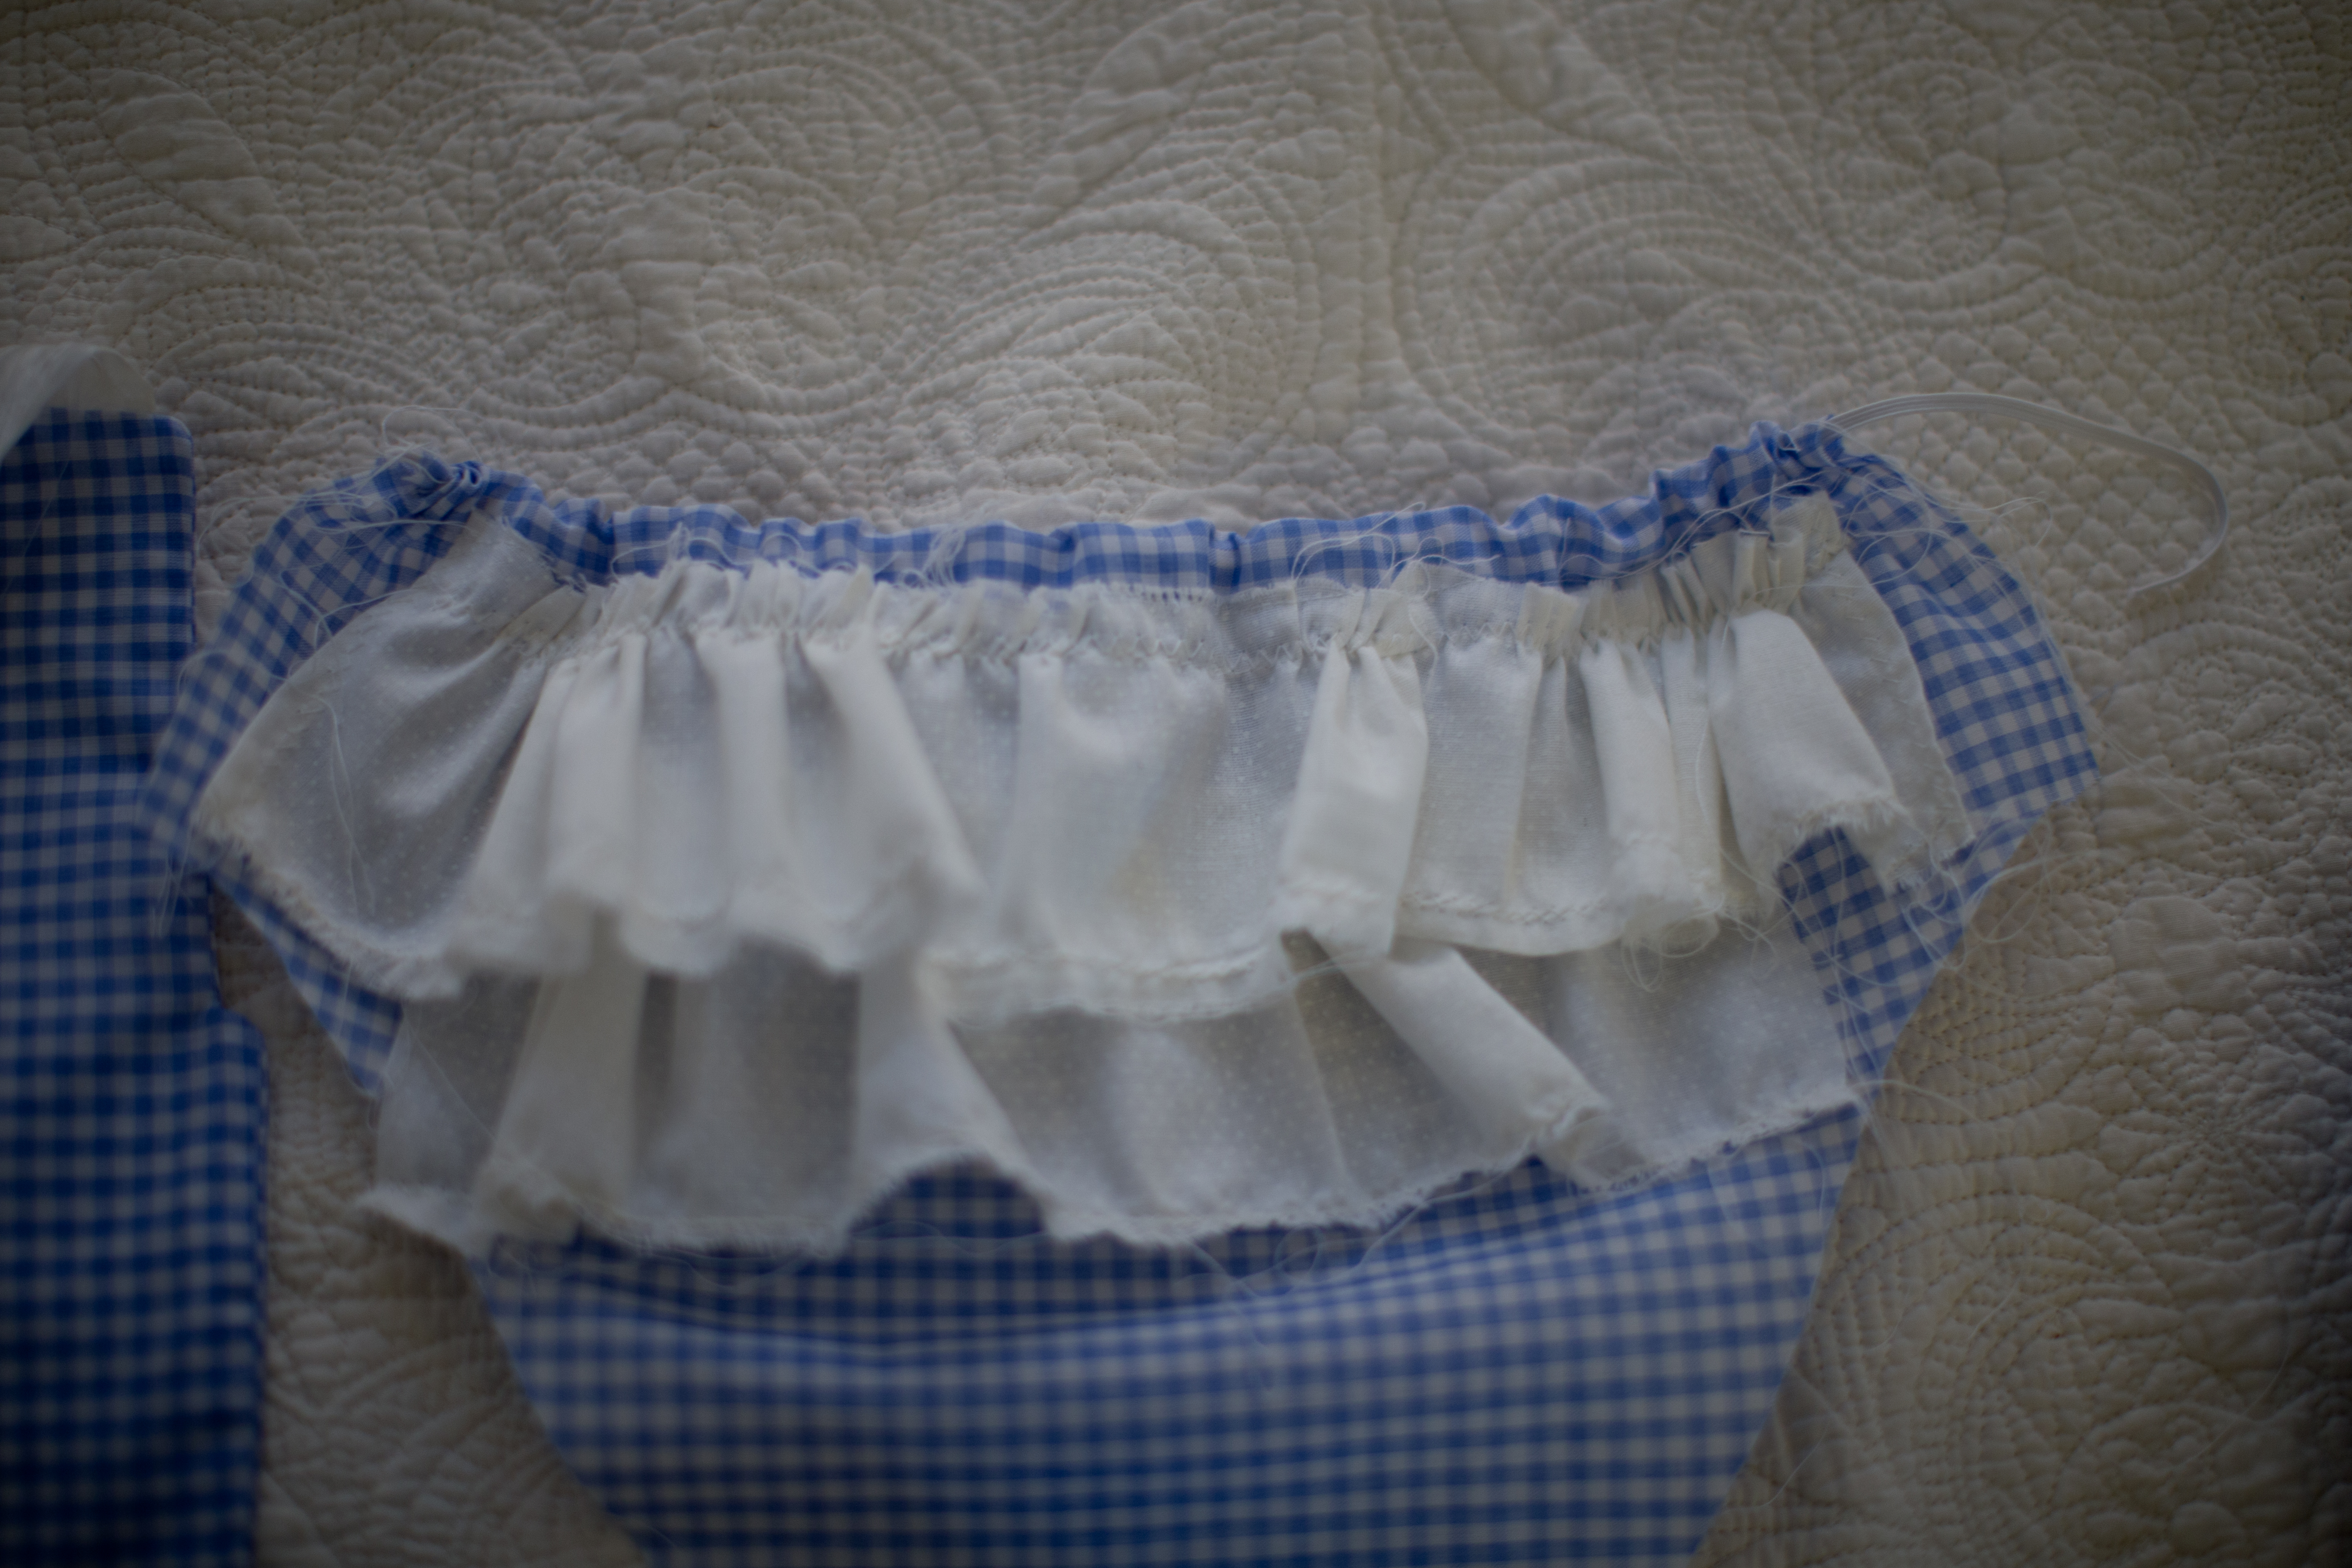
For the ruffles, I cut a rectangle that was 2” by 22” and one that was 2” by 14”. I totally winged it for this. I then zig-zag stitched one edge (so it won’t unravel), and used a gathering stich along the other long edge. I ruched the rectangles to a size that looked cute on the bum, and used a zig-zag stitch to attach them along the back piece.
.jpg)
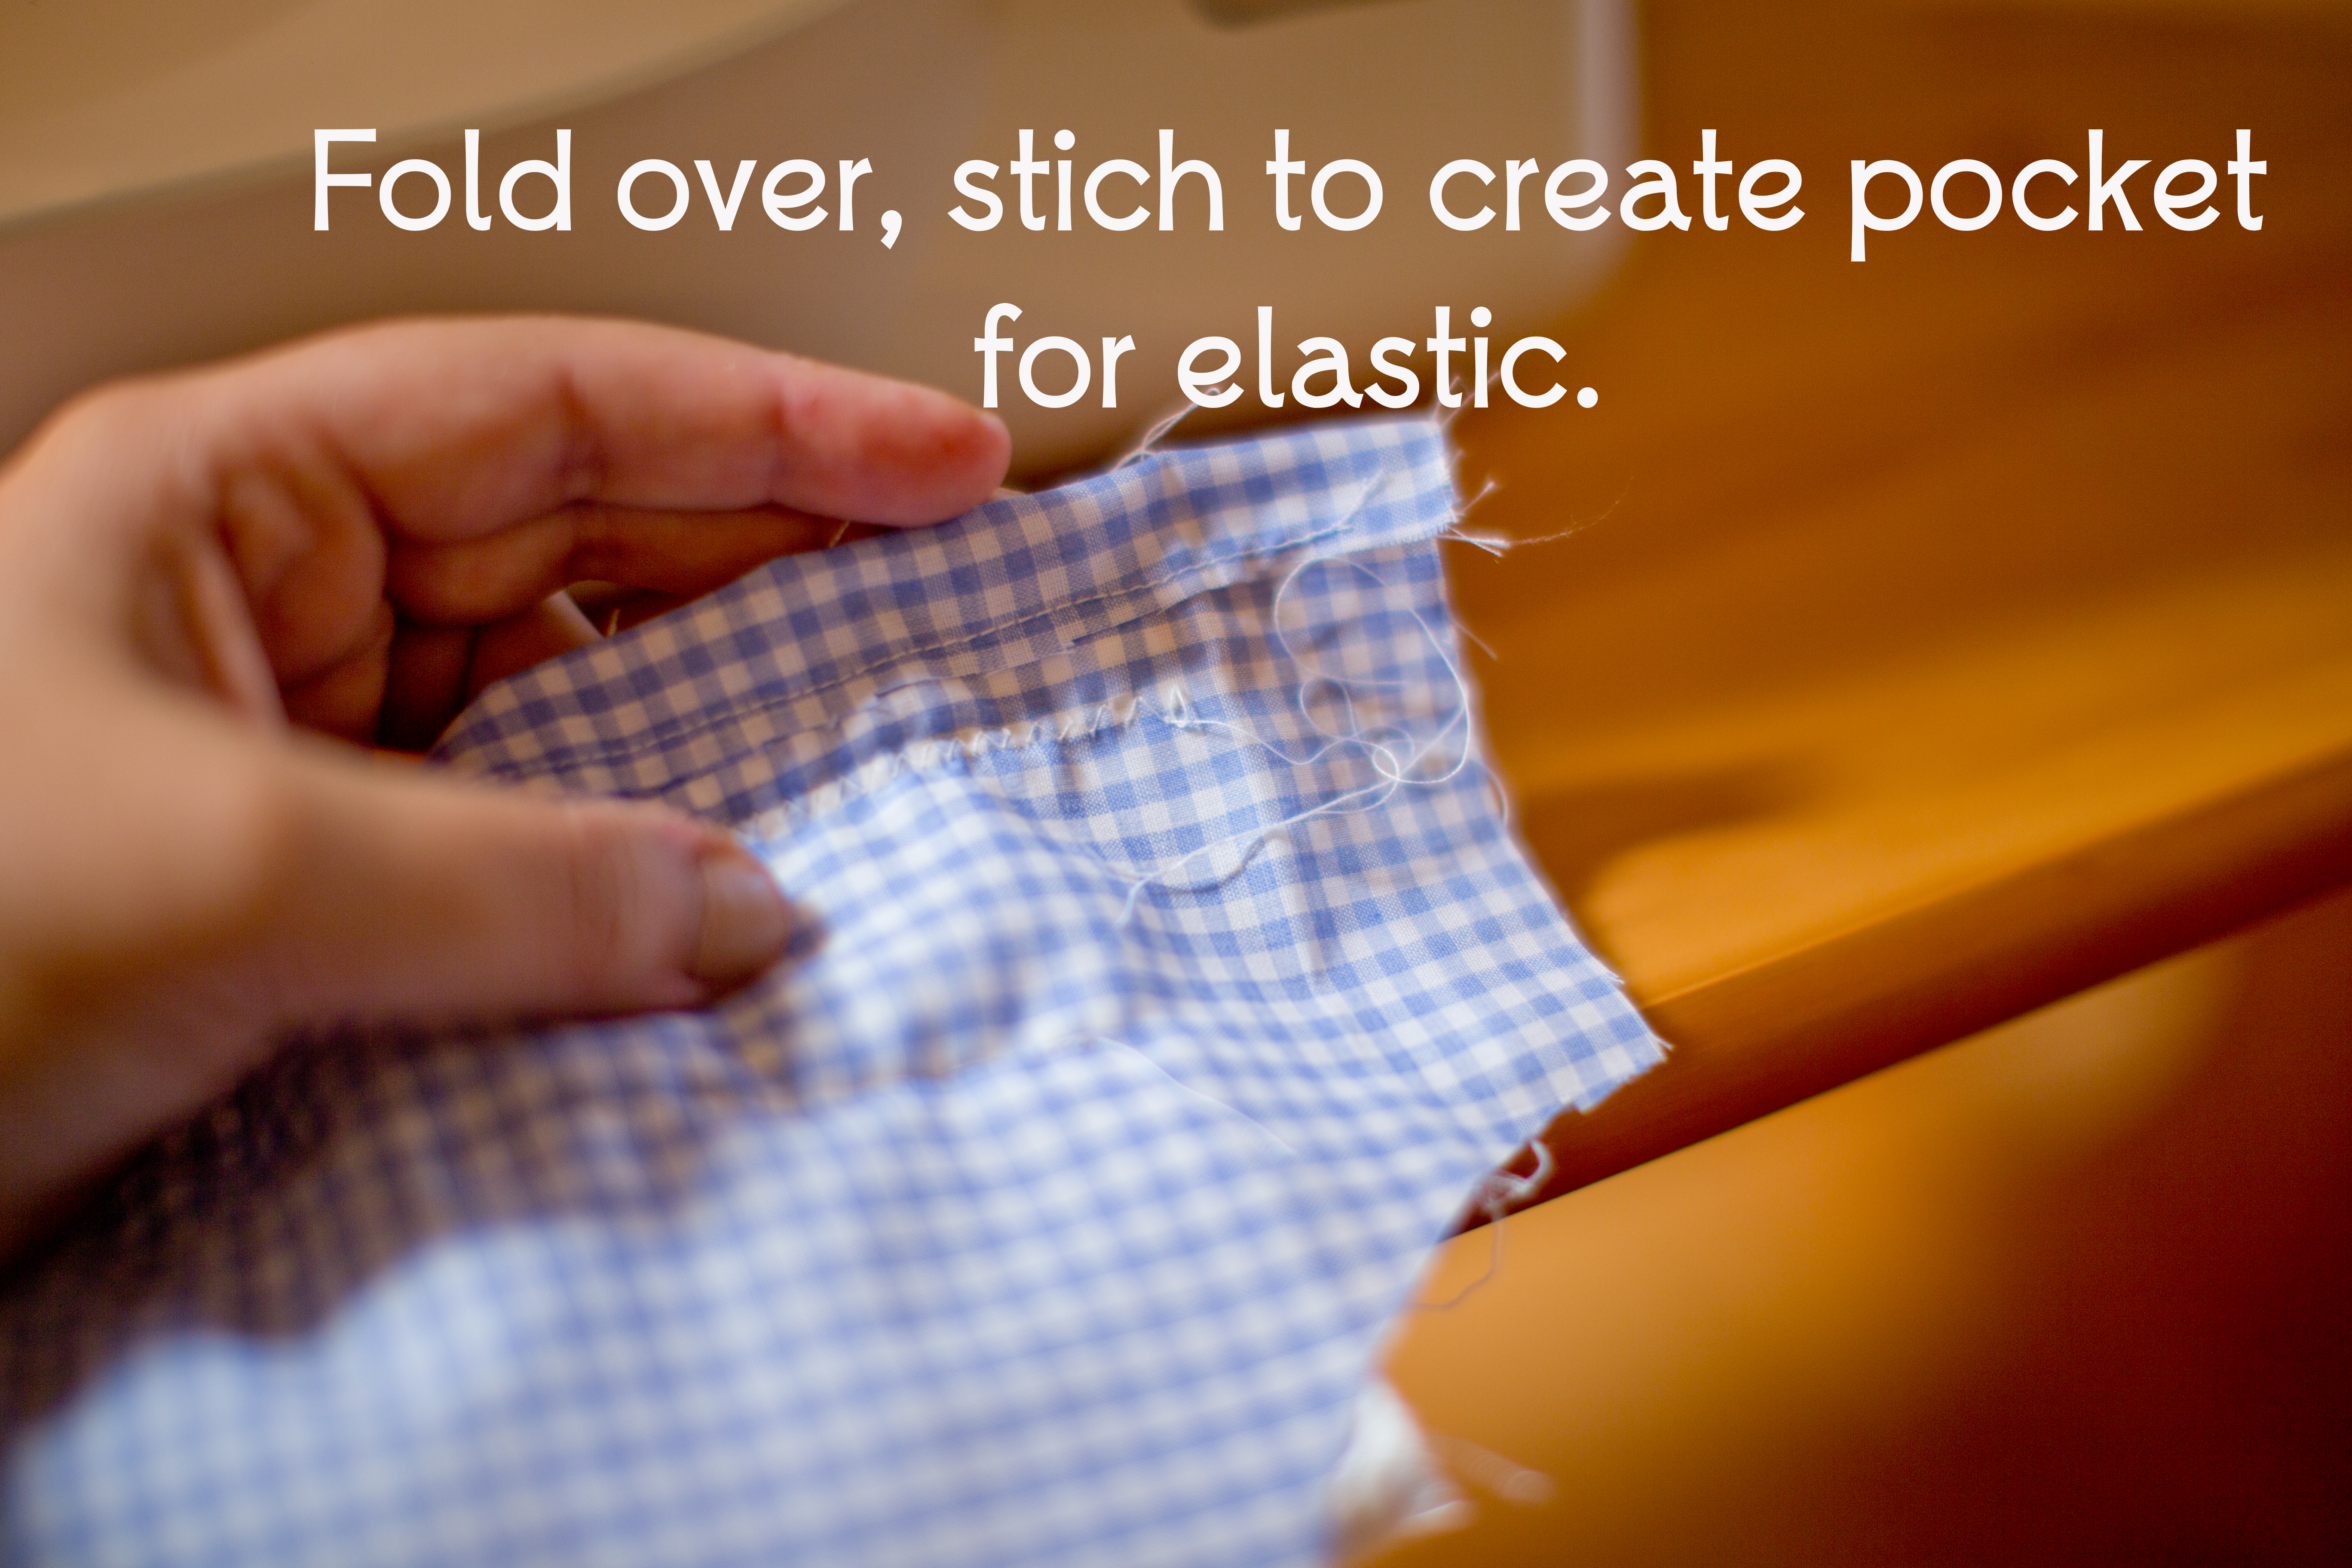
.jpg) Fold over the top edge of the“BACK” piece, sew along the edge creating a pocket for elastic.
Fold over the top edge of the“BACK” piece, sew along the edge creating a pocket for elastic.
.jpg)
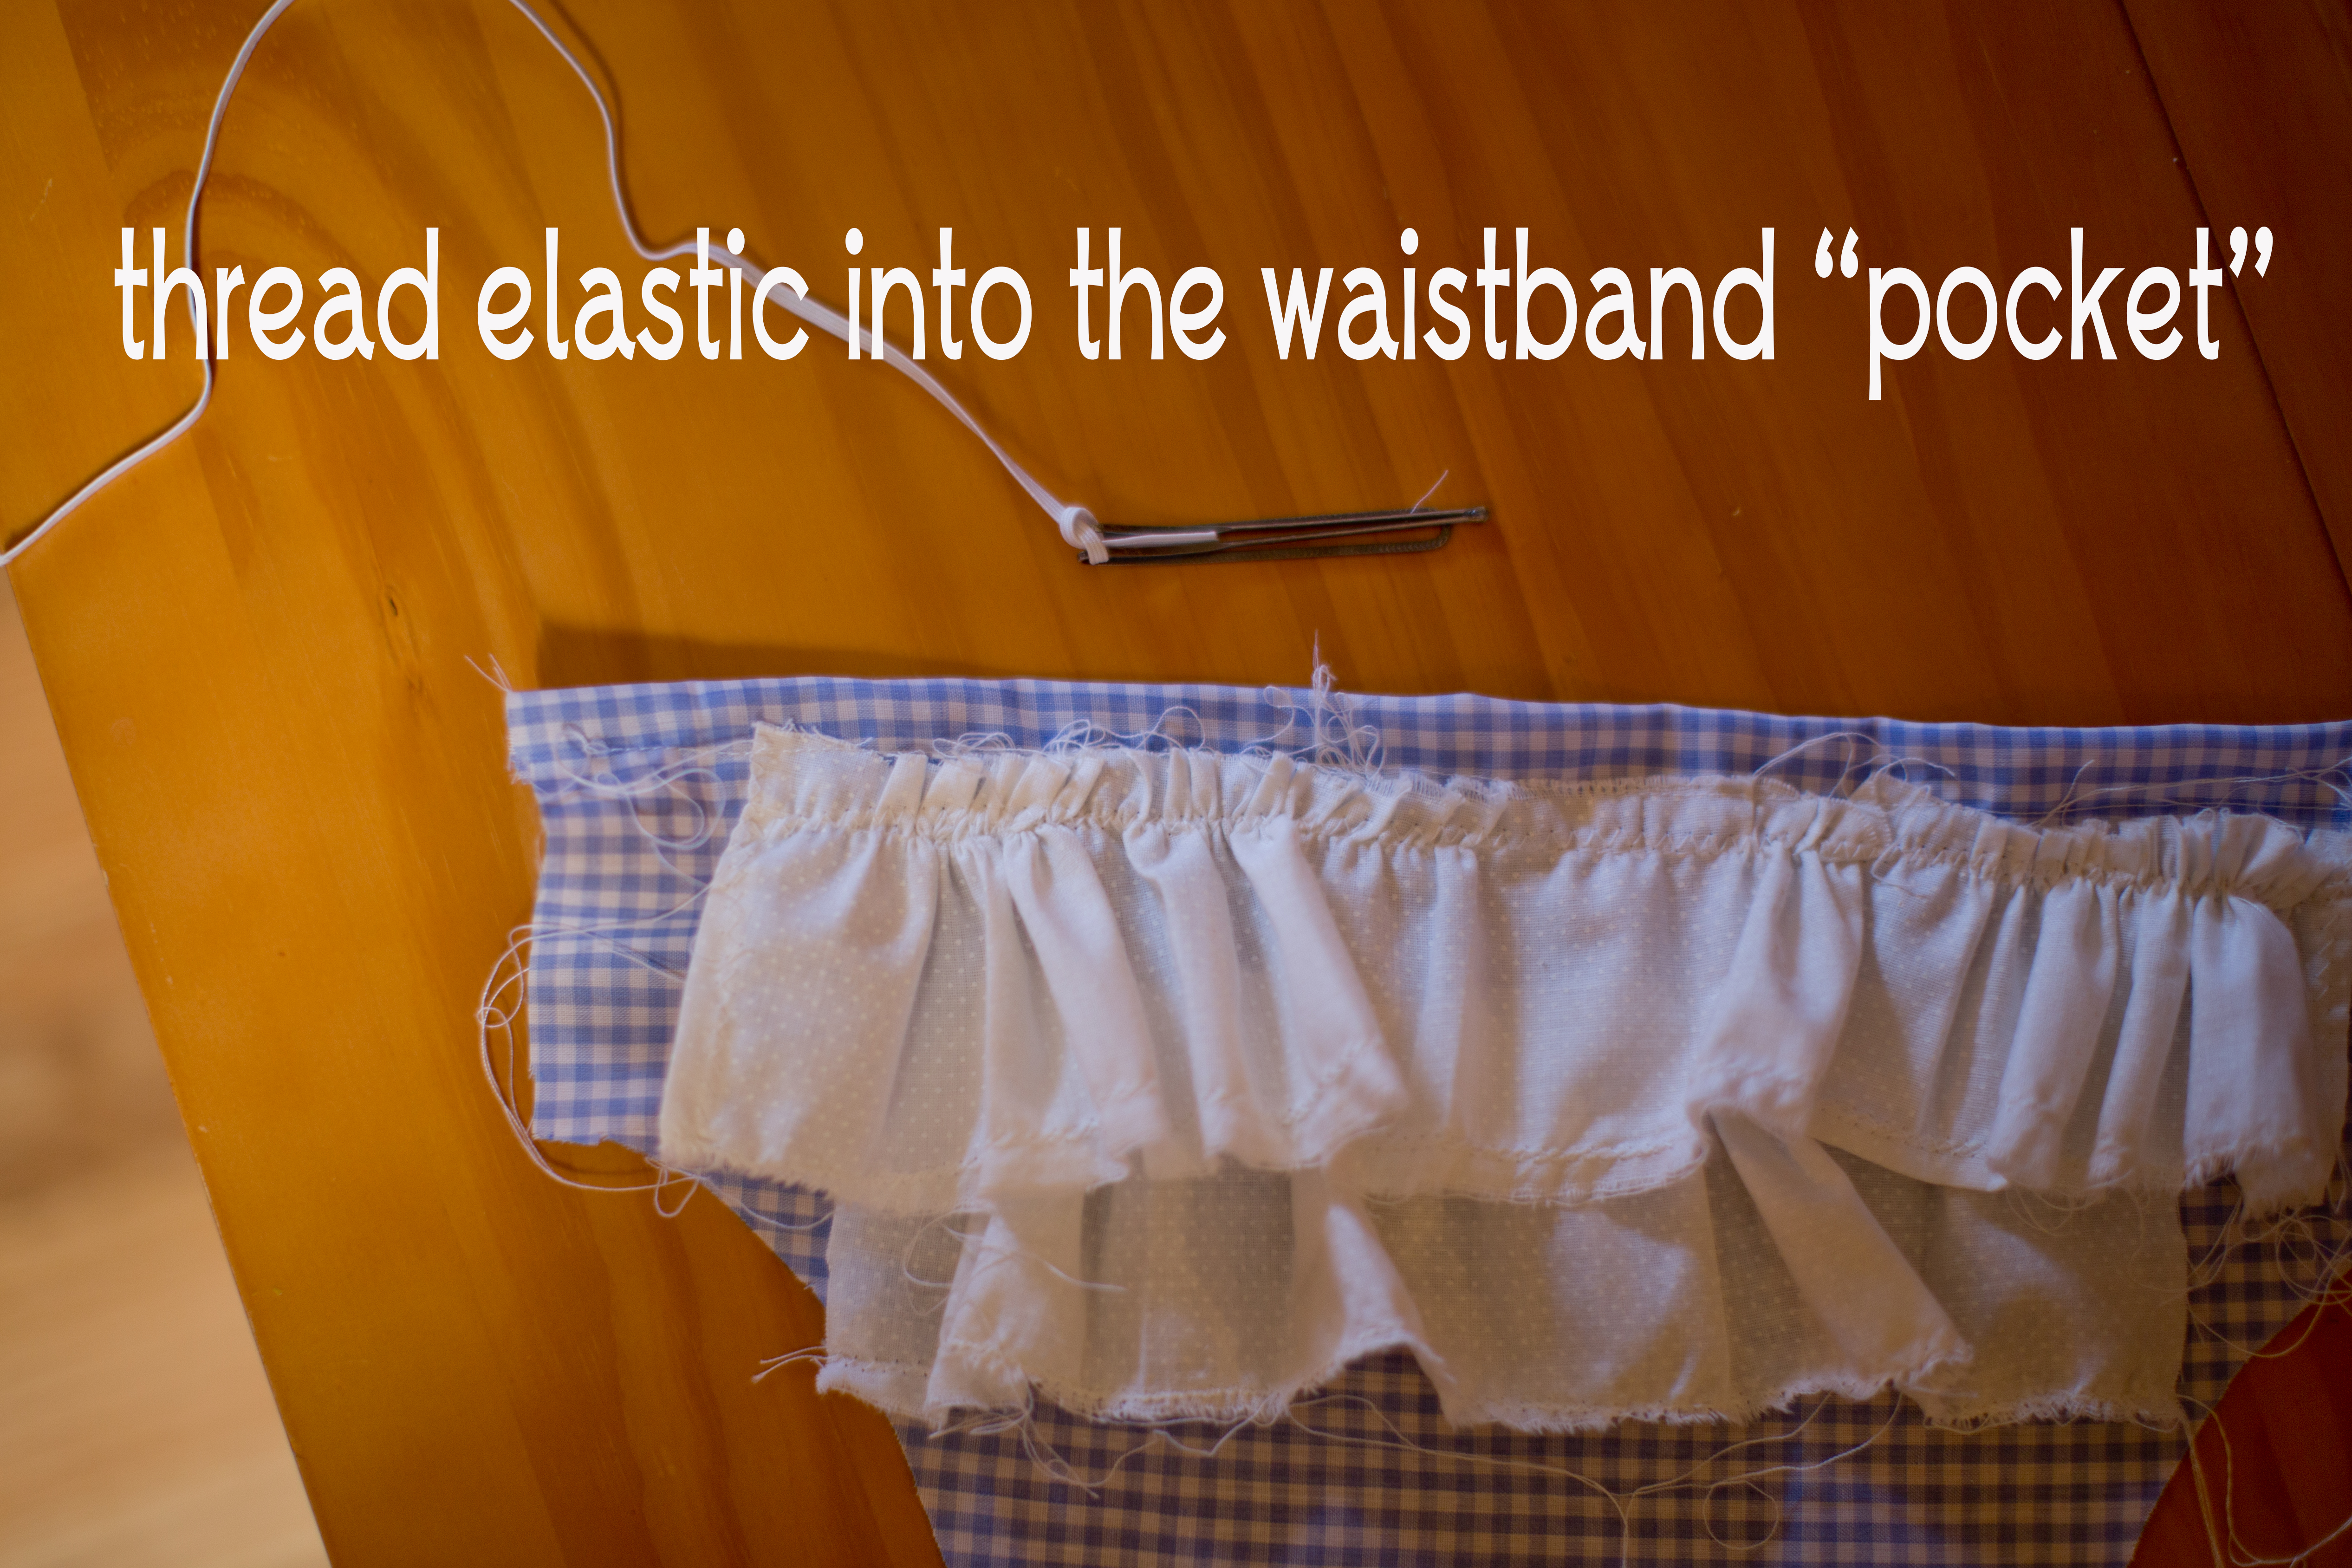
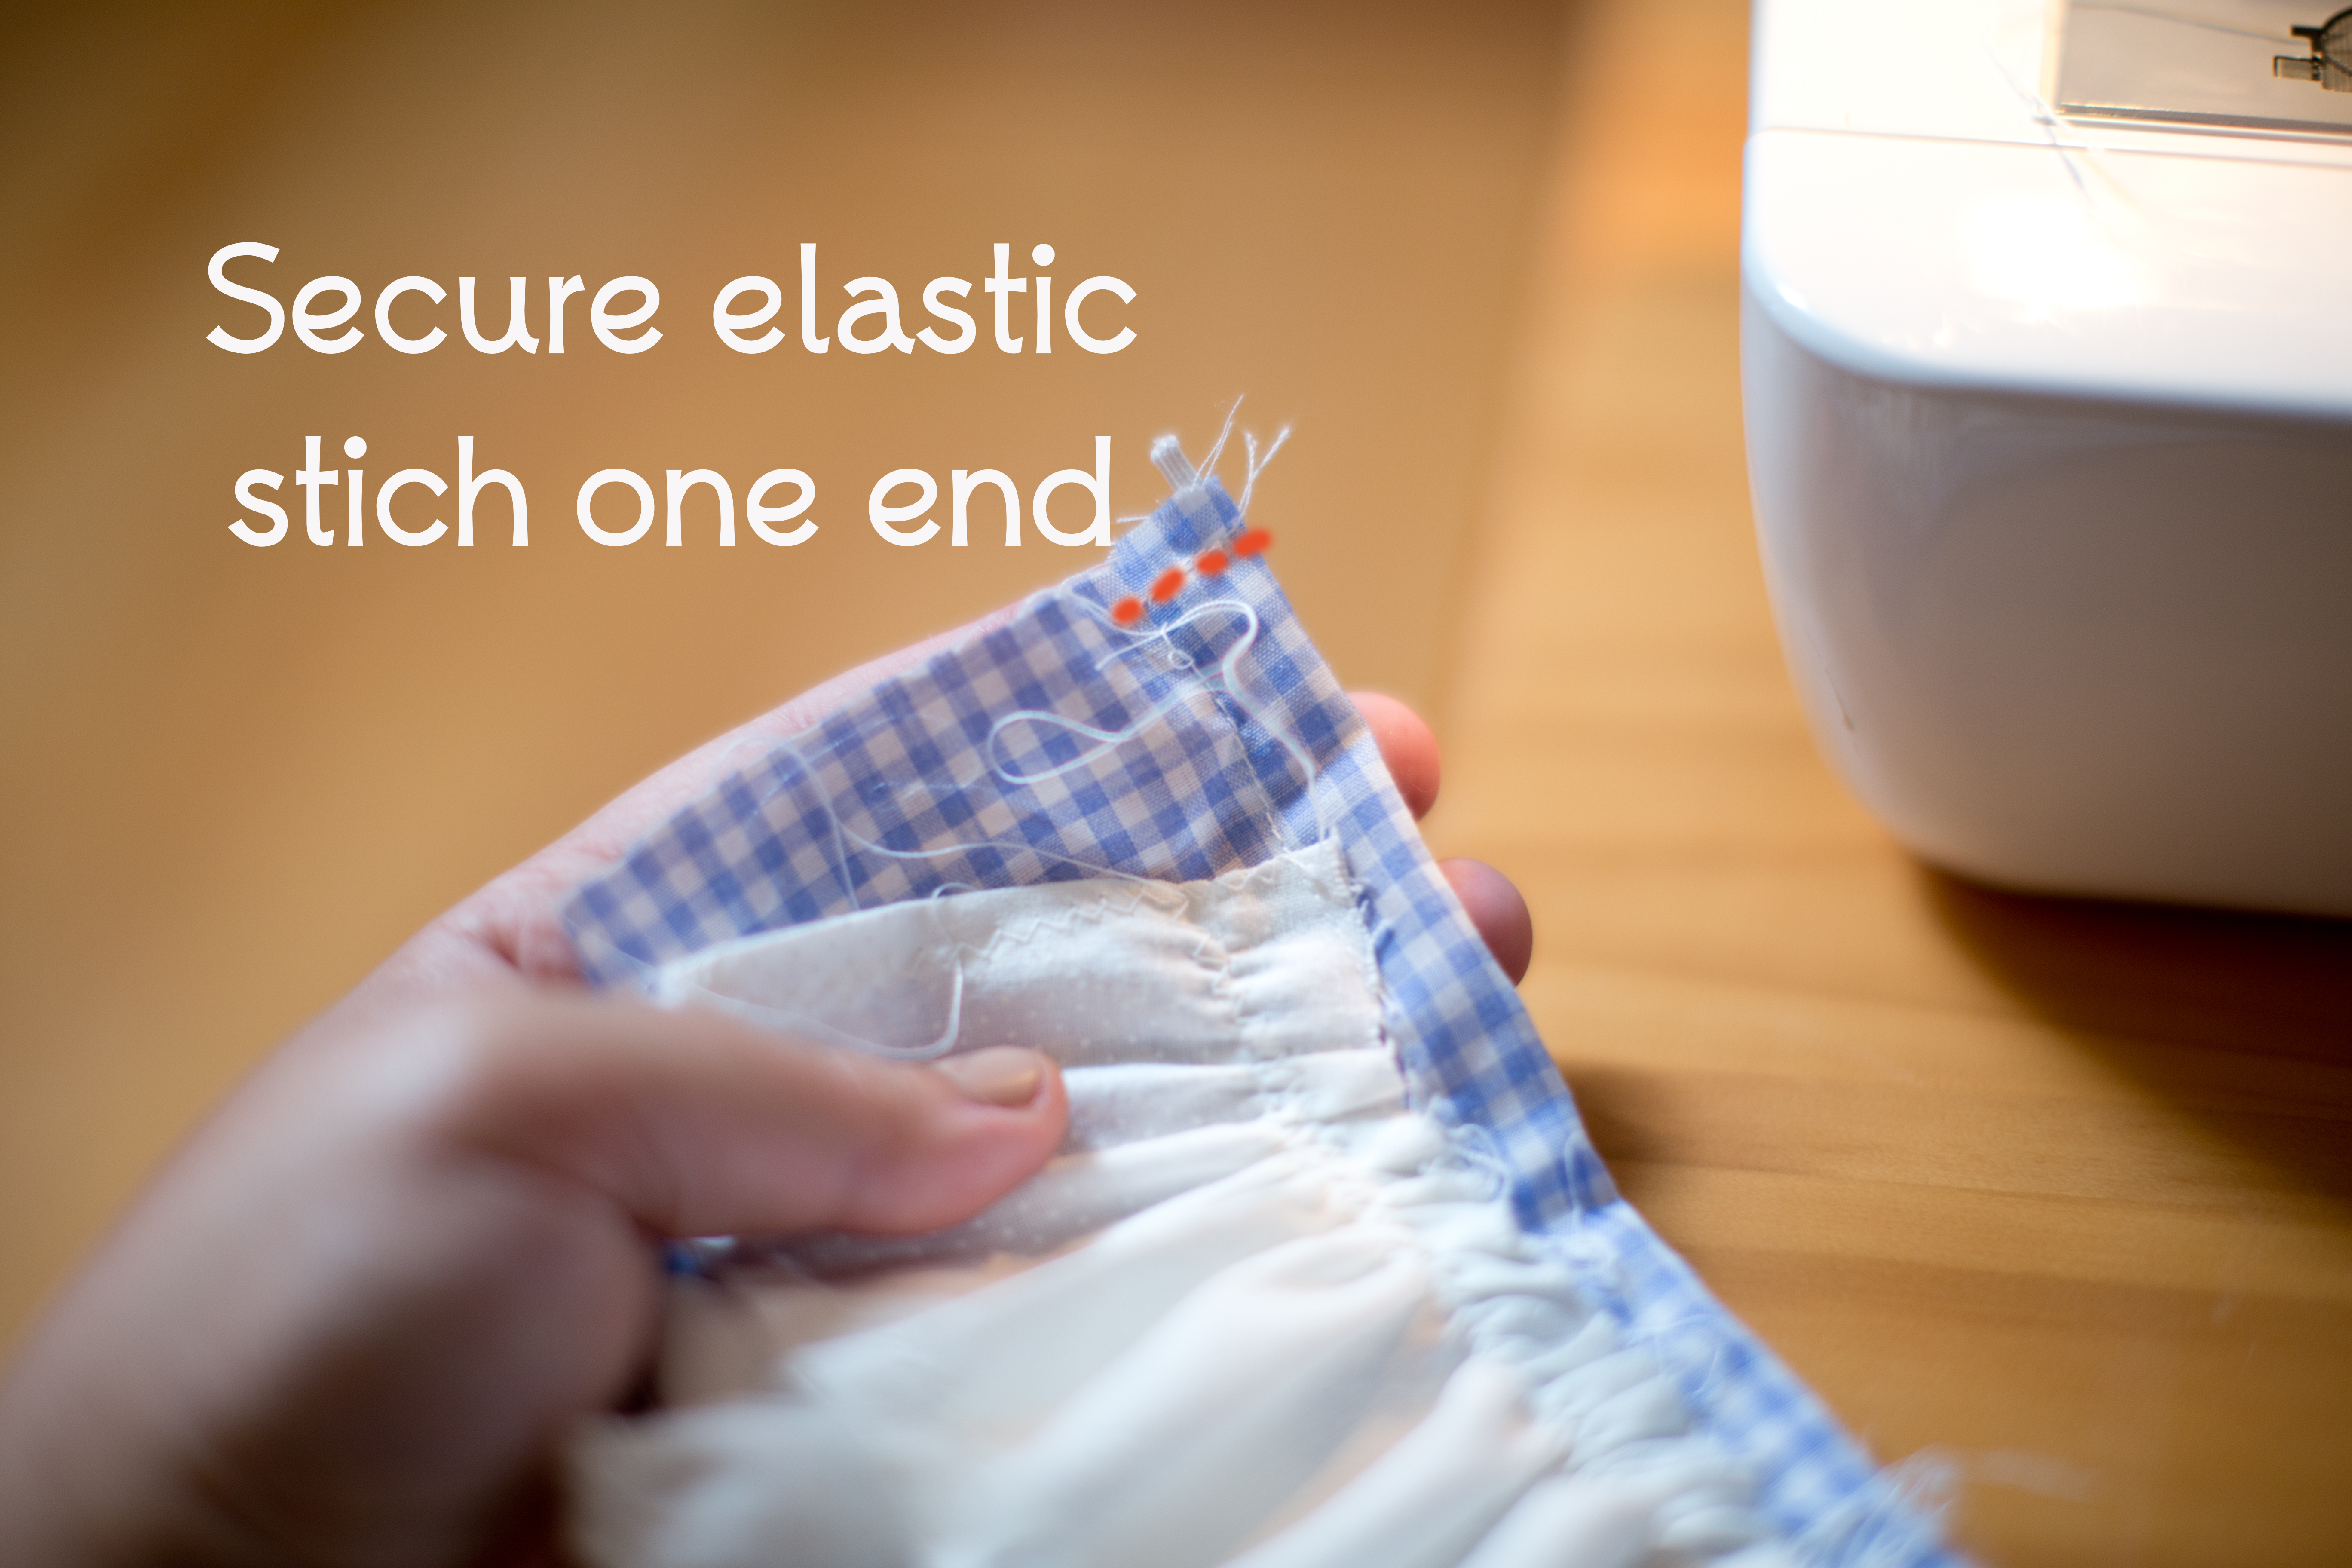
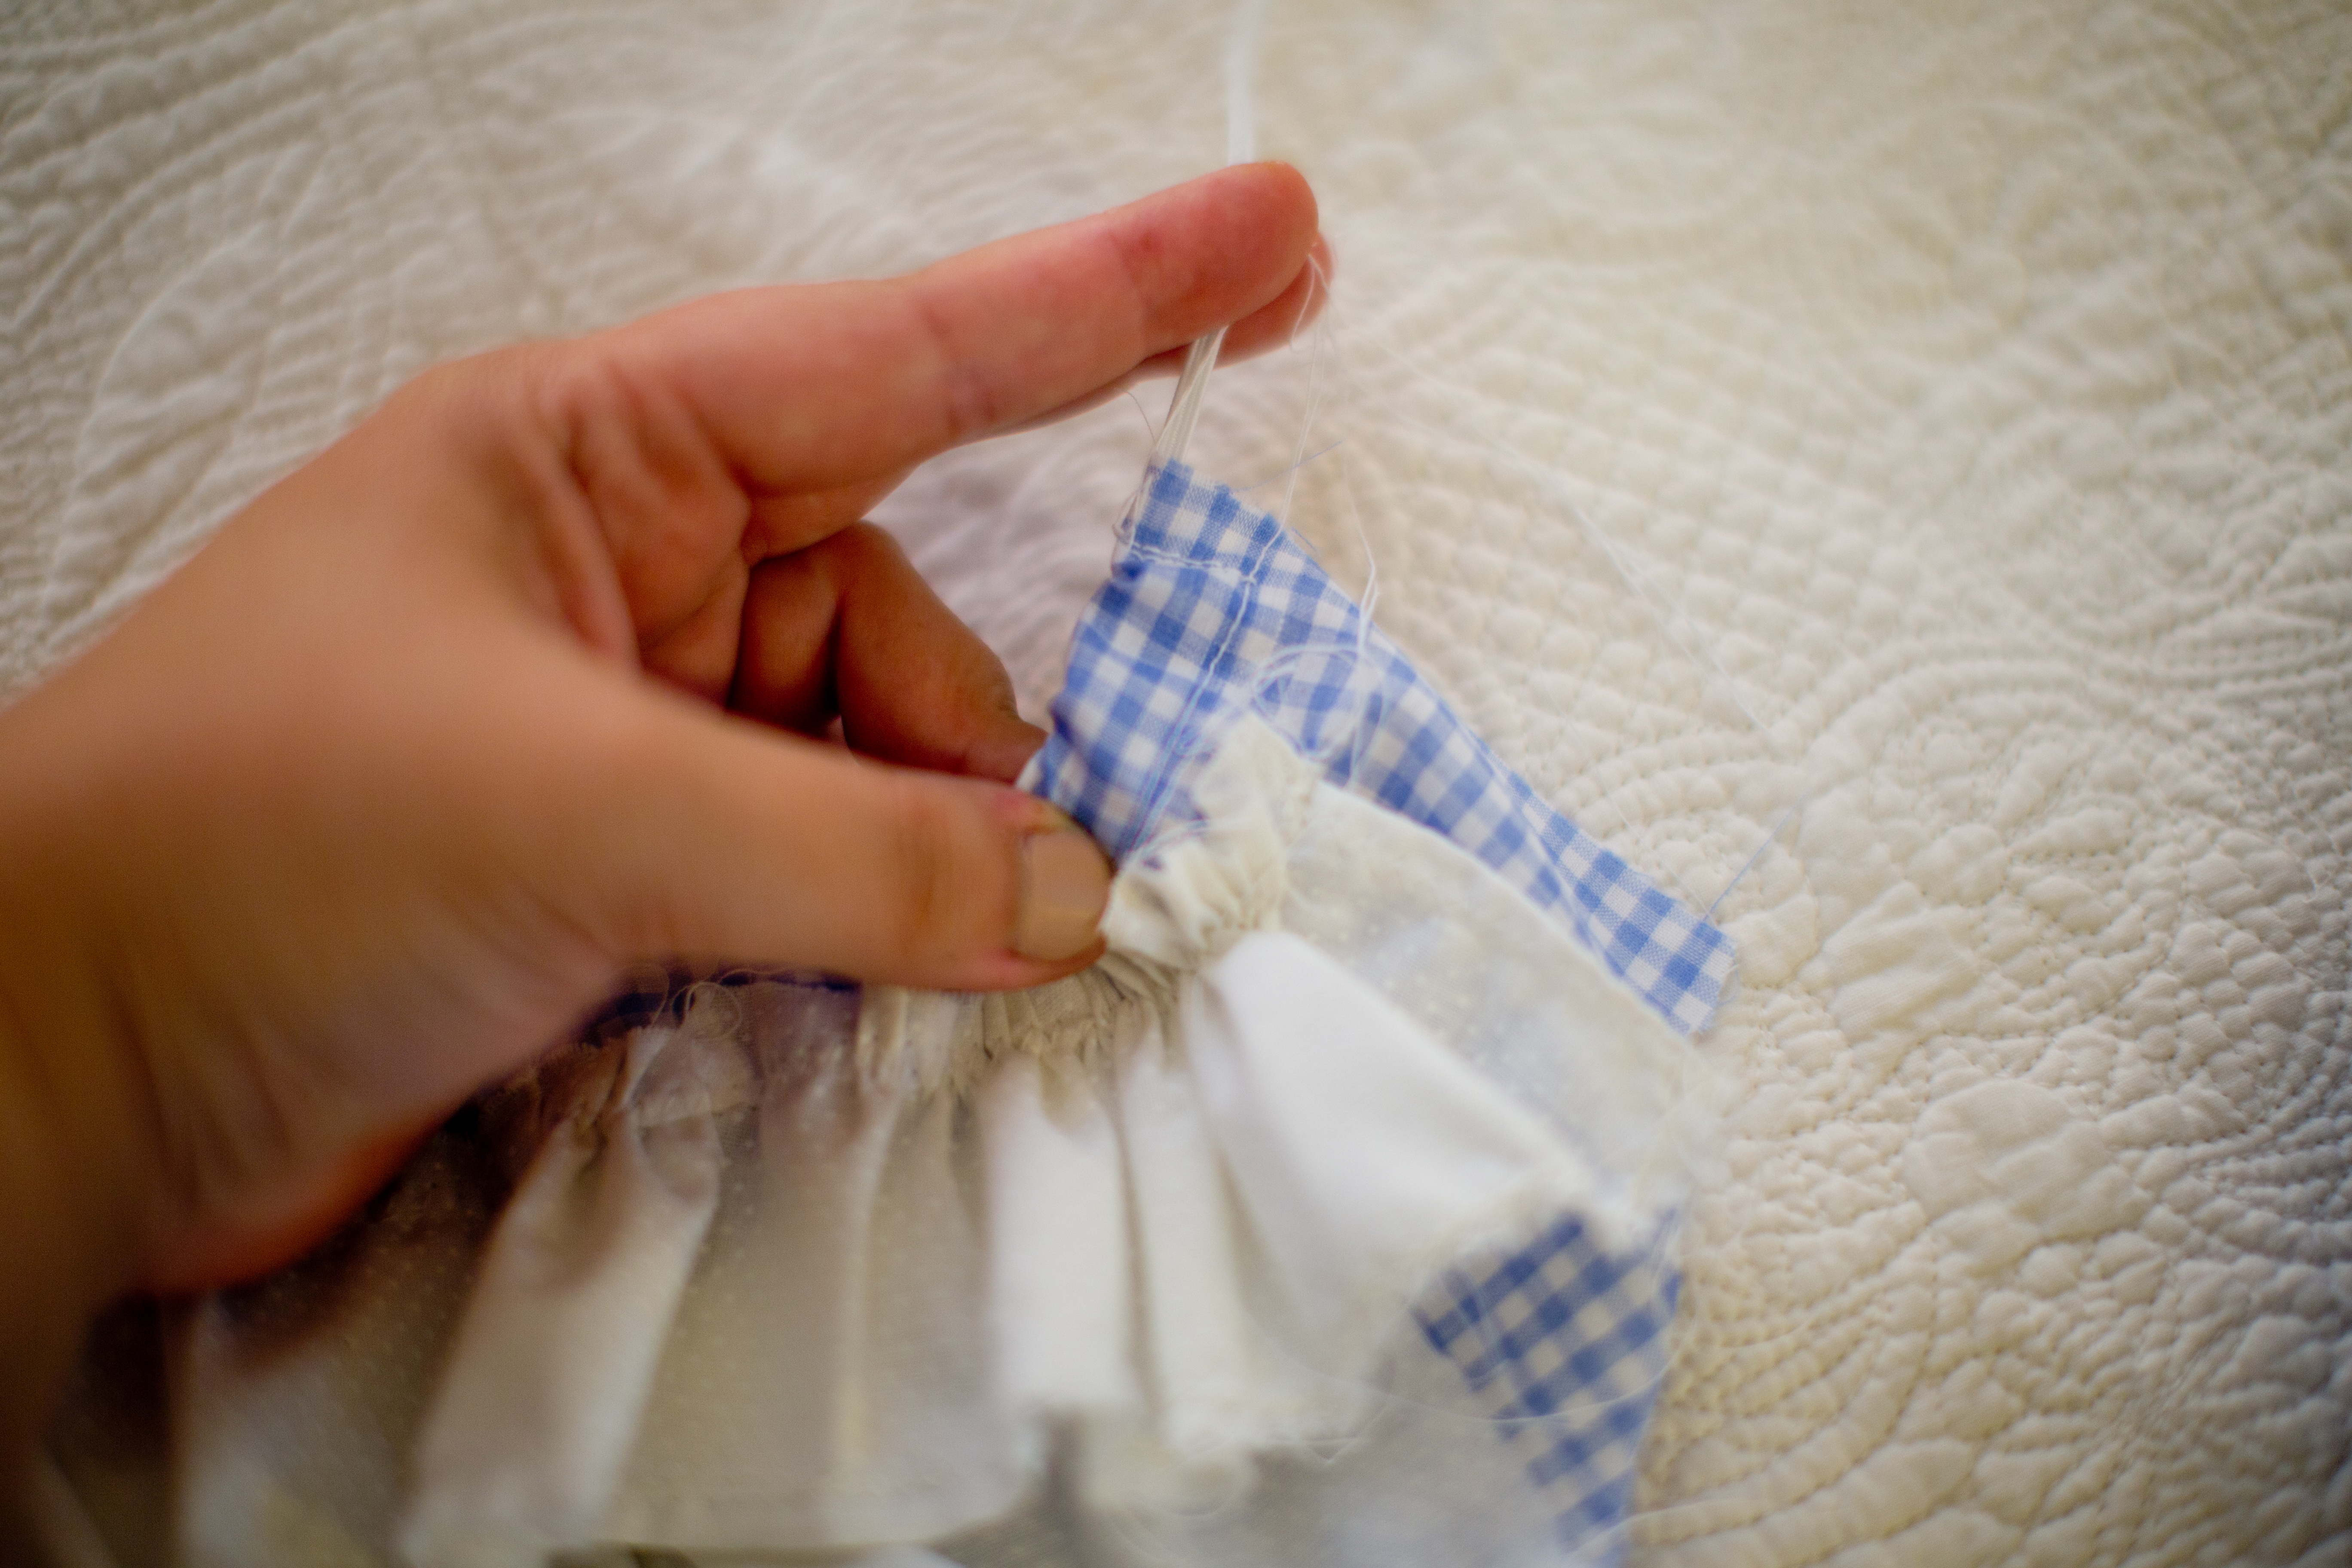
I tie my elastic to a bobby pin, and use the bobby pin to pull the elastic through the pocket. Stitch the elastic on one end, and snug the elastic up (so there is about 5 inches extra, and stitch it on the other end. This traps the elastic in the seam, and ruches the back.
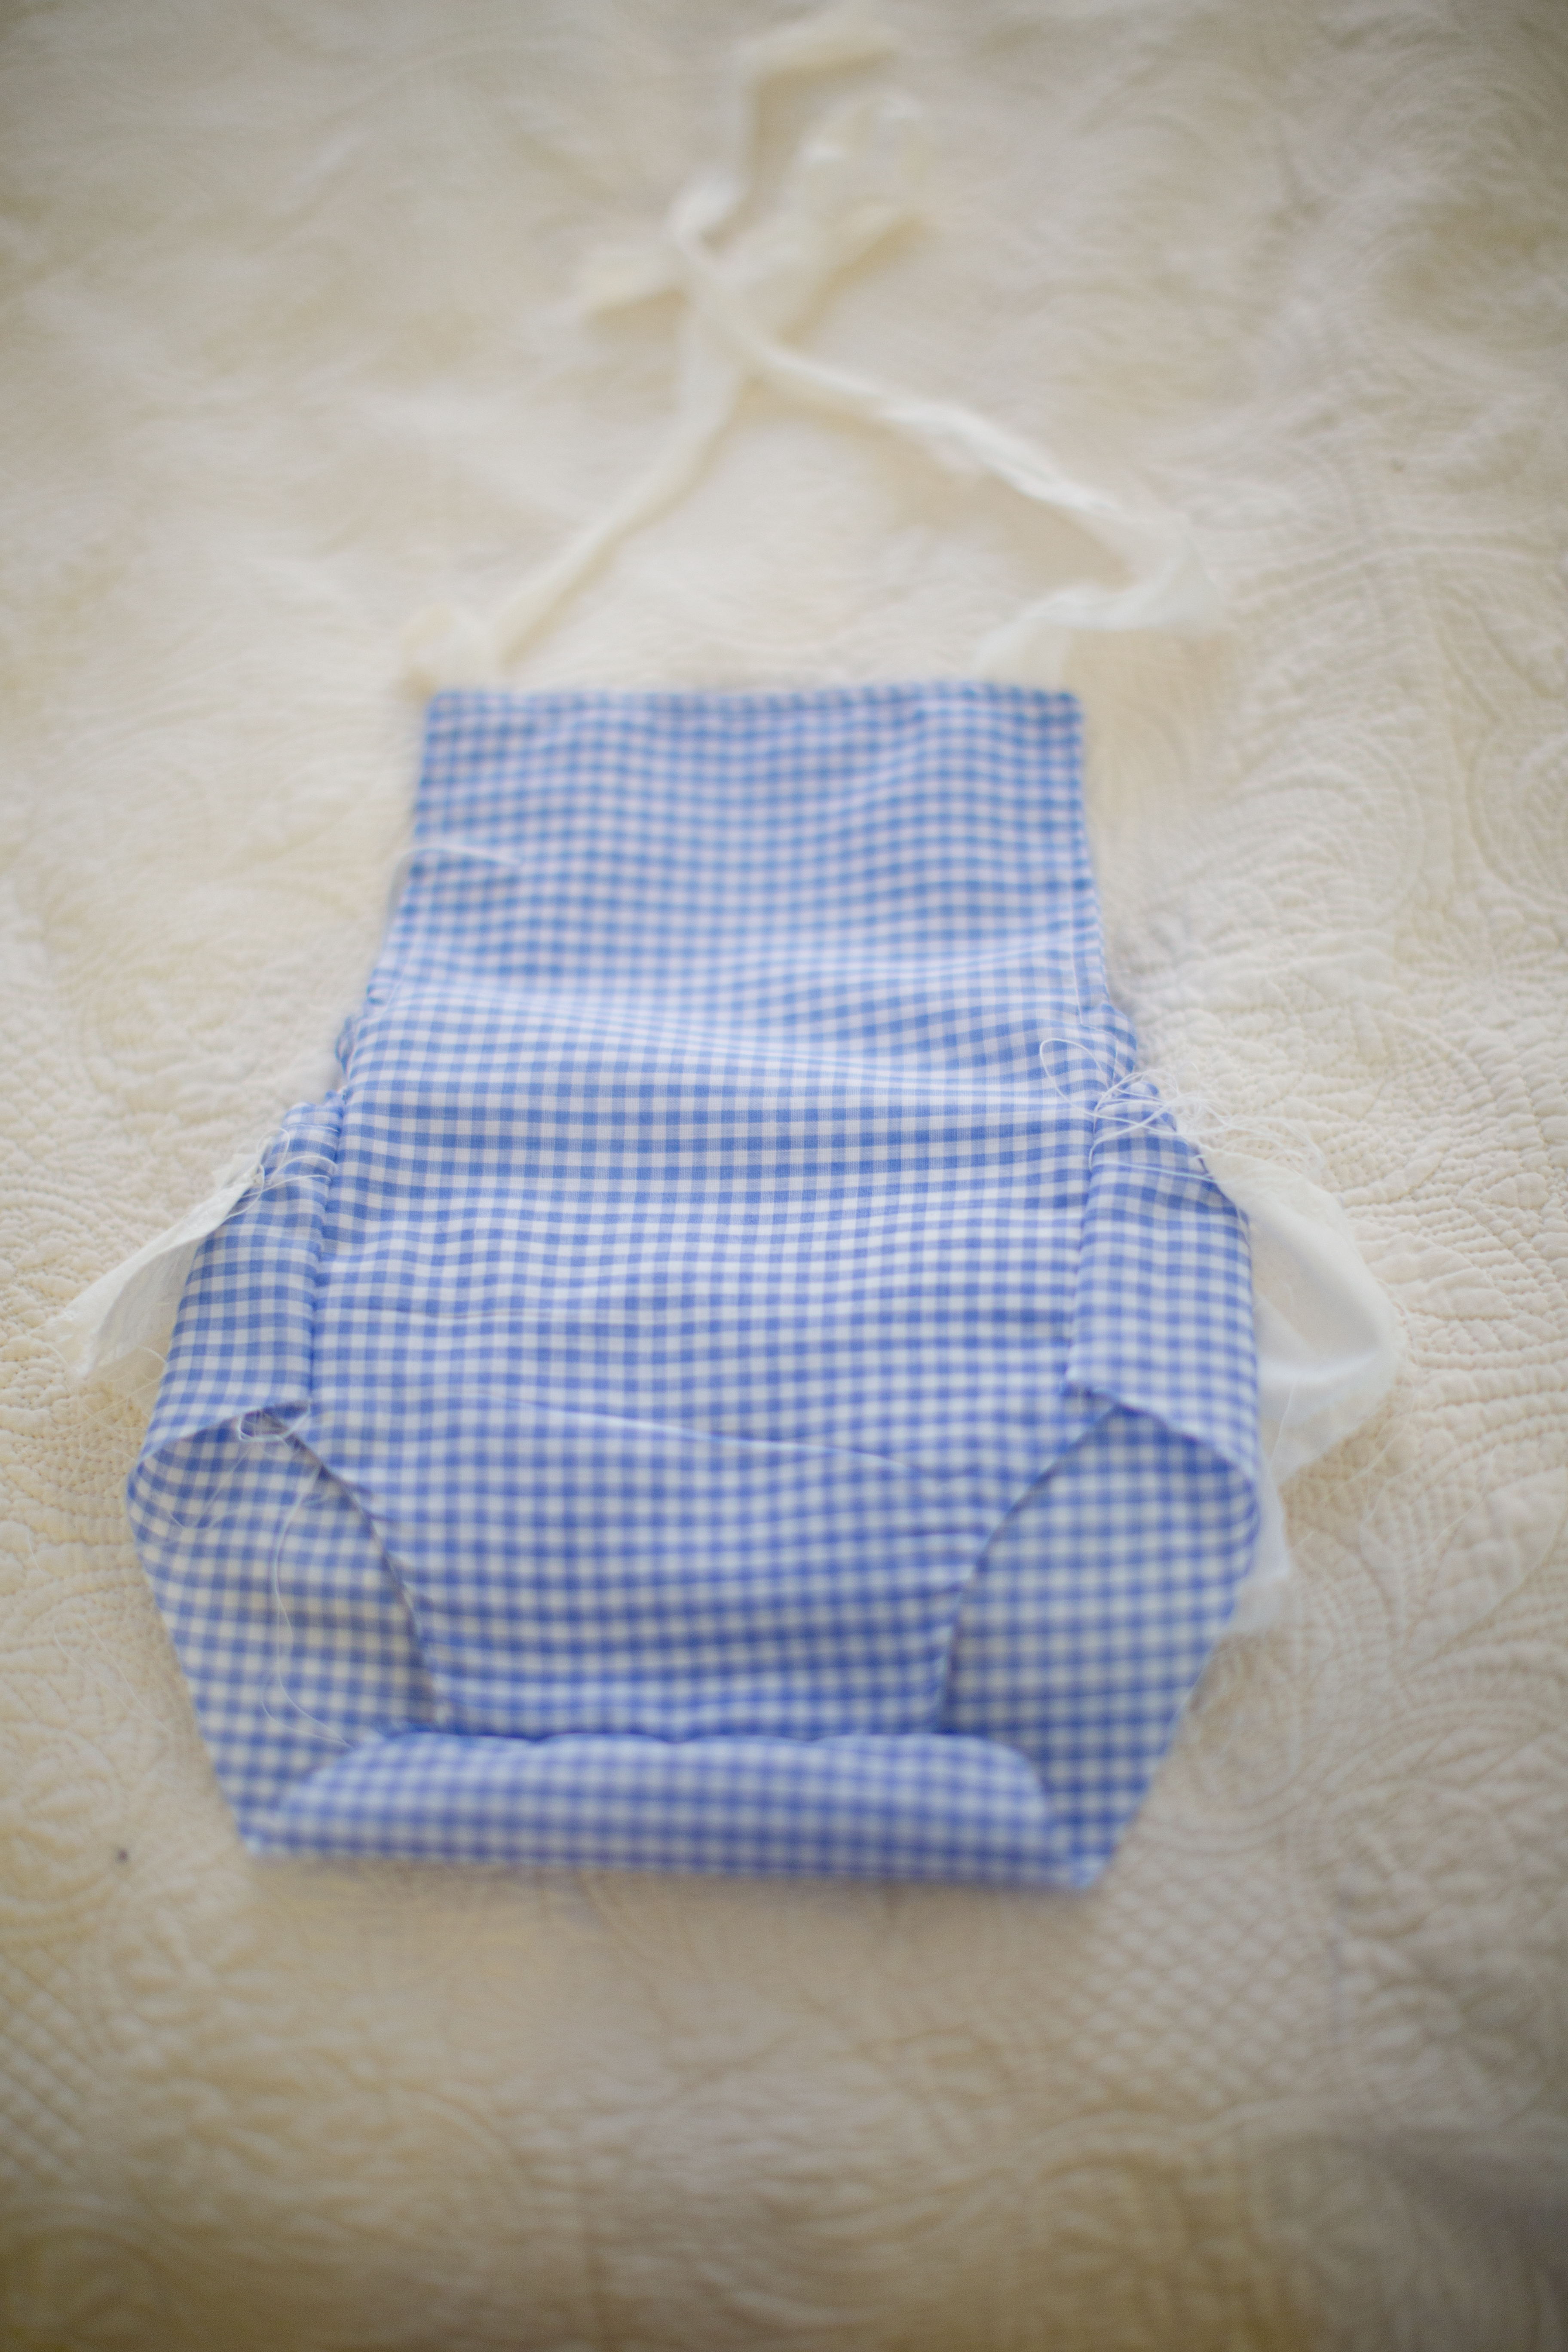
 Next, I line up the sides of the “Back” piece and the “Front” piece, and stich along each side. Because the back has elastic, it will not be as wide, and will not lay flat, but just line up one side at a time. Make sure the lay FRONT and BACK with right sides facing.
After the side seams are sewn up, line up the crotch of the FRONT and BACK pieces. The back piece will be wider, not to worry. This is because you will be creating a pocket for the elastic in the legs, however the pocket will only be on the back piece. I like to do it this way so the romper lays nice and flat in front..jpg)
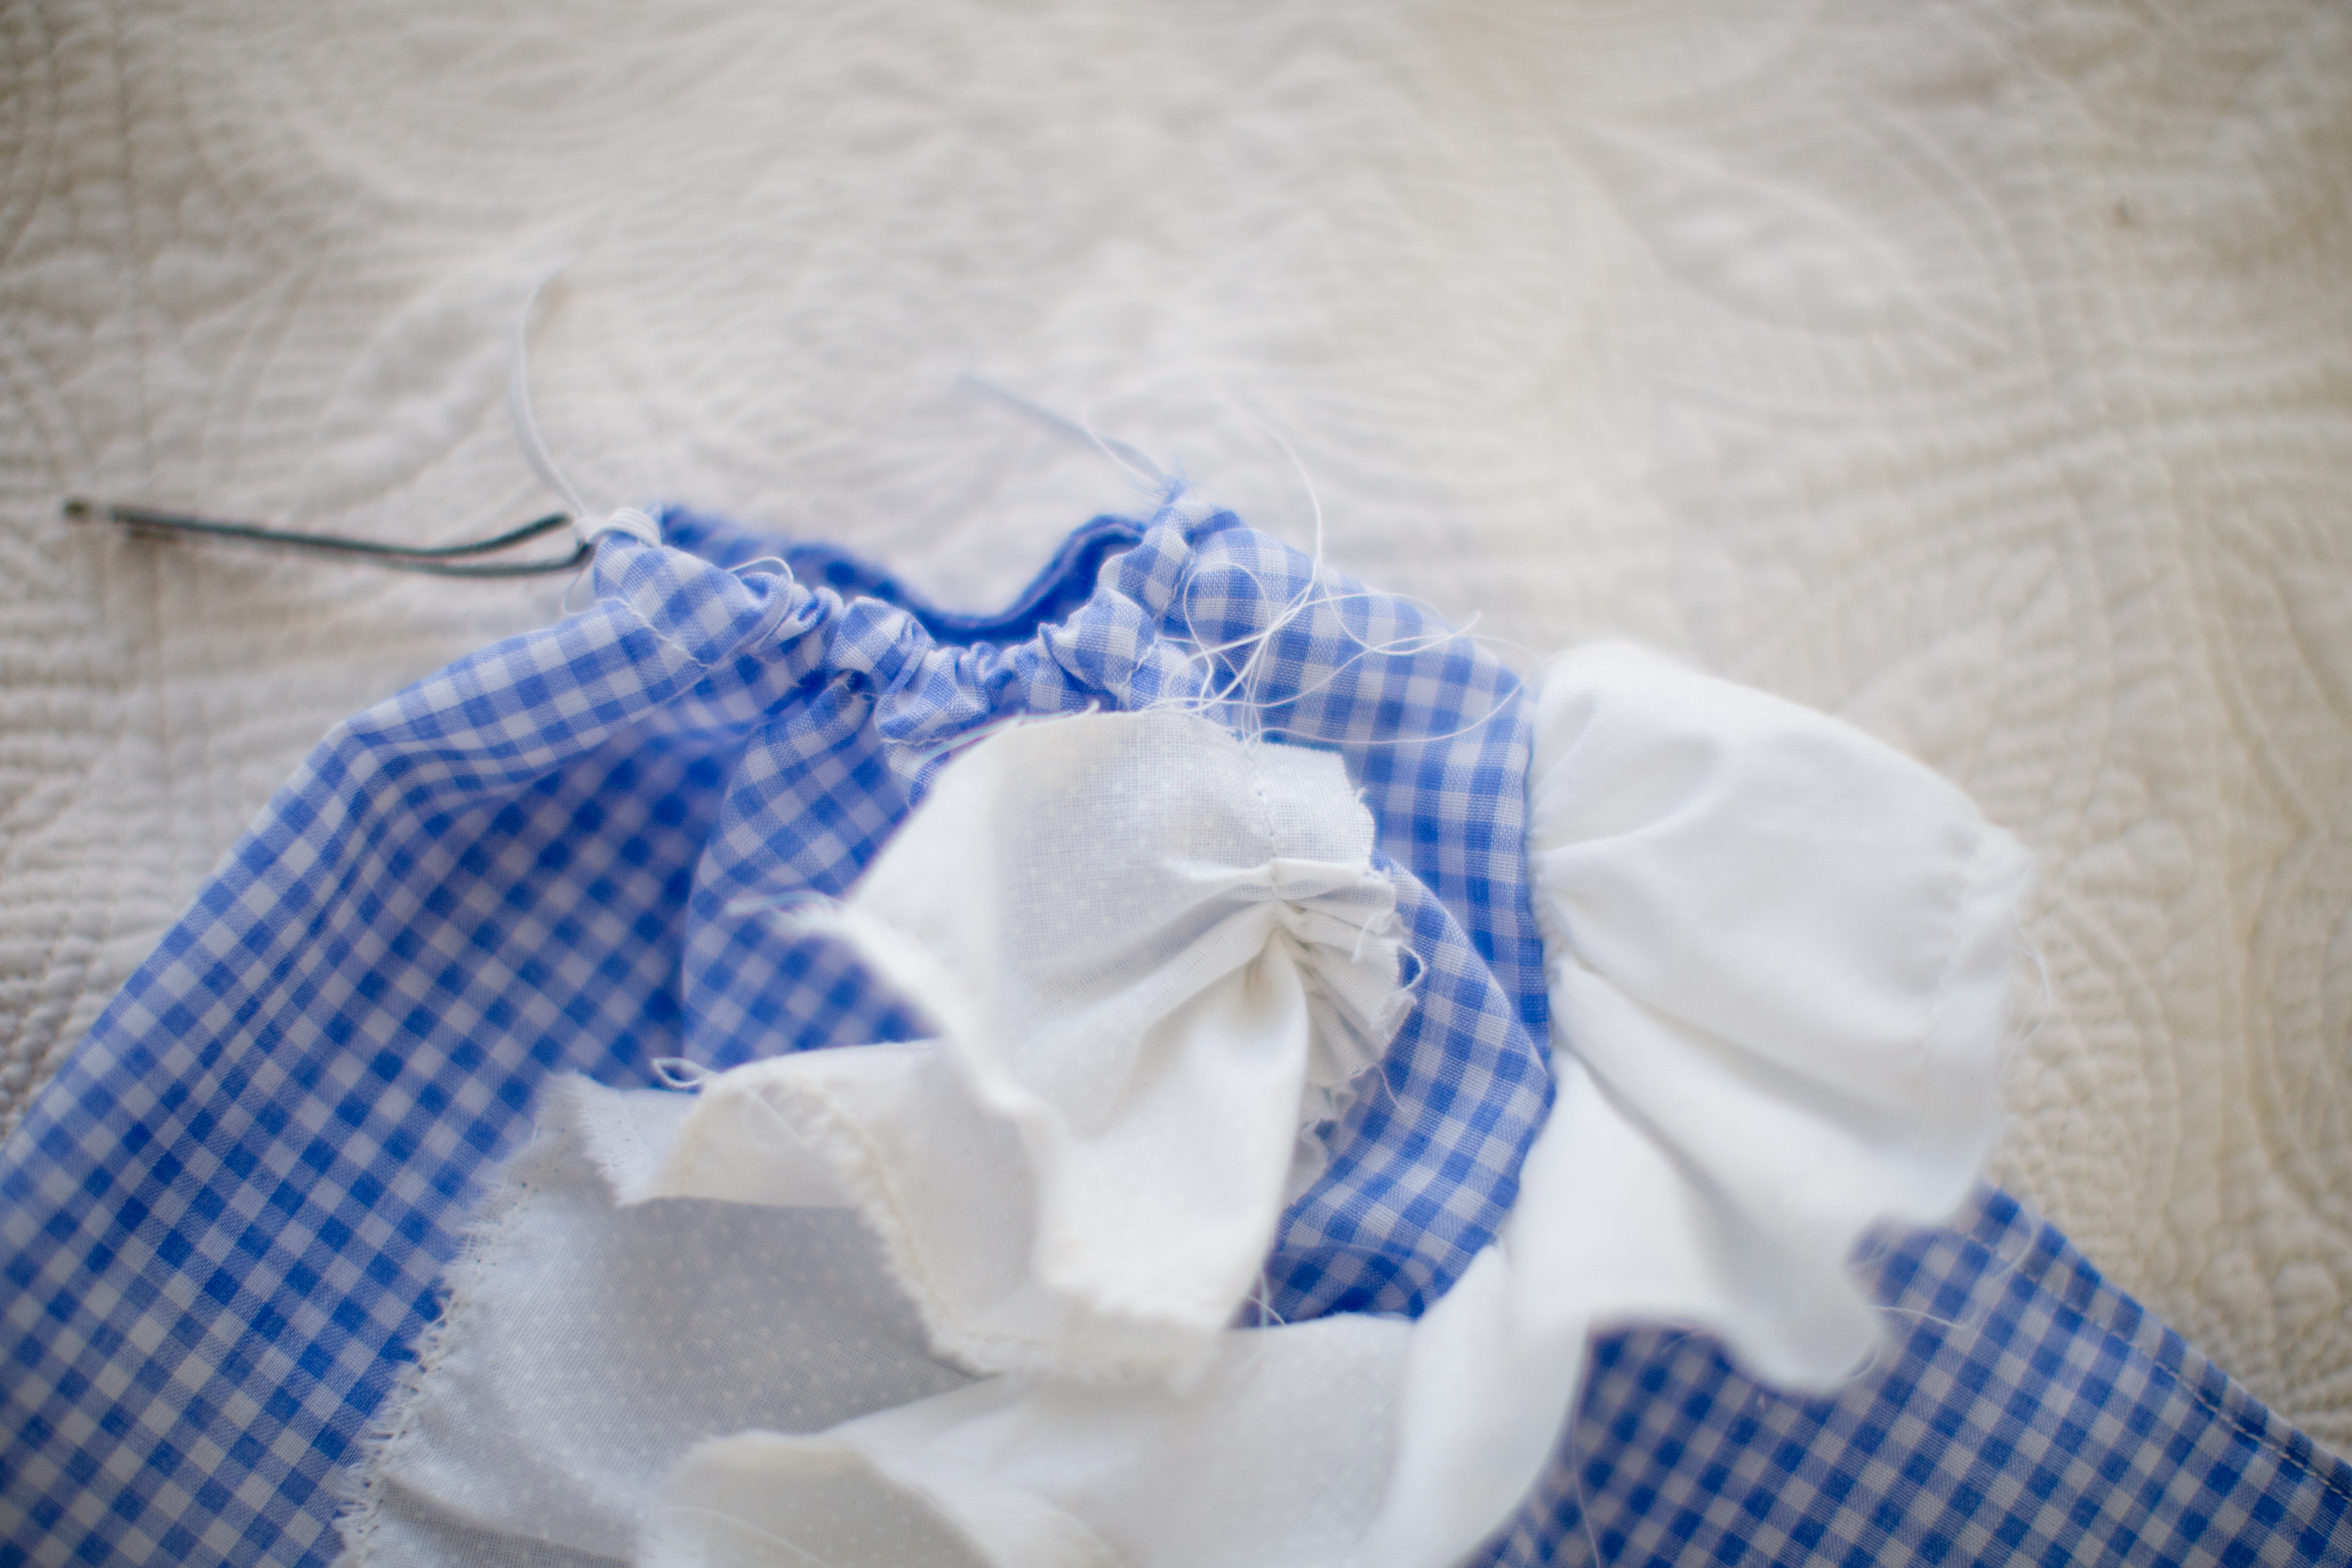
This last part is a little tricky, and there are TONS of ways to finish a leg hole, but this is what I did. I turned over about ¾” of the leg hole of the back piece, and sewed, creating a pocket for the elastic. I left each end open where it met the front of the leg. Next, use a bobby pin to thread elastic into the leg hole pocket. Secure one end of elastic with a few stitches. Then snug the elastic up, so the leg hole is gathered. The size of you leg hole is up to you, but I made mine a bit roomy to accommodate different sizes of baby. If you are making a romper for a chunky monkey, you will obviously want it a bit loose, and snug it up more for a lean baby. Once you have snugged up the elastic, stich the open end to trap the elastic. Repeat for the other leg hole..jpg)
.jpg)
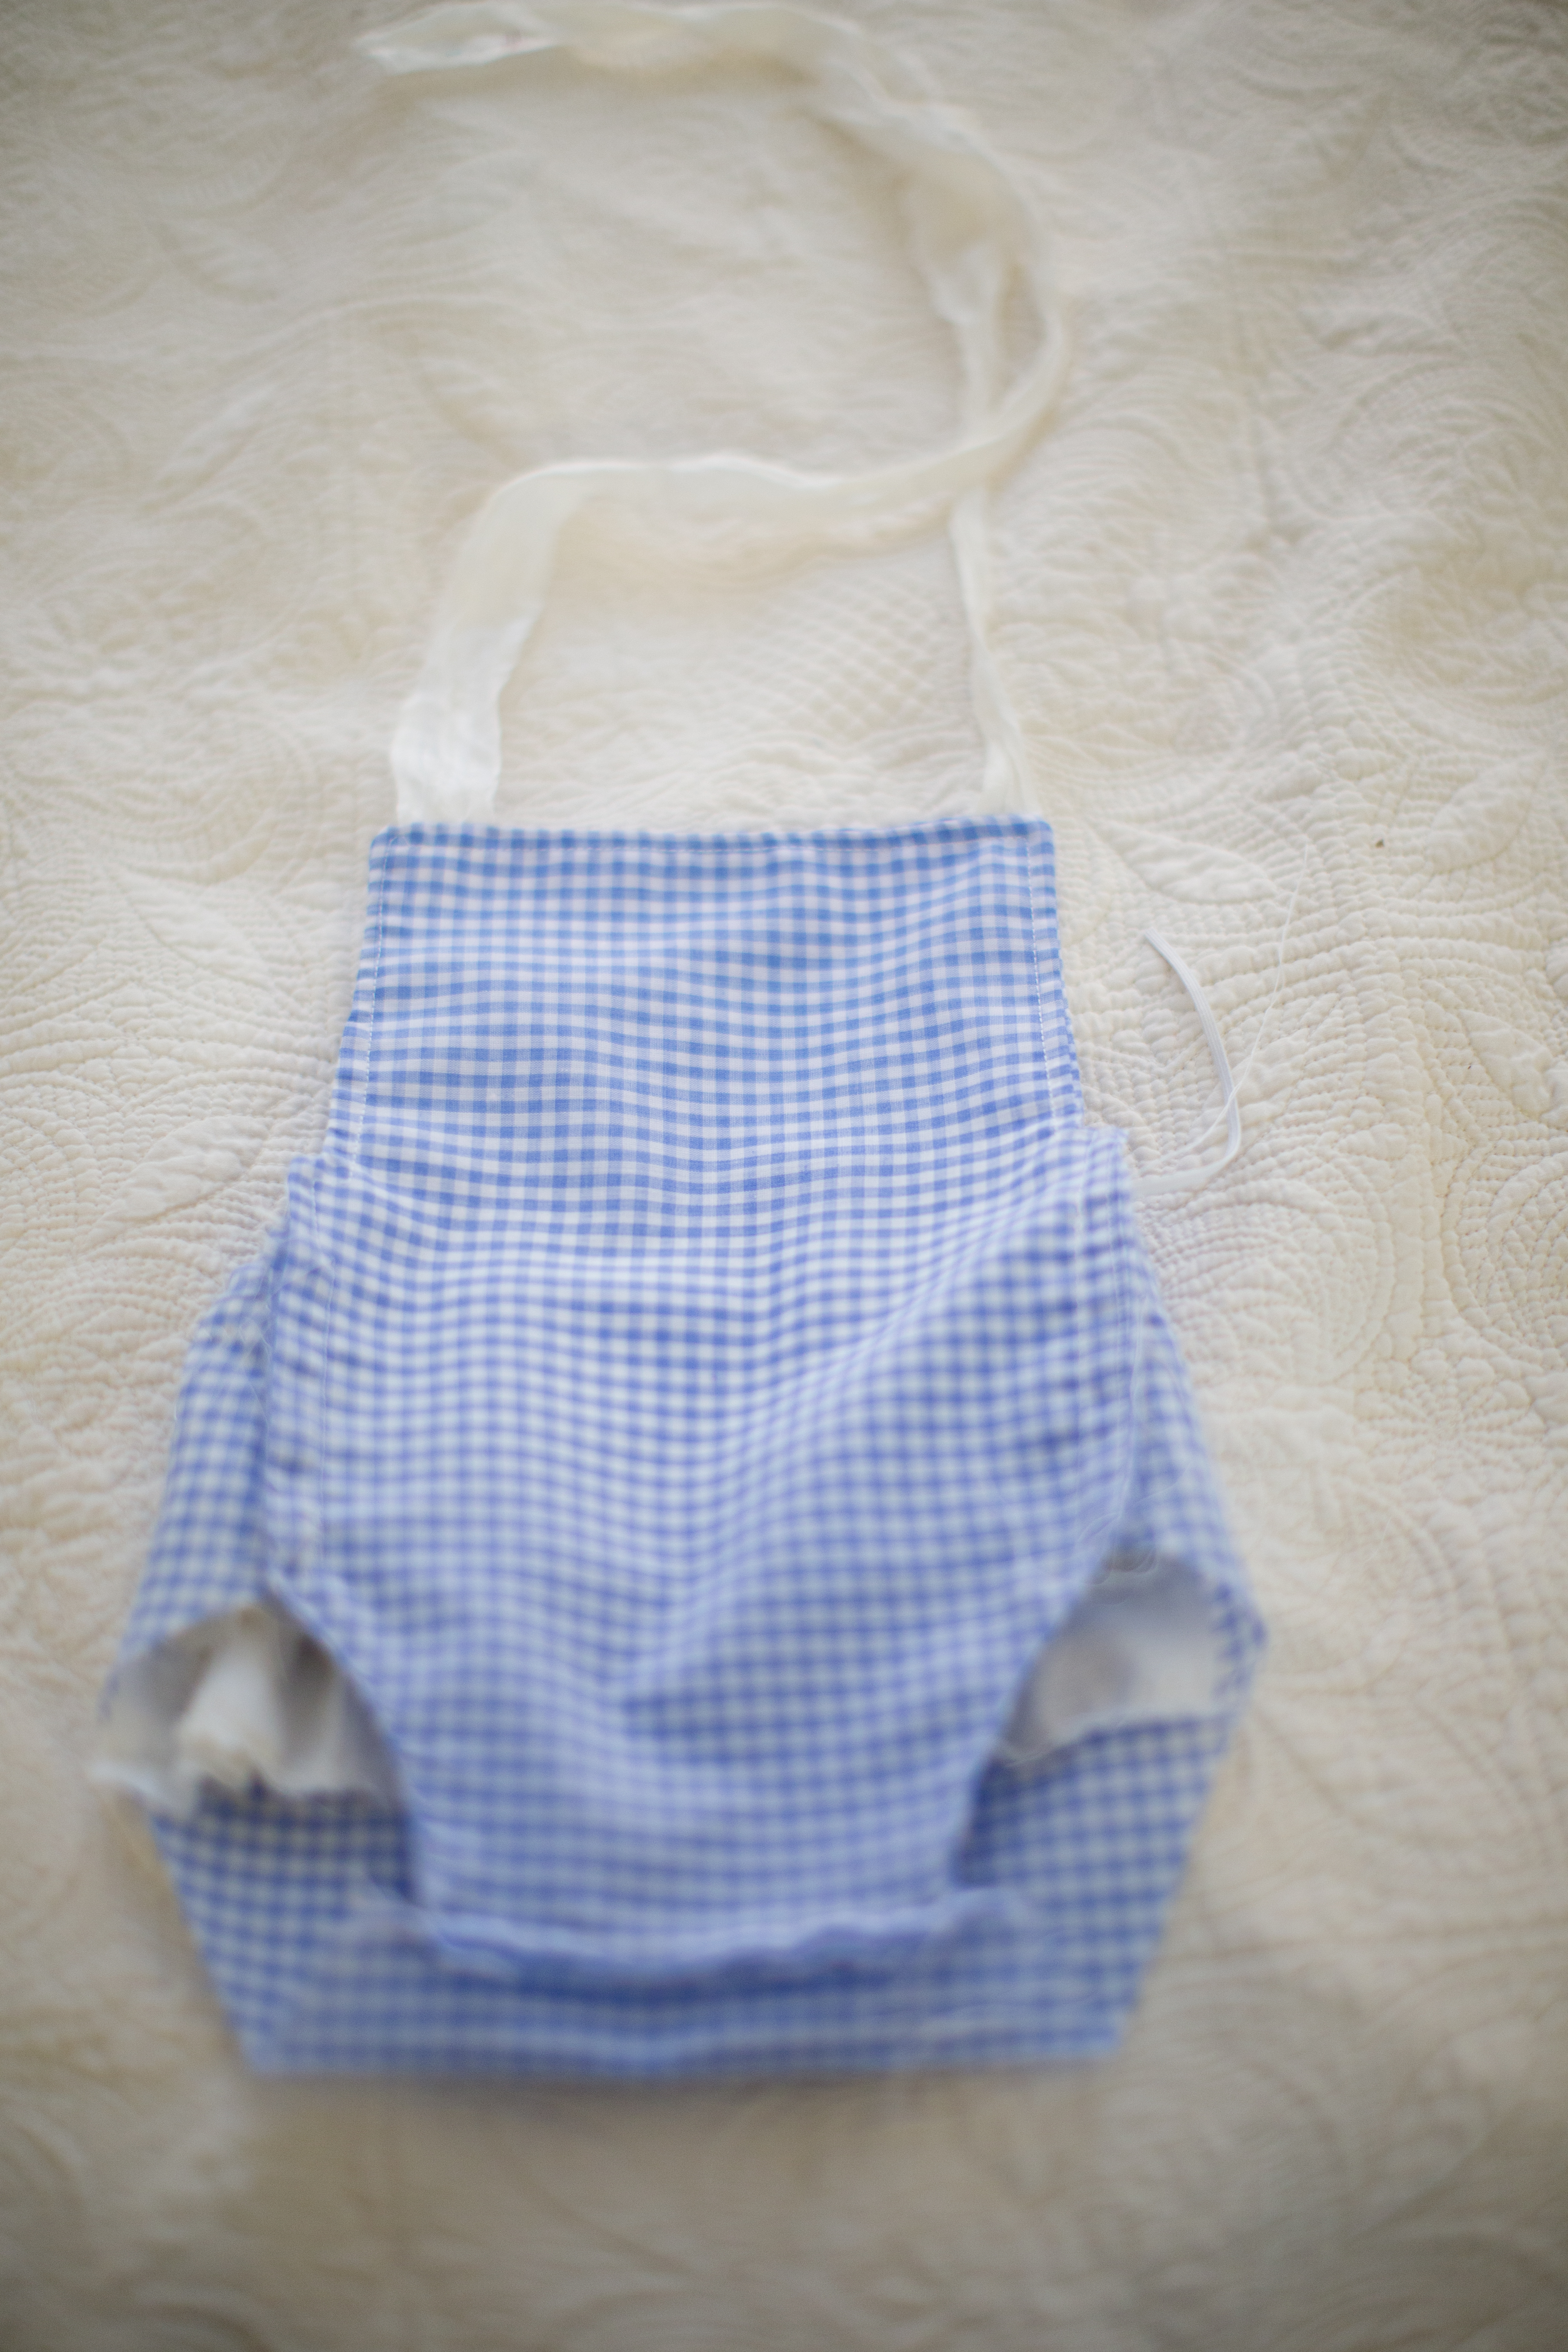
Turn right side out, trim any loose threads, and admire your adorable romper!!
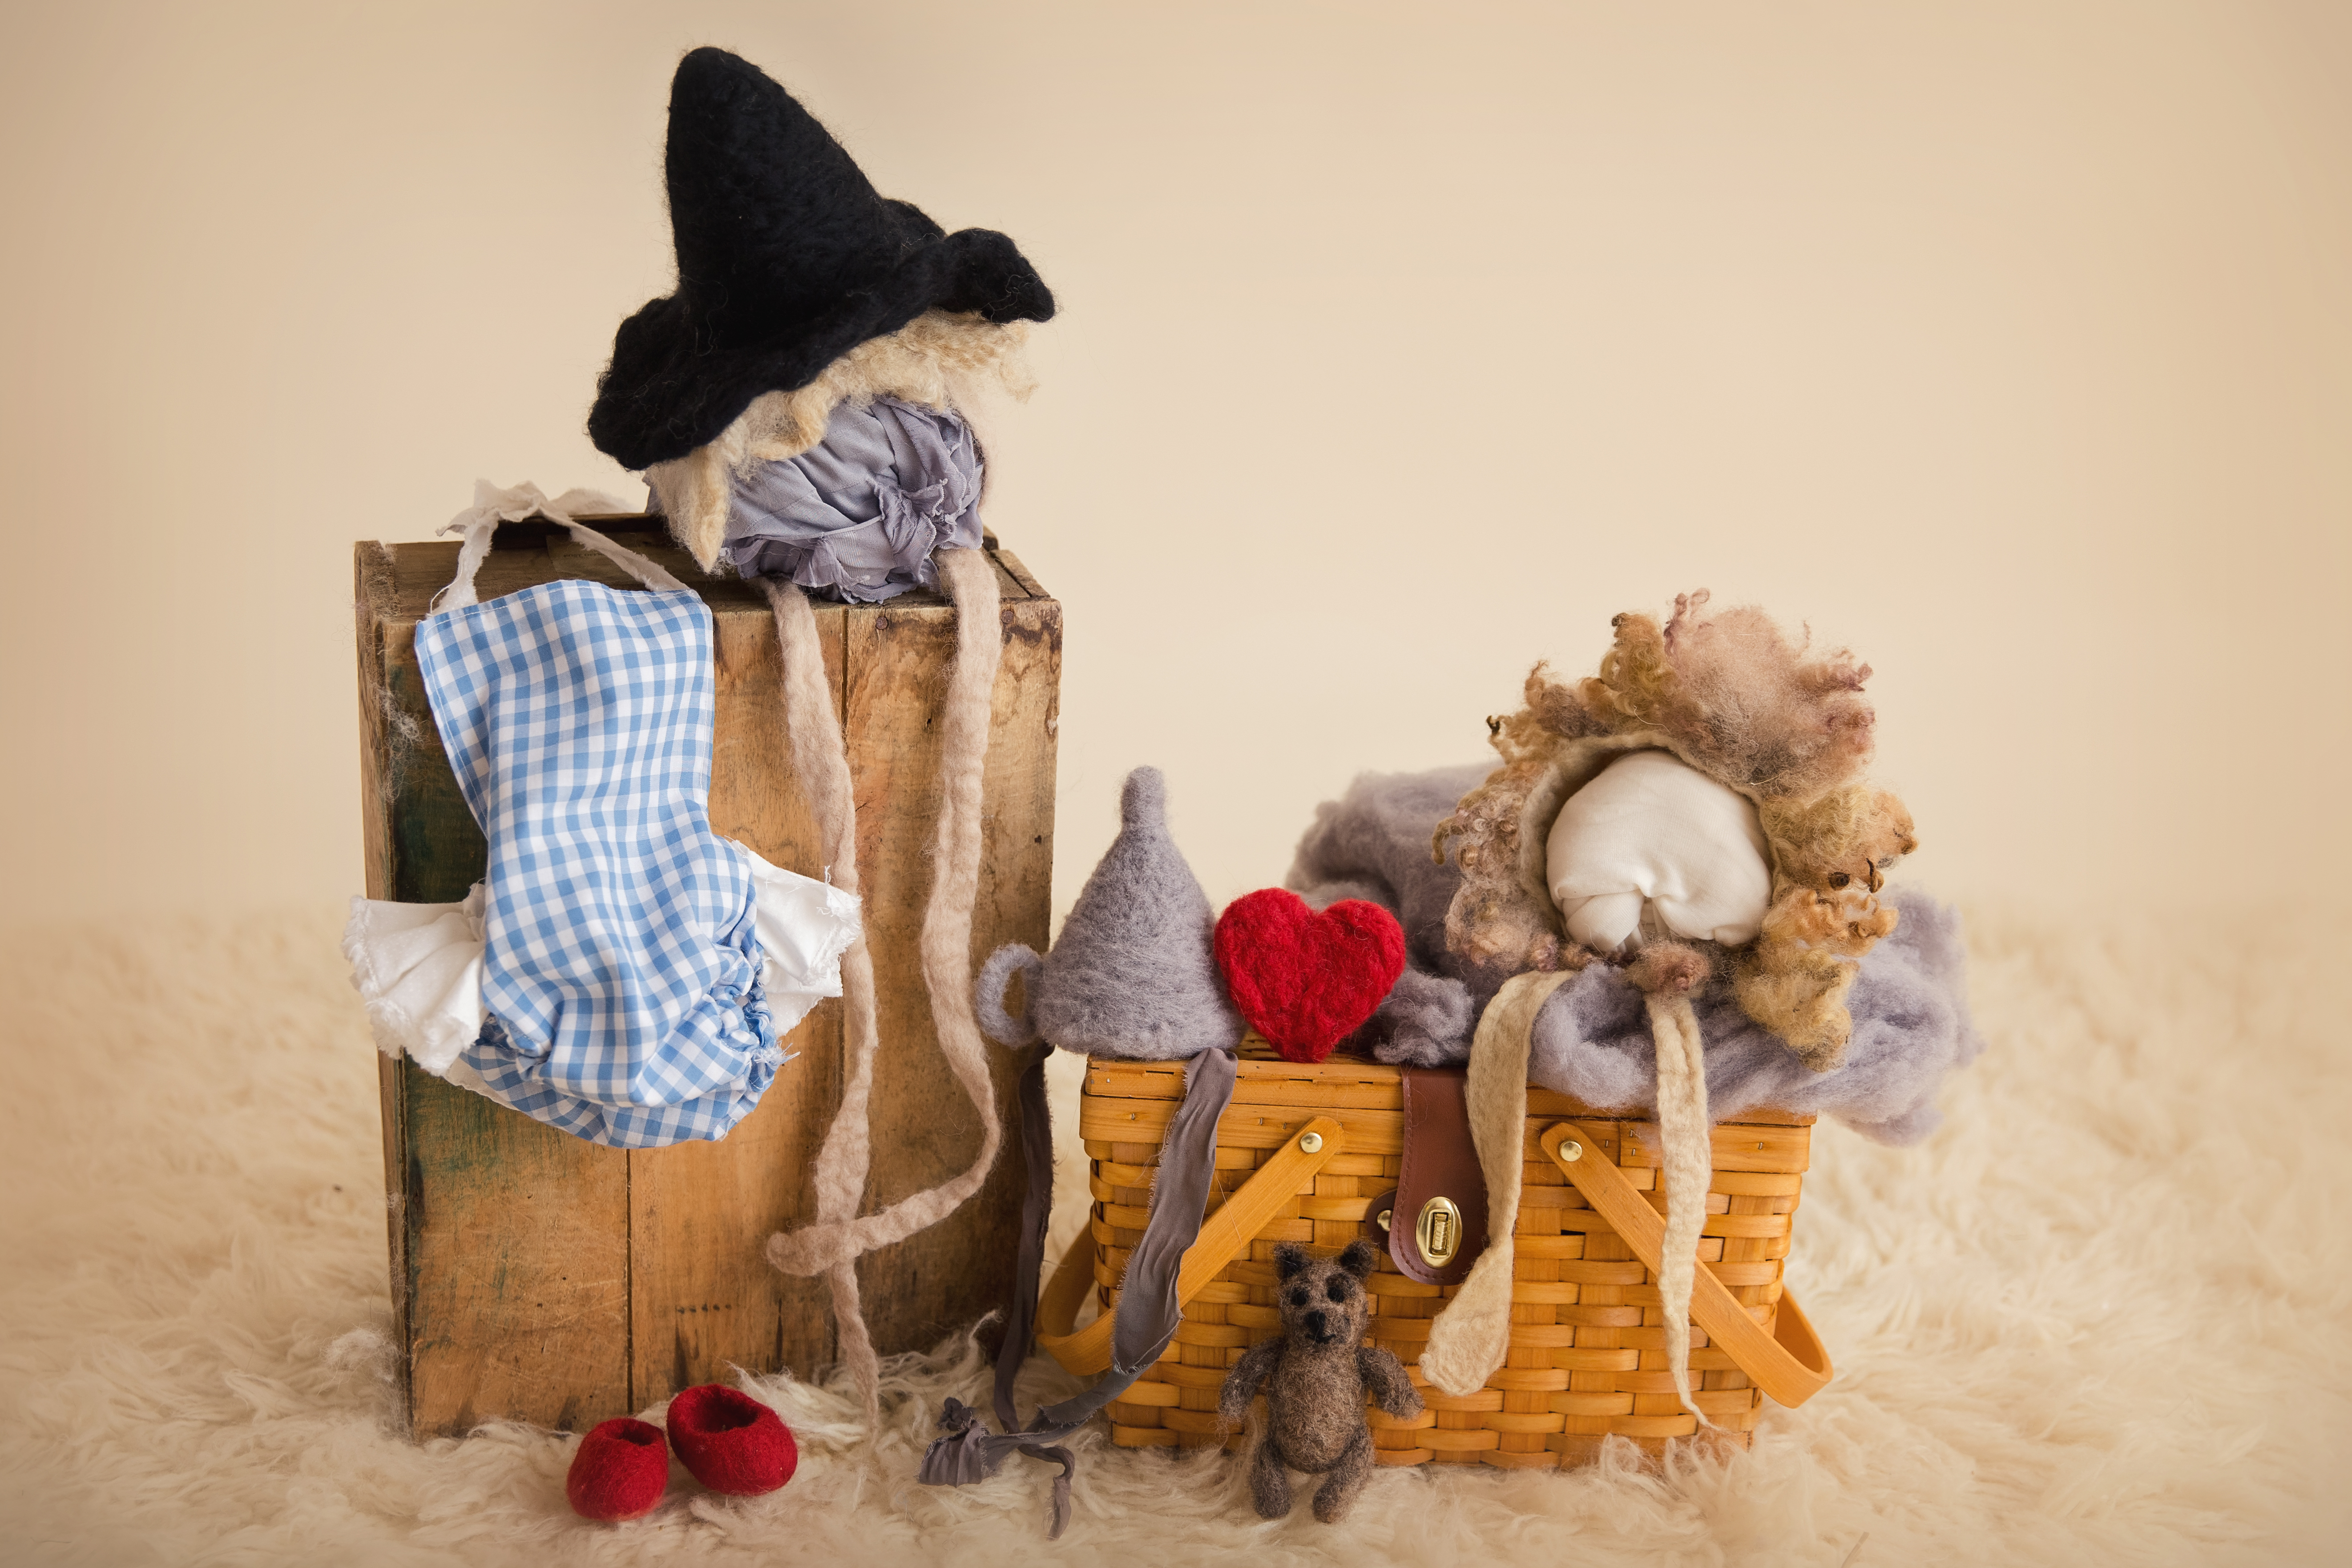
Hannah is running a giveaway on her blog for the WHOLE SET USED FOR OUR WIZARD OF OZ NEWBORN SESSION! Comes with the Dorothy gingham newborn romper, felted tin man hat, felted lion bonnet, felted scarecrow hat, tiny red wool shoes, a felted red heart, and a itty bitty felted TOTO, all in an adorable picnic basket. This is a one of a kind set, and the prize is valued over $250. Head over to Buttercup Baby Props to enter!!


