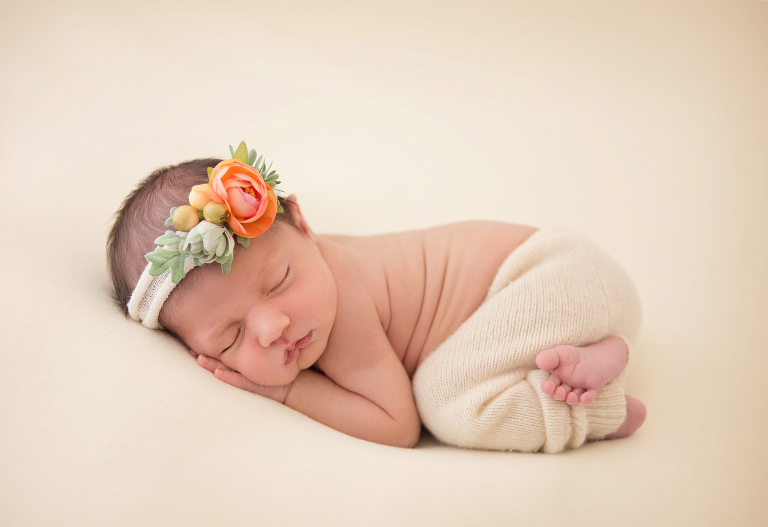
About a year ago, my friend Mary Kriss of Mary Kriss Photography shared that she had started using a dog bed for posing. I thought she was a genius, but had a posing beanbag that worked for my space so I didn’t jump on board.
I currently have a round beanbag, with a steel frame surrounding it. I really do love it, my dad built it for me and I have used it for about a year. What I have realized though, is that I HATE having my beanbag out in the studio ALL. THE. TIME. My current poser doesn’t fit in my closet, and has to stay out in my shooting space. I don’t like that. At all. I have also realized that the slope of the backdrop starts too far toward the front of the beanbag and tends to block some of the light from baby. So. Back to Mary’s idea. Dog bed to the rescue!
So, the dog bed is a pretty great solution. It’s cheap (about $30 on amazon). Lightweight, and doesn’t take up much space (aka: it fits in my prop closet). I also love the the backdrop fabric can be clamped at any edge of the dog bed to make a super seamless, smooth backdrop. BUT! I needed a raised backdrop. The dog bed is perfect for overhead shots (like the tucked in pose, or dream wrap) but I wanted to be able to clip my backdrop up for other typical bean bag shots like froggy, potato sack, bum up, etc. So…I hacked together a quick backdrop support that can move along with my dog bed. I use natural light, and I am constantly adjusting my beanbag into the light depending on my pose. Because I can’t just move my light, I have to be able to easily move the entire setup, including the backdrop…which means I can’t just have a bar attached to the wall to clip my backdrop to…or use backdrop stands, as that would be super annoying to try to all move together.
To build your own you will need:
10 foot length of 3/4″ PVC
Two 3/4″ PVC elbows
PVC cement
Adjustable PVC joint (comes in a pack of two)
Zip Ties
Elevated pet Bed
You will also want a drill, and a way to cut your PVC. You can have them cut your PVC to size at the hardware store, bring your cut list with you to the store!
.jpg)
I love the push button adjustable joint! I can easily adjust the angle of my backdrop, and it locks safely in place. I am super excited that I can fold the backdrop stand all the way agains the dog bed when I’m done. This entire set up is so light weight and super slick.
.jpg)
.jpg)
.jpg)
.jpg)
.jpg)
Use the diagram above to assemble all the PVC pieces. It should be the same length as the LONG edge of your dog bed. I used ZIP TIES to attach each end of the PVC backdrop stand to the dog bed. I then DRILLED through each leg at the top and bottom and tightened a zip tie through each hole. This keeps the legs nice and sturdy and keeps them from shifting. Bolts would have worked even better to secure the PVC to the dog bed leg…but I didn’t have any long enough, and didn’t want to go back to the hardware store… I then covered the legs with black duct tape to cover the zip ties, so they wouldn’t snag on my backdrop fabrics.
Once I had it all assembled, and made sure it all worked, I took it all apart (except the 8″ PVC sections attached to the dog bed). Use the PVC cement at each joint and reassemble, making sure to work in a well ventilated area. I placed the “BUTTONS” of the joints facing IN, so I could easily use my thumb to adjust the backdrop. Figure out what works best for you and your arm length…
Check out how awesome and easy this poser is to adjust on https://youtu.be/GNjJY6LDWyI


