
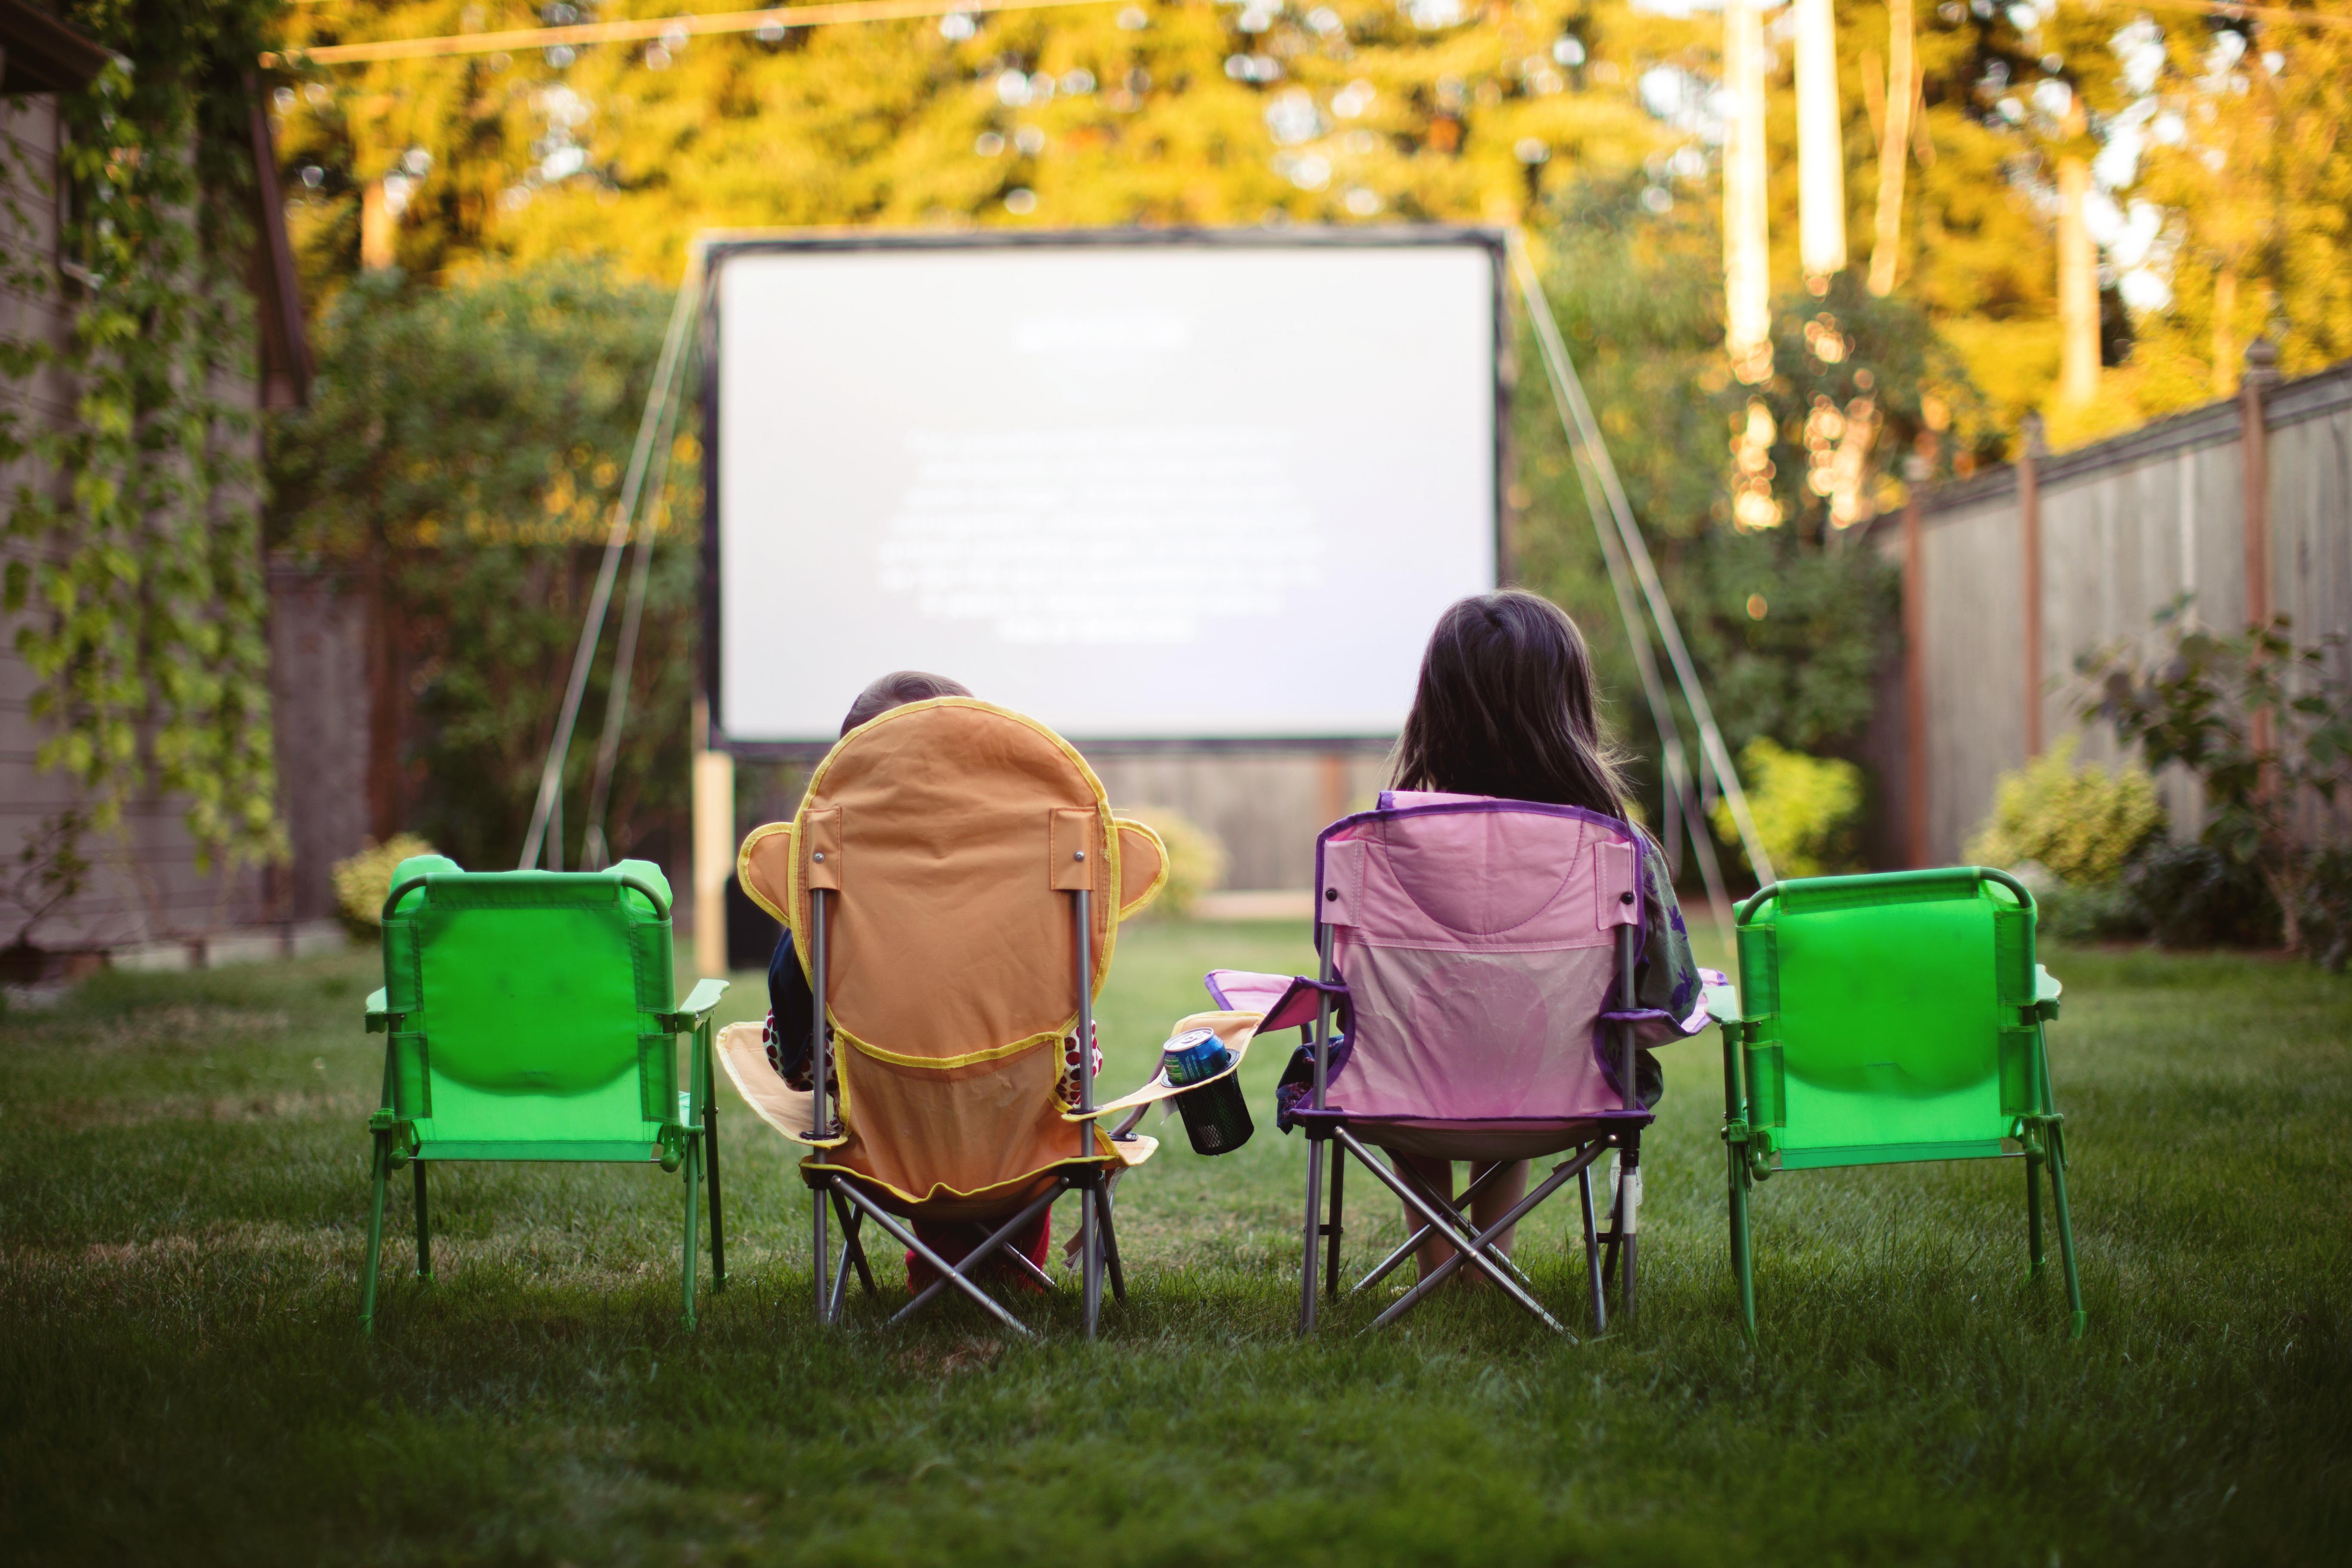
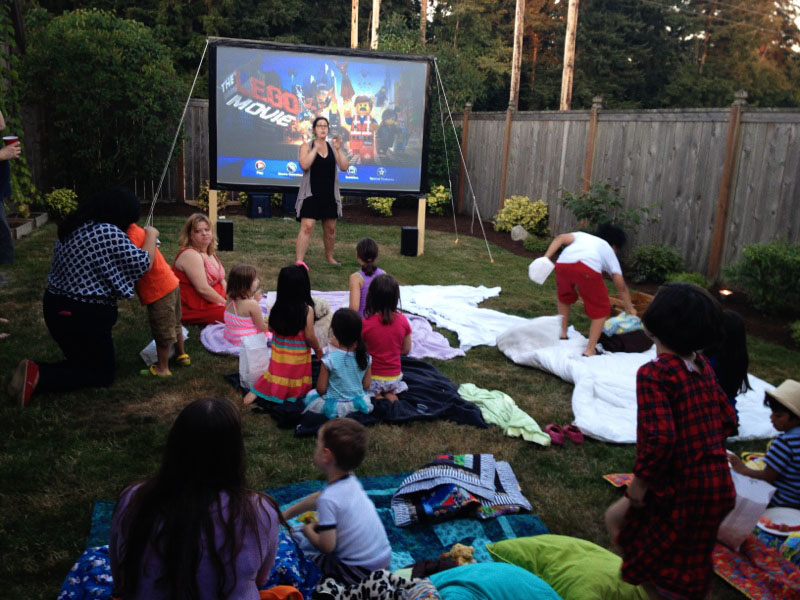
.jpg "DIY rear projection screen, summer movie night") We hosted our first ever outdoor movie night, and it was a smashing success…if you don’t count the hoards of mosquitos! Luckily we were prepared for our needle-nosed friends, and had plenty of bug spray on hand.
We hosted our first ever outdoor movie night, and it was a smashing success…if you don’t count the hoards of mosquitos! Luckily we were prepared for our needle-nosed friends, and had plenty of bug spray on hand.
We made our movie screen for under $40, and it was SUPER easy.
You will need the following:
Materials:
4 of 1x3x8 Spruce/Pine Furring strips ($2/each)
4 of THESE brackets, ($4.50 for a 4 pack)
1 of 108″x72″ “frosted” shower curtain. (For a rear projection screen, you will need a frosted shower curtain. For front projection, use a WHITE shower curtain.) ($17/each. You can find these MUCH cheaper at the dollar store, but not in the larger size. You can always adjust your screen size a bit to save some $$)
2 eye bolts ($.88/each)
4 tent stakes ($5 if you don’t have them squirreled around in your garage somewhere)
Black Duct Tape (it doesn’t actually need to be black…I just like the look better in black). ($3)
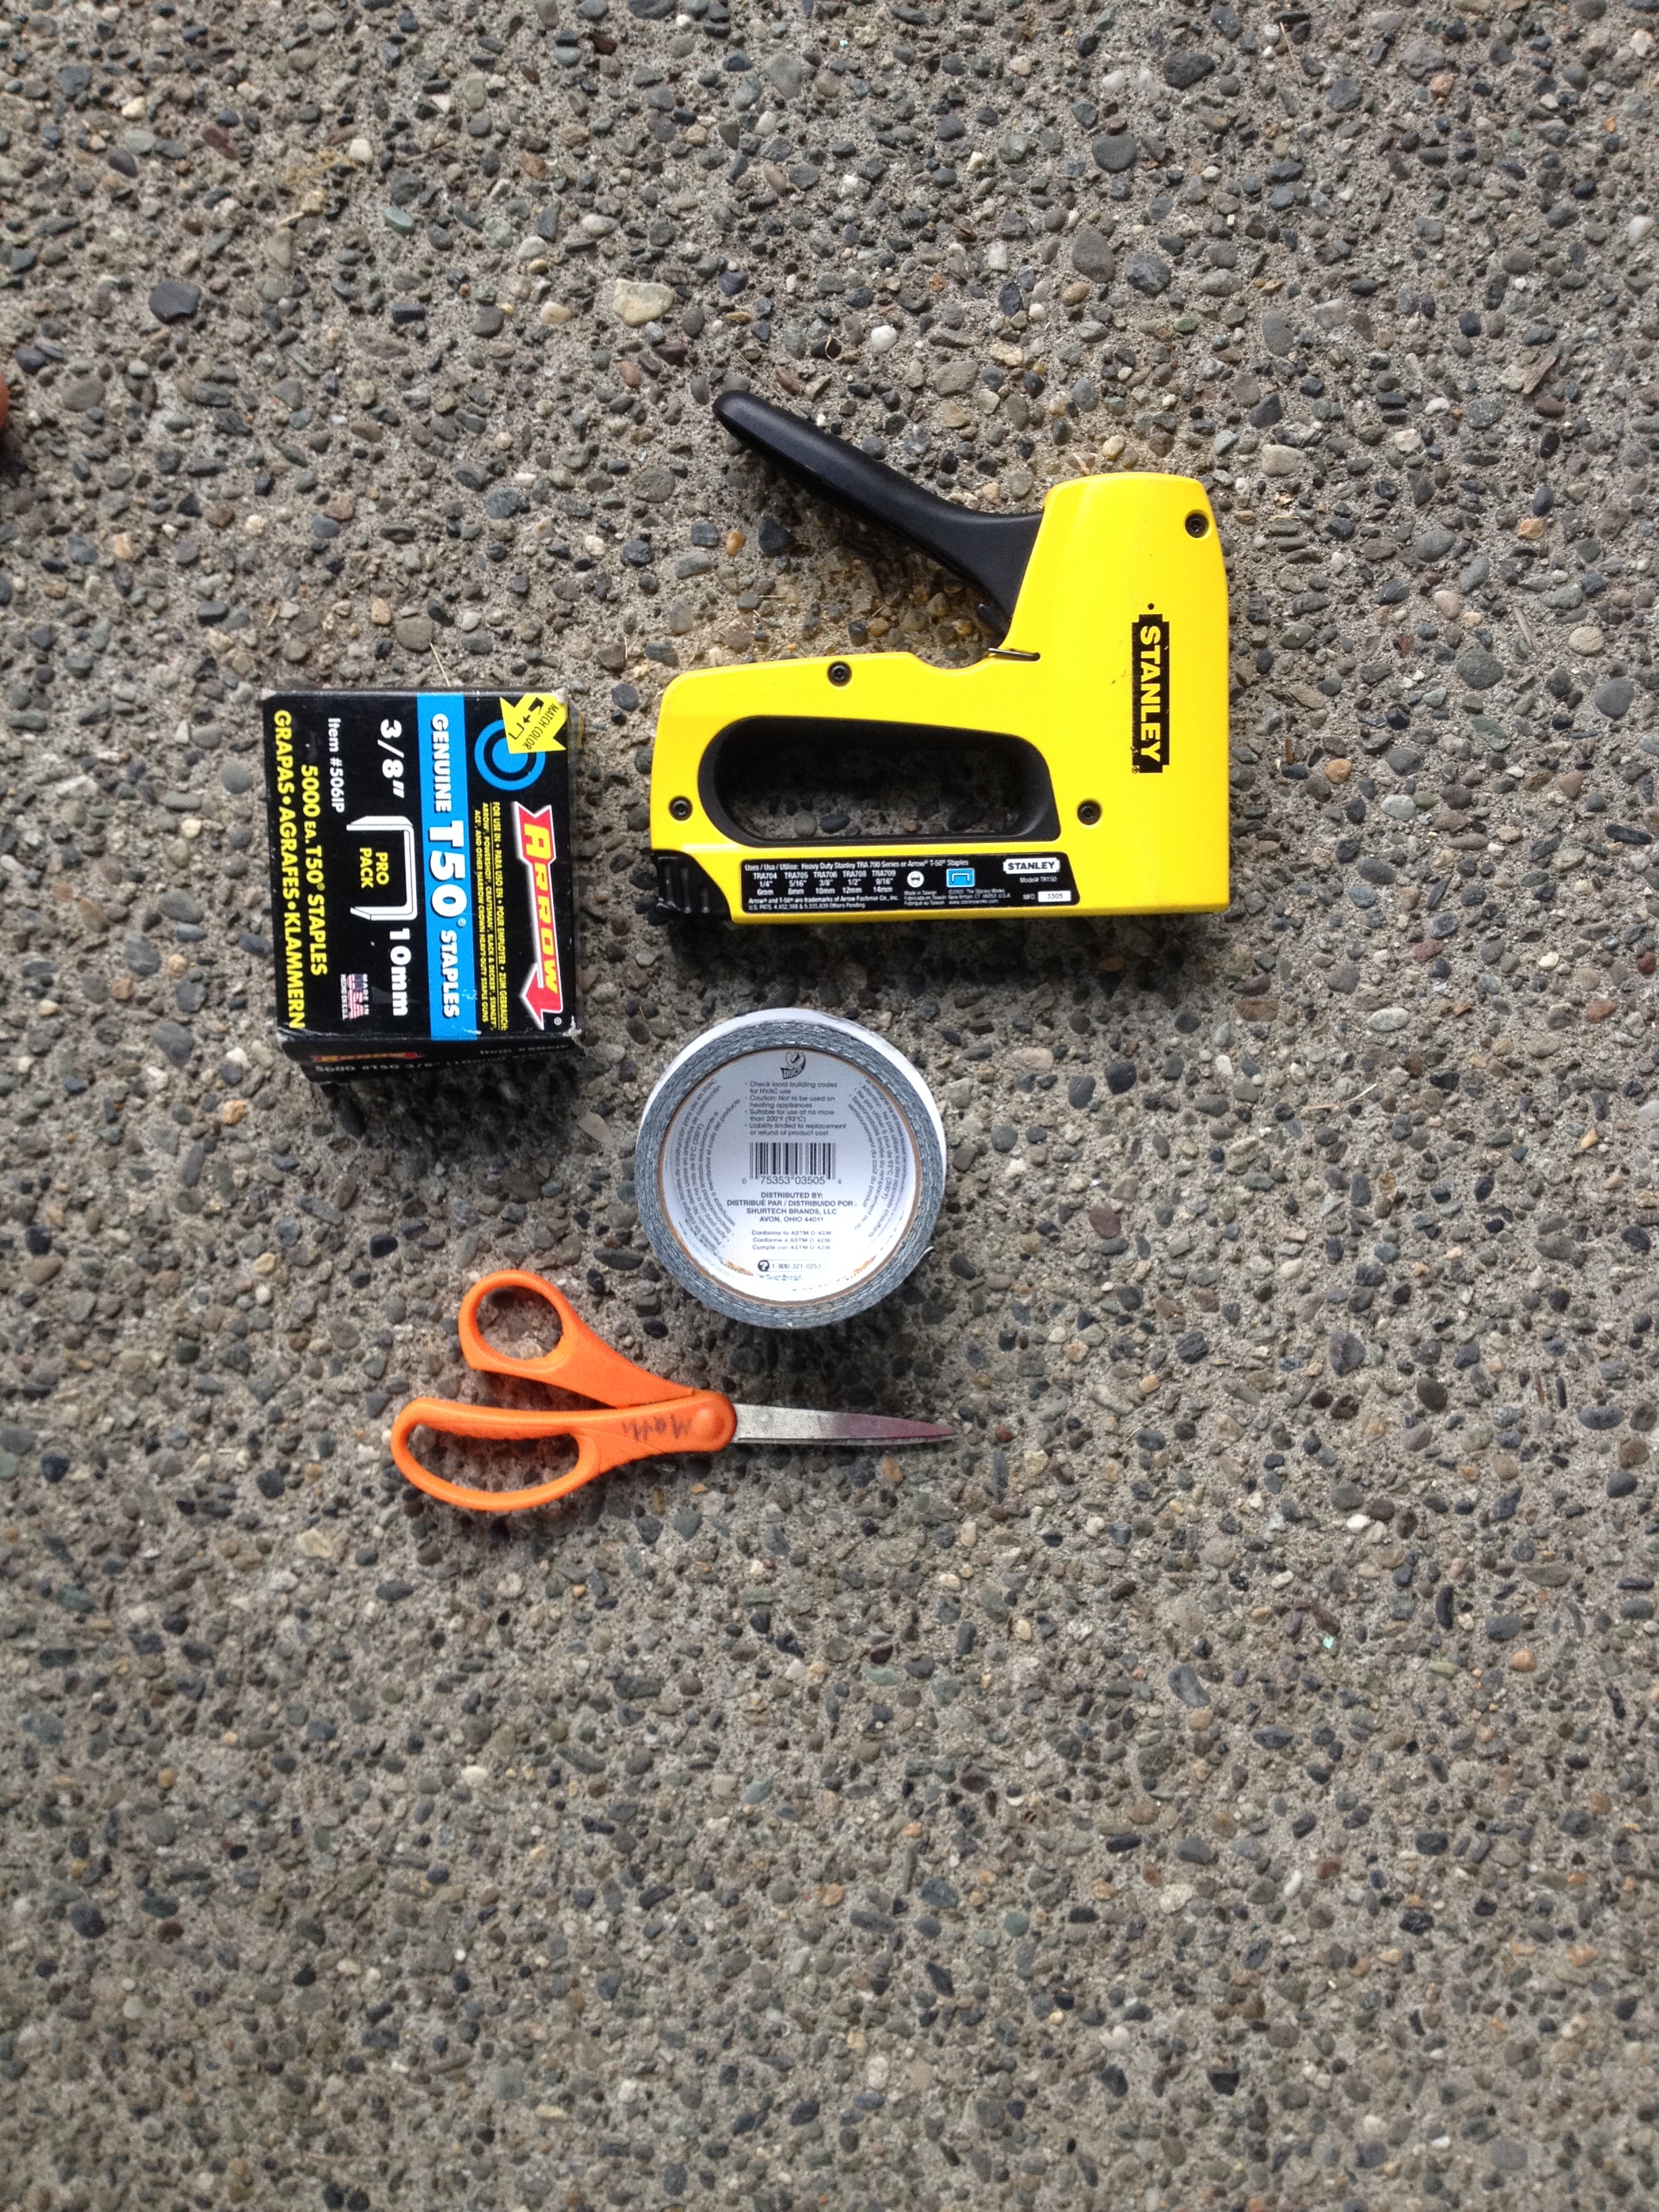
Tools:
Measuring Tape
Drill
Staple gun with staples
We laid the boards out on the ground, and measured a 60×96″ rectangle in the center. The would be our screen space/size. We were feeling lazy, and didn’t want to make any cuts to the wood. Bonus.
Next, we placed a bracket in each of the 4 inside corners. and attached using the screws that came with the brackets. We decided to reinforce the corners by screwing a block of scrap wood to the back of the frame at the corners. This helped to keep the frame square. Sorry, this part happened so fast, I forgot to snap a pic. Here is a super technical drawing (the blue things in the corners are the brackets. obvs.) 
.jpg "DIY movie screen diy")
Screw the eyebolts in along the top, side edges (see photo). This will be where your ropes attach and hold it all up.
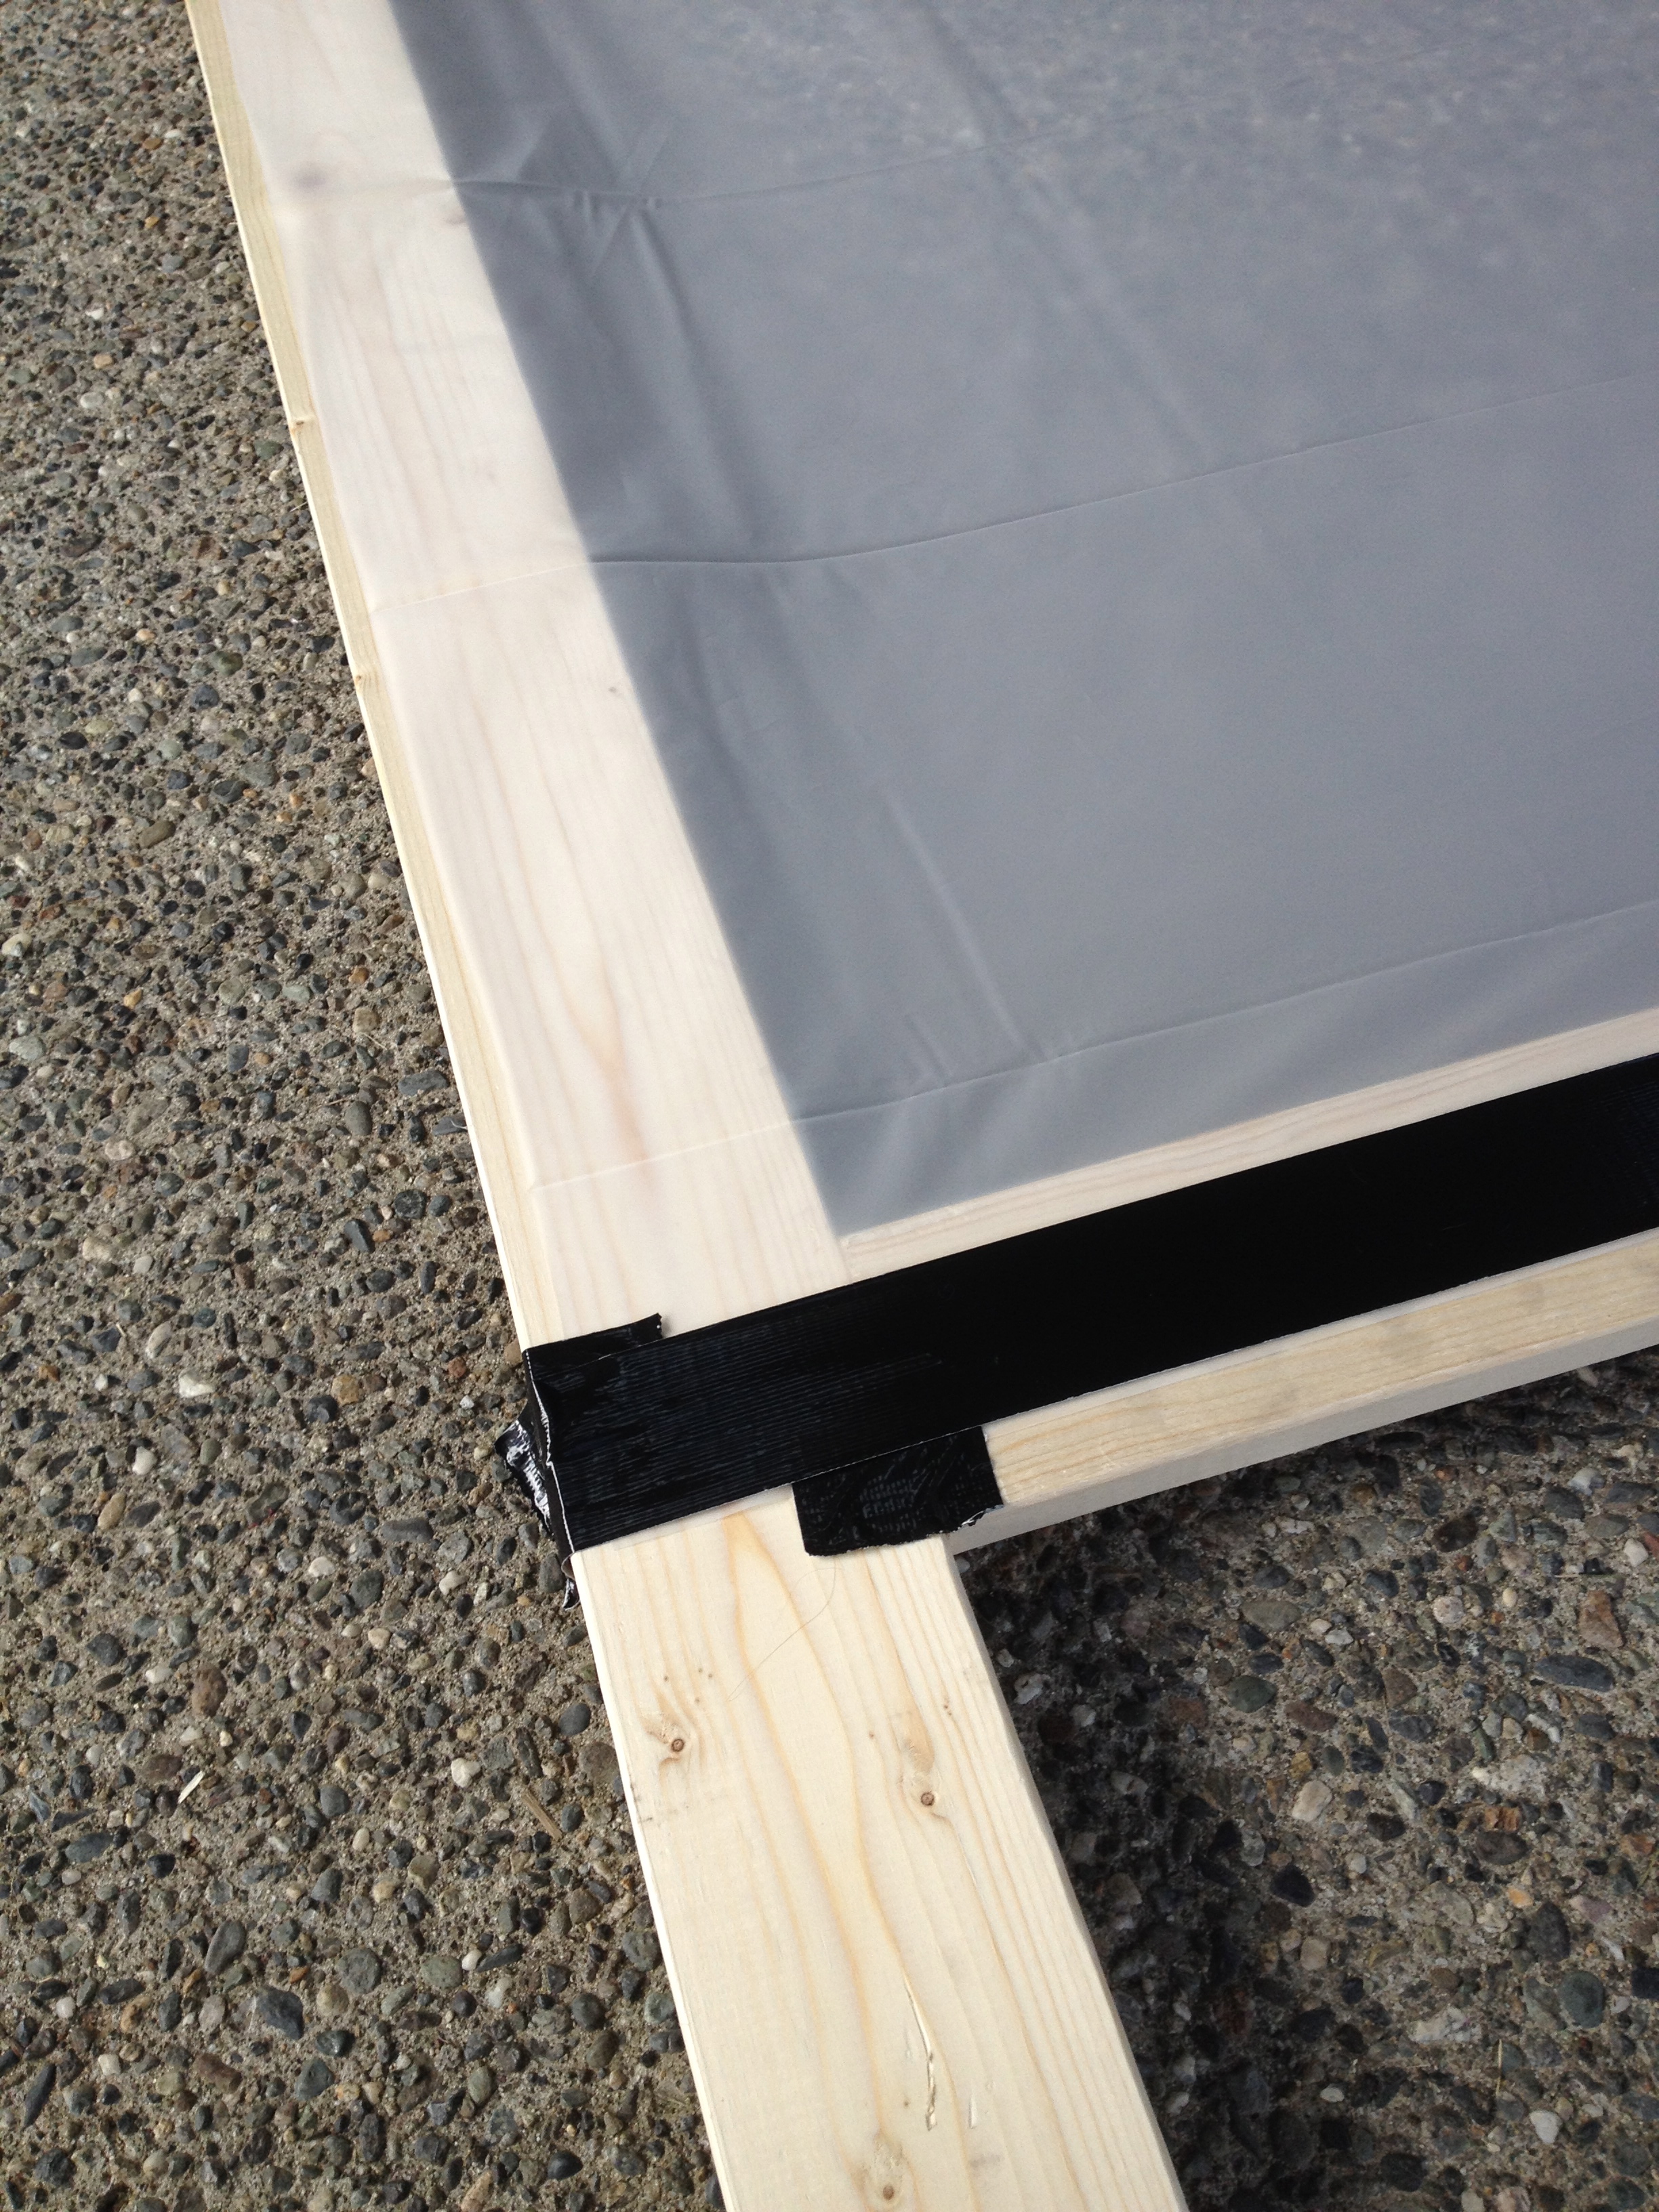
Now use the duct tape to loosely attach the shower curtain at each corner. Don’t pull tight, but lay it flat over the frame. Trim off excess shower curtain.

 Starting on a long edge, reinforce the shower curtain along the edges with duct tape. This layer will keep the shower curtain from ripping when we add staples.
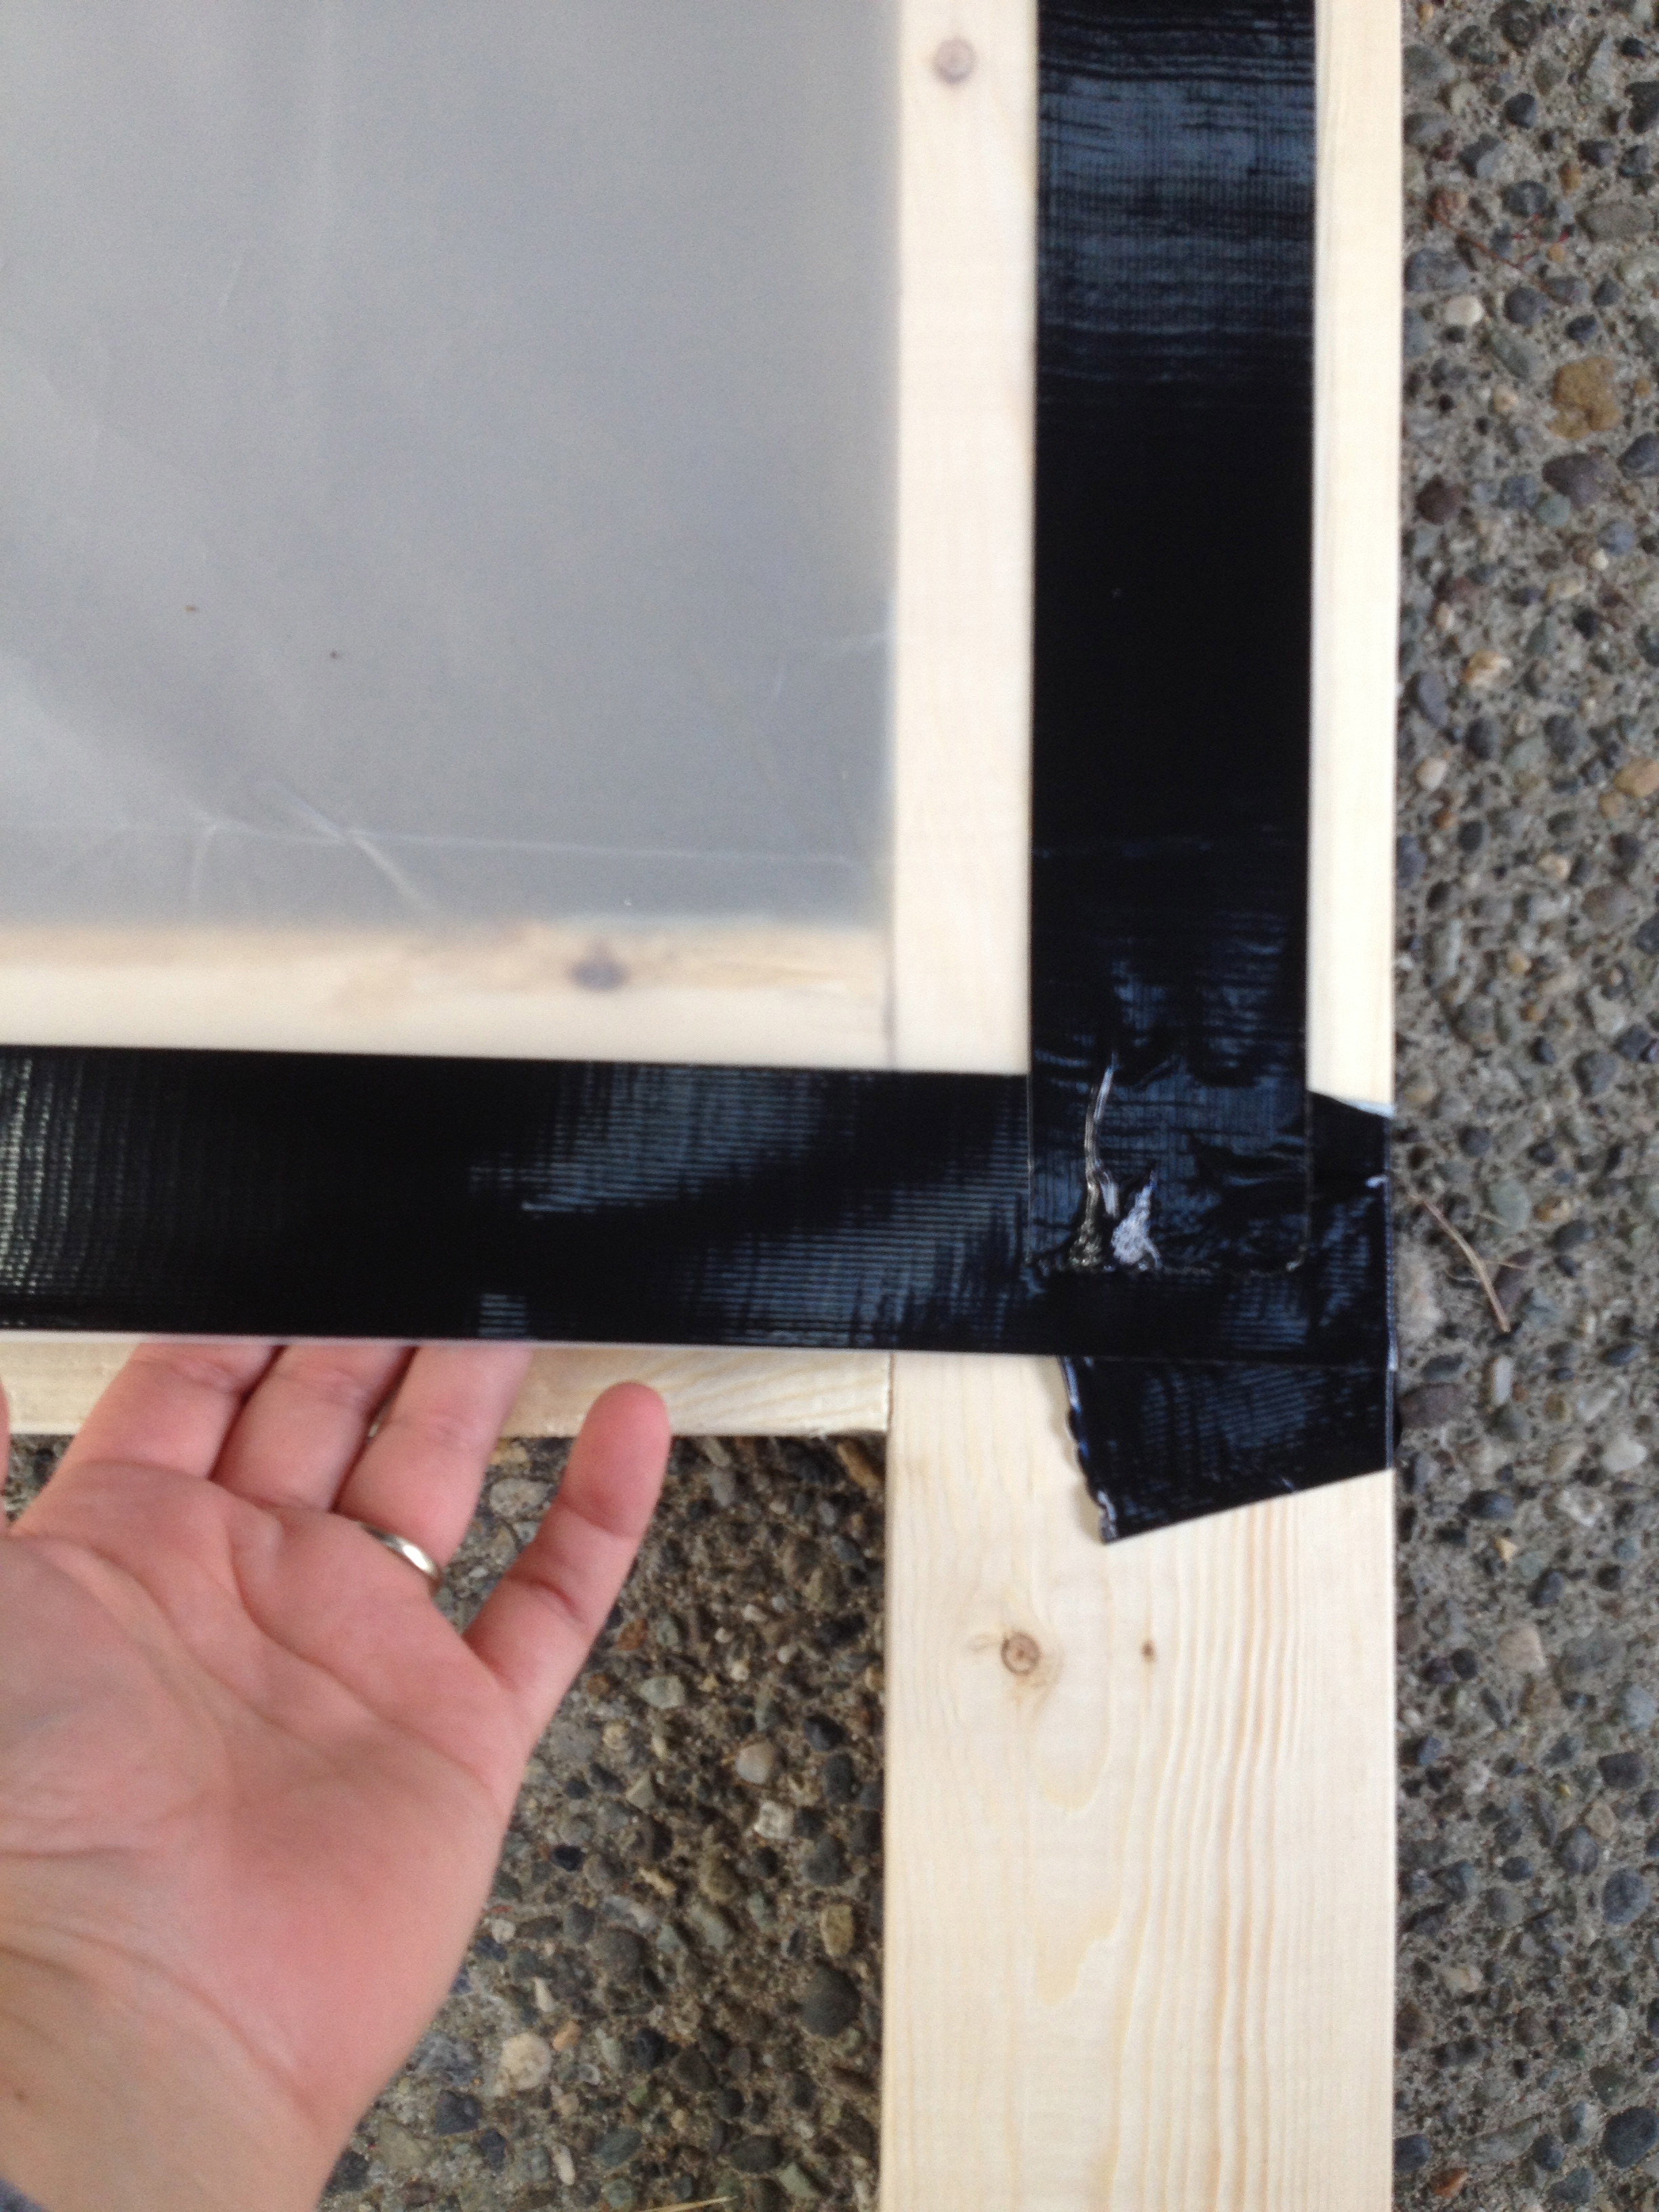
Once the edges are reinforced with duct tape, you can staple the curtain in place. The trick is to start in the middle of any side. Place one staple, and move to the middle of another side. Pull the curtain tight, and pin the curtain down with a staple. Keep moving around the frame, working out from the middle of each side, and pulling taught. Soon you will have a million staples, all the way up the corners of the frame. Your curtain should be nice and tight. It will likely have some wrinkles from folding, but we didn’t notice these AT ALL when it is in use.
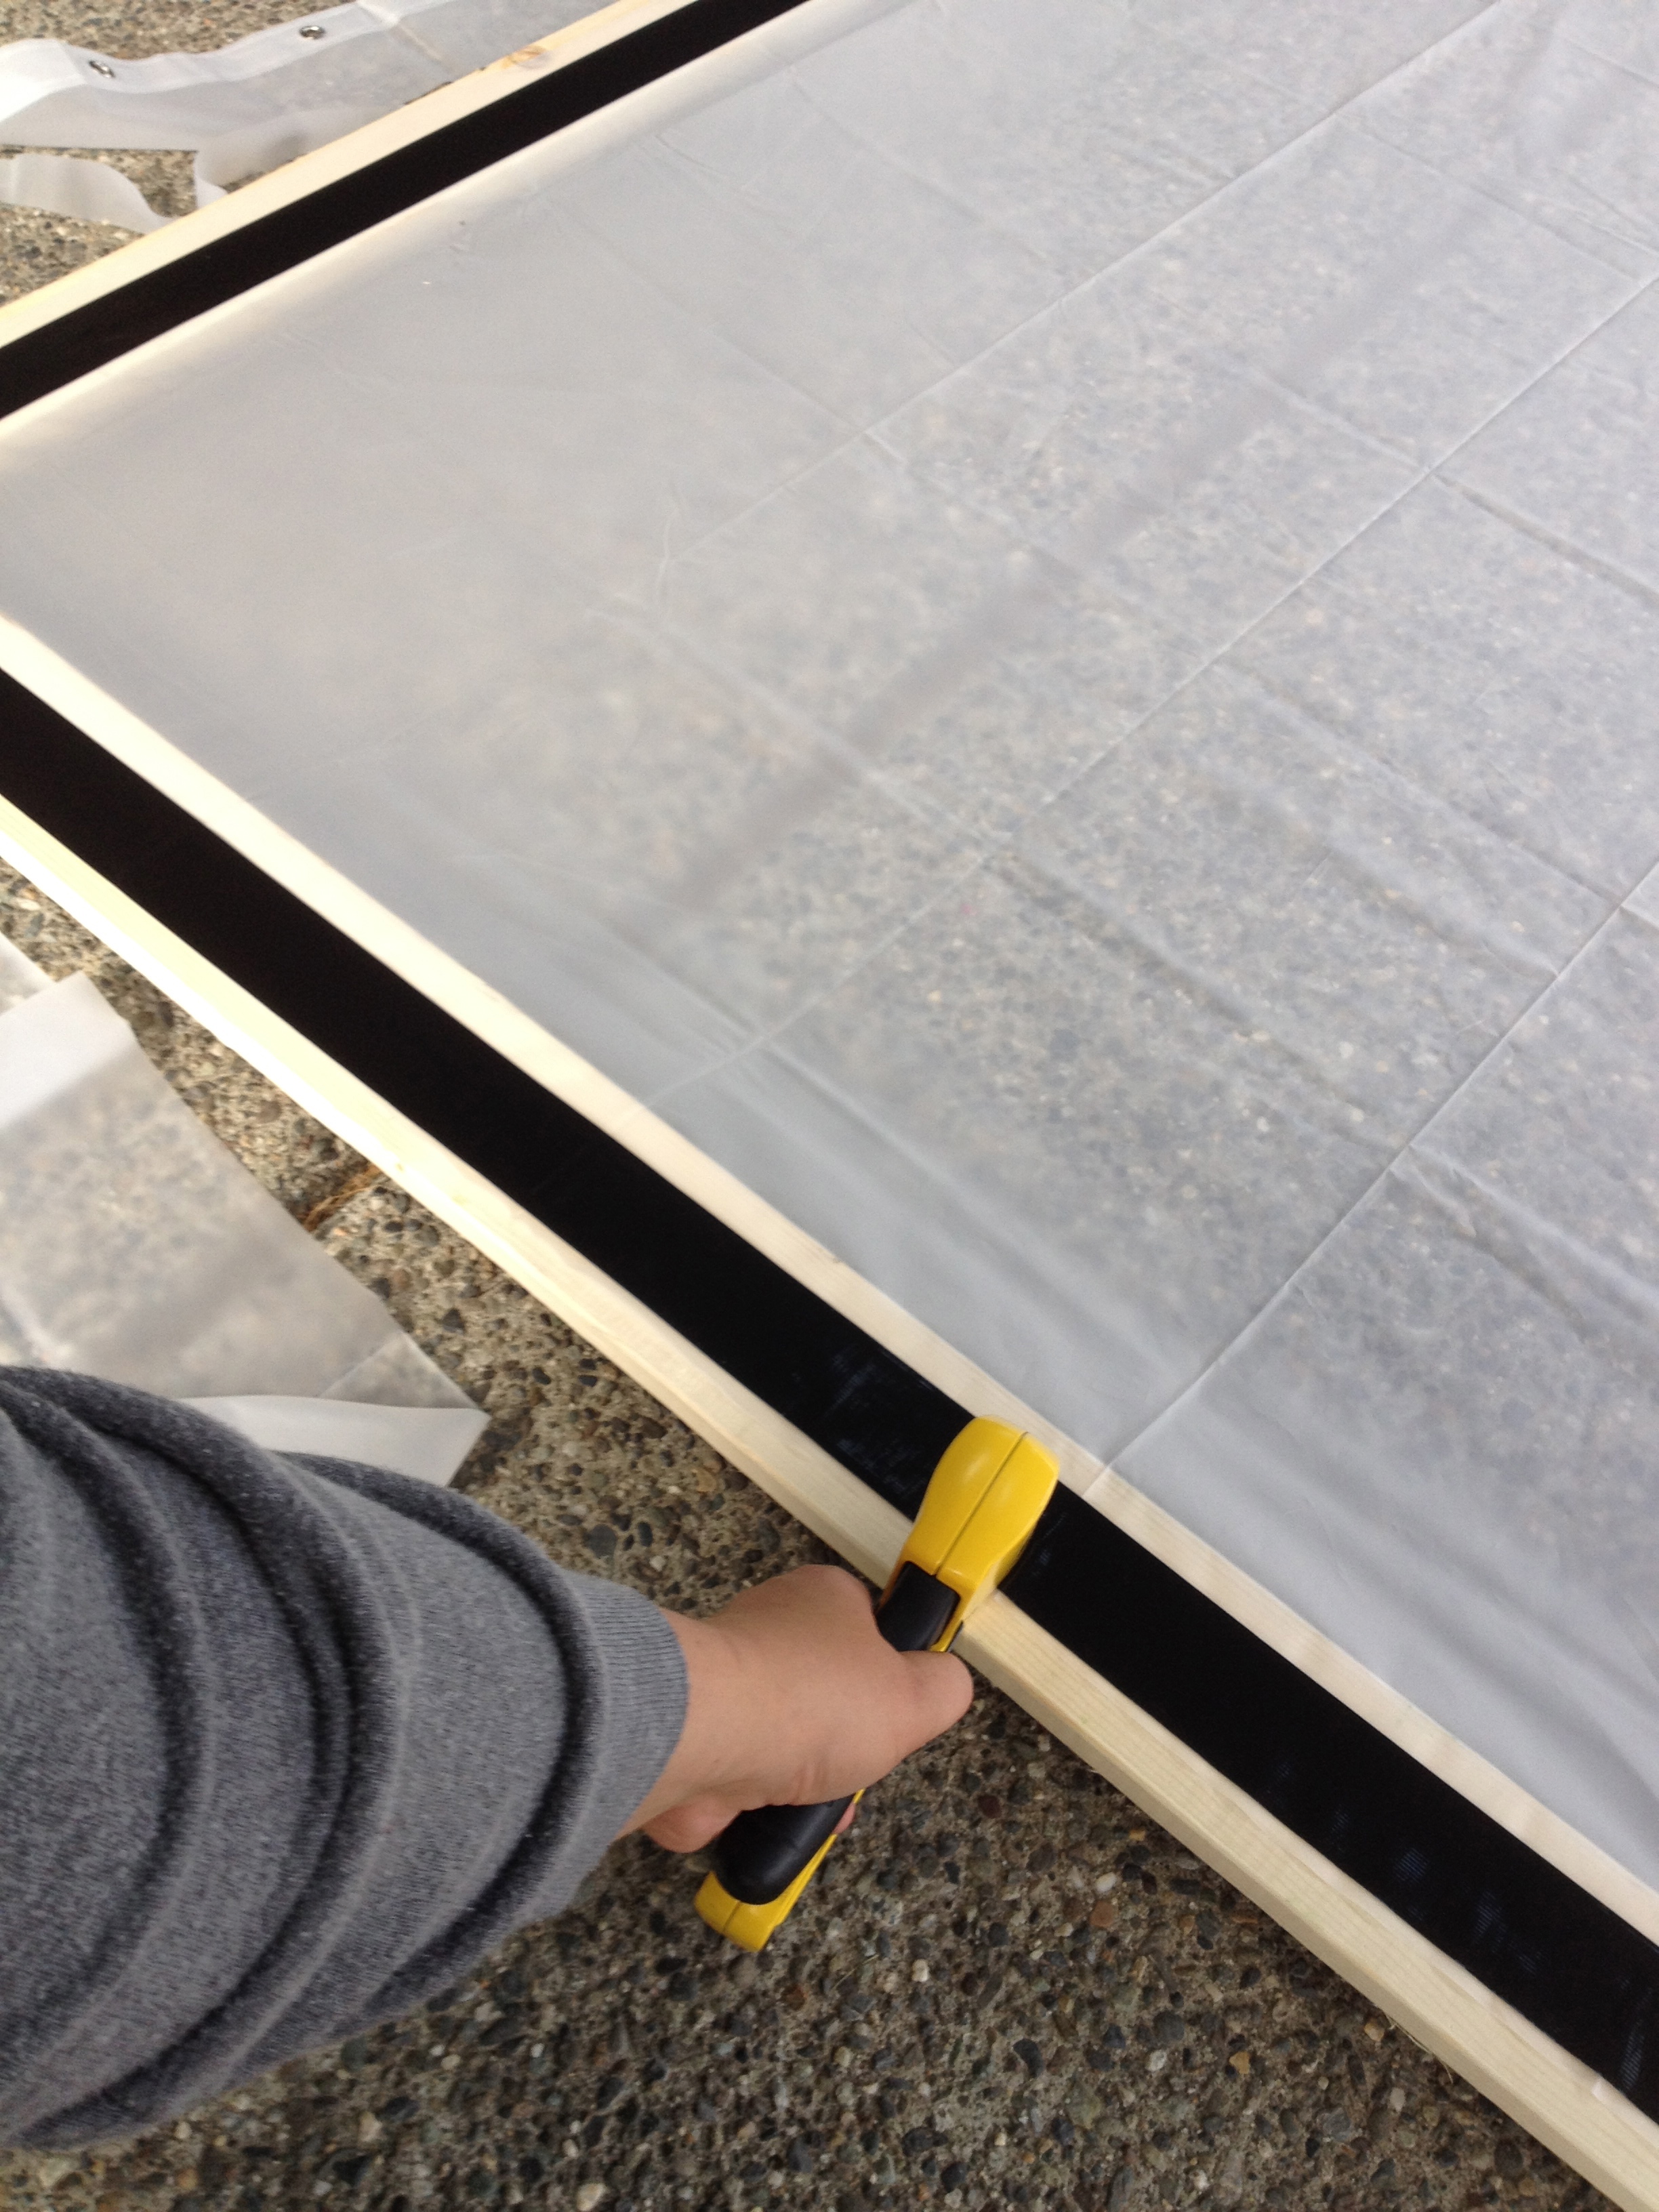
After all the staples are in place, use the duct tape to cover the staples. This will give your screen a nice, clean look.


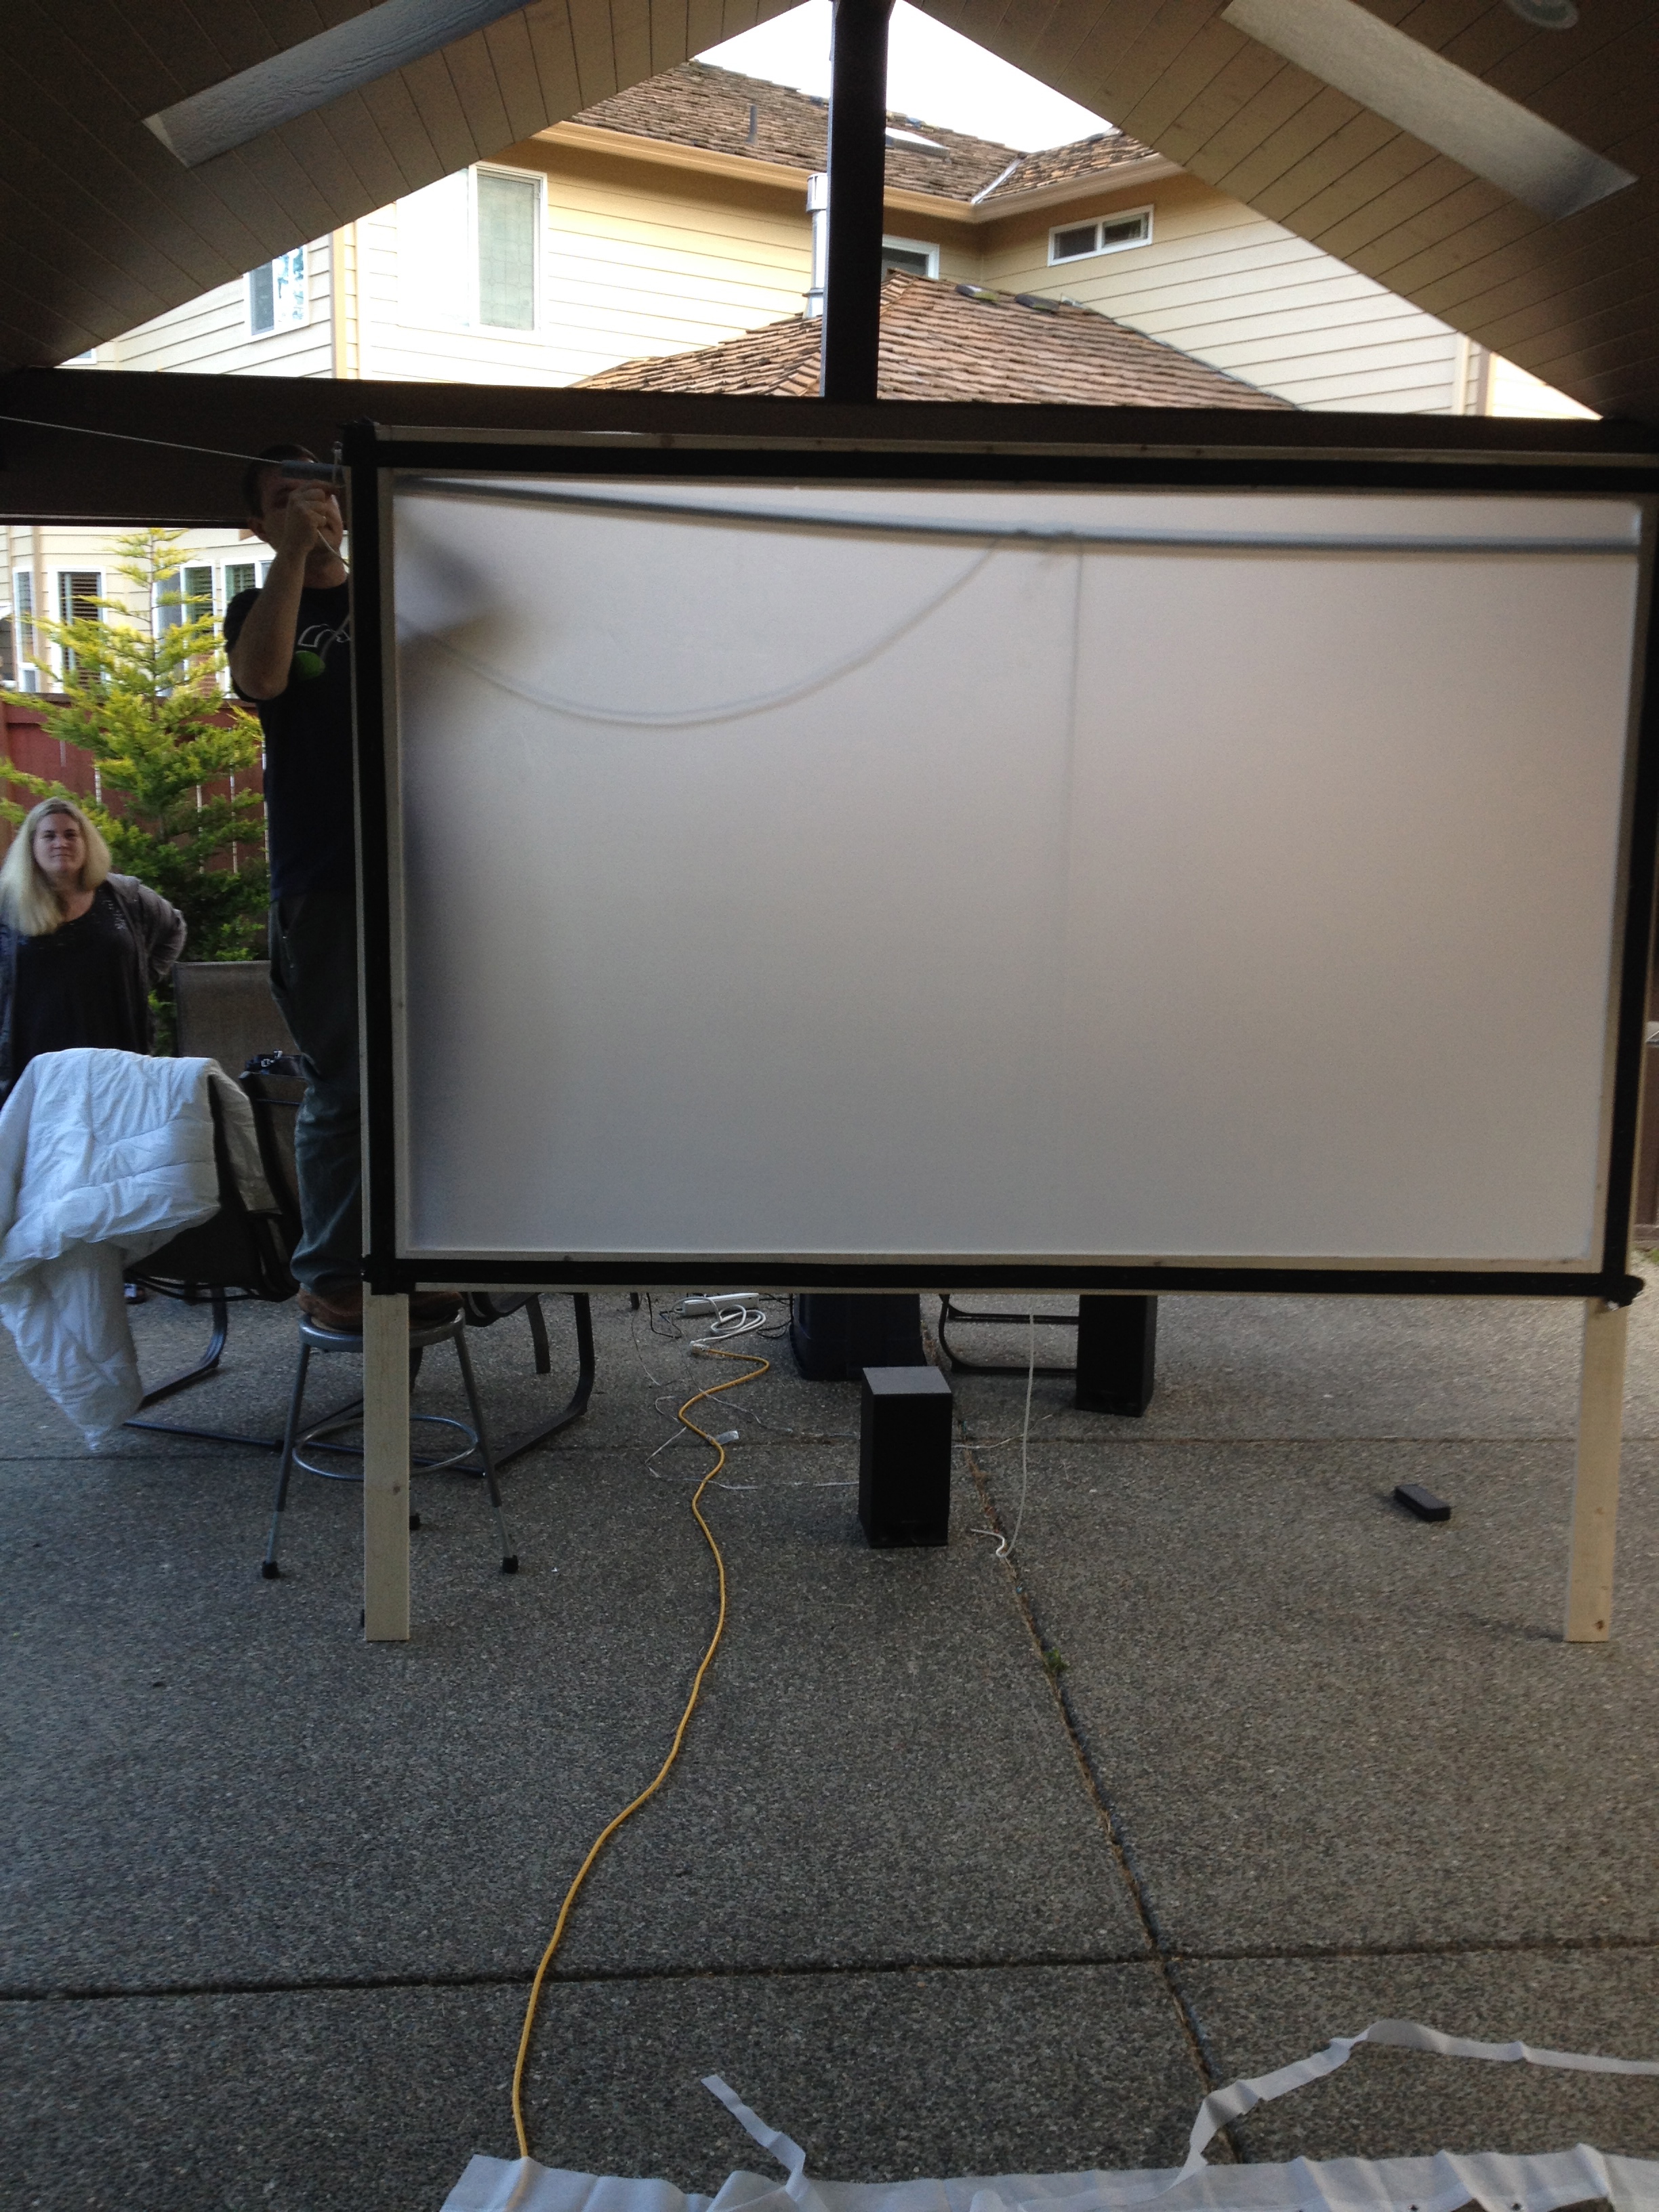
To set up your screen, have an assistant hold the screen up while you stake it down by inserting a rope into the eye bolts, and tying the rope to the stakes. (See photo). Those black rectangles at the legs of the screen are the speakers we used.
We set up our projector about 12′ behind our screen, and it worked great! We leaned the screen up against our shed to store it until our next movie!


