I’ve become obsessed with this dog bed stand, and have taken it to a new level. Here is my updated tutorial to build your own dog bed newborn poser!
My last post described how I added an adjustable backdrop to the dog bed…but it wasn’t good enough for me. I decided I needed to raiser the posing surface up about 6-8″ so I could easily sit at the poser and comfortable pose baby. My current poser is way to to tall, and I have to do this creepy squat/hunch while posing, which isn’t great for my back (and I’m sure it doesn’t look amazing either). The first dog bed hack I created was good, but a little bit too low. I could BARELY squeeze my legs under while sitting “criss cross applesauce” and I worried that I would have to lean too far forward to pose baby. This new version raises the dog bed up about 6 inches, which is the perfect amount of additional space for me to sit comfortably under the bed while posing. I can also sit up straight (while sitting on my rear) and be right at the posing surface.
The backdrop part is still adjustable (rad!), and it isn’t attached to the dog bed with duct tape (I know, we all loved the duct tape…but this way is super legit!). Basically, I built a frame for the dog bed to sit on, and the backdrop hinge is attached to the frame. The dog bed can be removed if needed (maybe to replace the fabric on the bed, if it gets stretched out?). The casters (wheels) are totally optional, but I think they look pretty slick. I got casters that can lock, so it will stay put when I need it to. I ended up spending about $100 (including shipping) for all components for this thing. If you decide you don’t need casters, you can probably cut that cost in half.
What to call it… dog bed newborn poser with adjustable backdrop just doesn’t sell it…
I am excited to ditch my huge round newborn poser and backdrop frame, and now I need to find something to do with my first dog bed version! Maybe I’ll let the dog have it!
I’m a super visual person, so instead of writing out all the steps, I tried to make some visuals for you.
I bought some of the more obscure fittings online at FORMUFIT (the 2-way adjustable elbows, 1 1/4″ PVC caster fitting inserts, 5 way cross PVC fittings, 3″ no skid swivel casters with brakes, and 3/4″ to 1 1/4″ PVC fitting reducer all came from FORMUFIT the other parts can be easily found at a local hardware store).
You’ll also need the COOLAROO dog bed, which I bought from AMAZON (I used the LARGE size)
Here is a list of the different parts you’ll need. Don’t mind the part where I forgot some parts and had to draw them in photoshop..
.jpg "2017-09-12_0008.jpg")
And a handy cut list. I recommend wearing safety glasses when cutting. Trust me on this one. I used three 10 foot lengths of 3/4″ schedule 40 PVC. You can get away with two 10 foot lenghts, and a 5 foot length…but I didn’t want to risk having to go back to the hardware store if I messed up. (spoiler alert. i messed up. i also had to go back to the hardware store anyway..so, there’s that)
.jpg "2017-09-12_0007.jpg")
I recommend starting with the legs. They’re the trickiest part, so lets get them out of the way! The front legs and back legs are different, because we need an extra attachment point for the backdrop/hinge off the back.
.jpg "2017-09-12_0010.jpg")
.jpg "2017-09-12_0011.jpg")
.jpg "2017-09-12_0009.jpg")
Now, lets put together the adjustable backdrop stand. This will attach in the BACK.
.jpg "2017-09-12_0005.jpg")
The sides are two peice of PVC with a TEE in the middle. This allows the bar across the front to be stepped back a little bit, so you can slide under the dog bed without hitting your knees on the bar.
.jpg "2017-09-12_0004.jpg")
Now, attach the front and back feet to the side sections, and add the 49 1/4″ front and back cross bars
.jpg "2017-09-12_0003.jpg")
Now, pop the backdrop stand you built earlier to the back corners of the frame.
.jpg "2017-09-12_0006.jpg")
.jpg "2017-09-12_0002.jpg")
Aaaaaannnnd, pop the dog bed into the four corners (the tops of the legs)
.jpg "2017-09-12_0012.jpg")
.jpg "2017-09-12_0001.jpg")
Ok, so now that you know it all fits together, and you’re an expert at building this thing..you get to take it apart and use PVC cement on all joints. I put a bit of cement on each junction where a PVC pipe attached to a fitting. This will make your set up super secure.
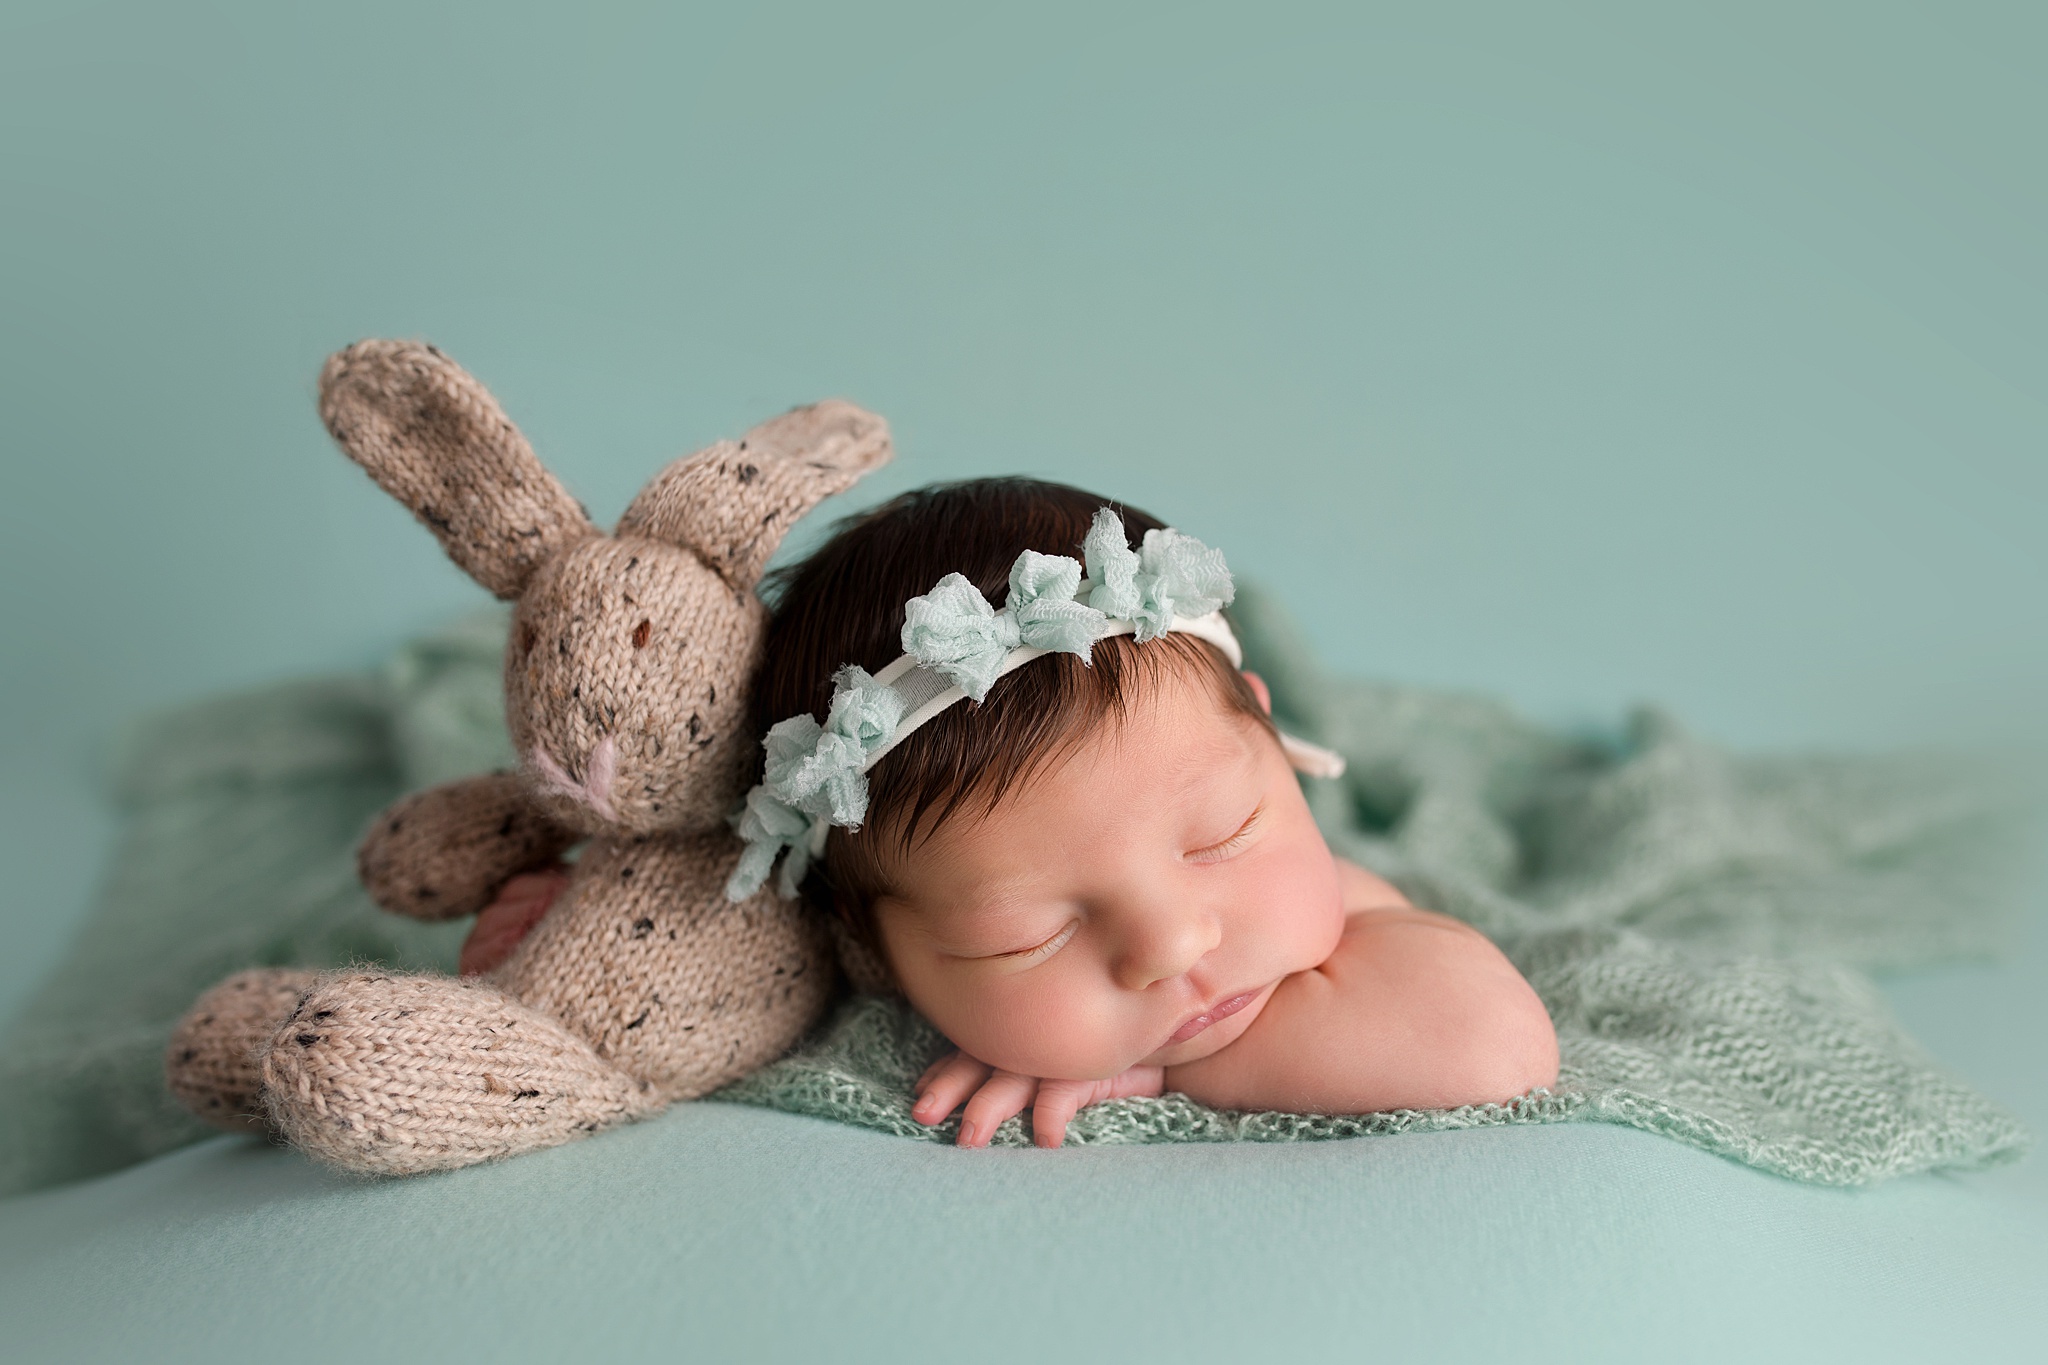
I’ll post my in use, some behind the scenes, and an updated review of the new poser and backdrop stand! I have a newborn on Thursday, and I’m super excited to use this new set up.
My studio is in Mill Creek WA, and I’d love to help anyone local out with building one of your own! I’m pretty close to Seattle, Everett, Edmonds, Snohomish, Bothell, etc so hit me up if you want to check it out!